DO NOT THROW THIS BOX AWAY.
YOU NEED IT TO FRUIT PROPERLY.
DO NOT THROW AWAY.
One of the first decisions every mushroom grower must make: choosing which species and strain to cultivate.
The Fungi Fanatics BoomBox is specifically tailored to growing mushroom species that enjoy low oxygen growth parameters. Psilocybe cubensis (SIL-o-cybe cue-ben-sis) grows perfectly in easily maintained environments like this!
The best strain of your desired mushroom species is all dependent upon what you want out of the mushrooms. The top varieties are known for their color, size, growth pattern, and even name!
INOCULATING GRAIN
Now that you have your culture syringe, it is time to knock-up your sterilized grain bag. If you've purchased The Trifecta, or have more than one grain bag, we recommend inoculating all of the grain bags at once. Completely colonized grain will last much longer than uncolonized grain.
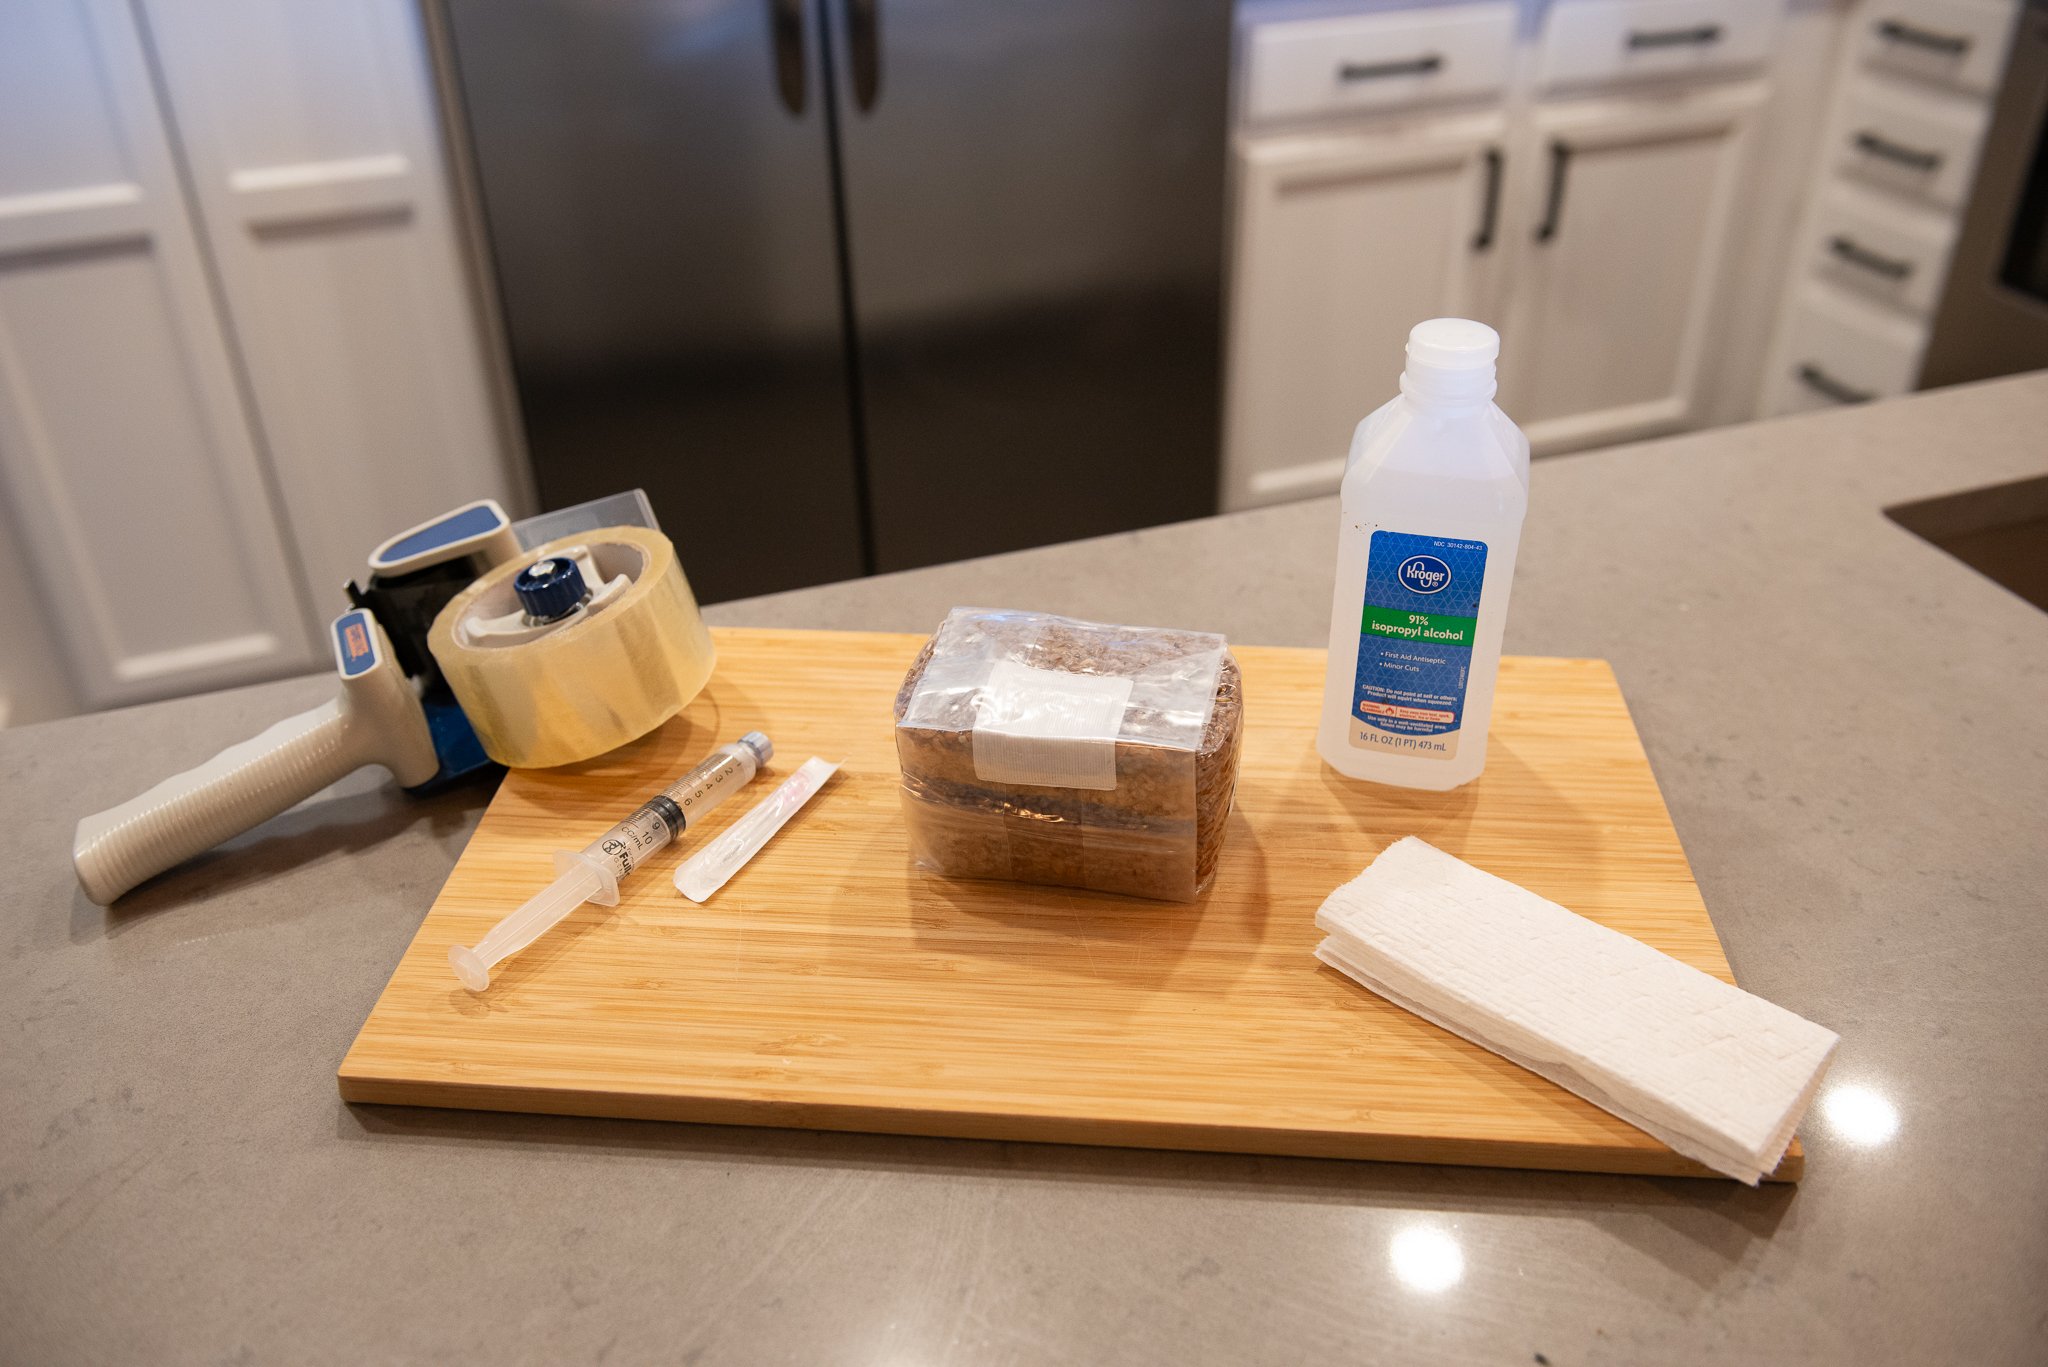
Items needed:
Sterilized Grain Bag (included with BoomBox)
Culture Syringe
70% Isopropyl Alcohol (multi-surface cleaner works too)
Tape (duct tape works best)
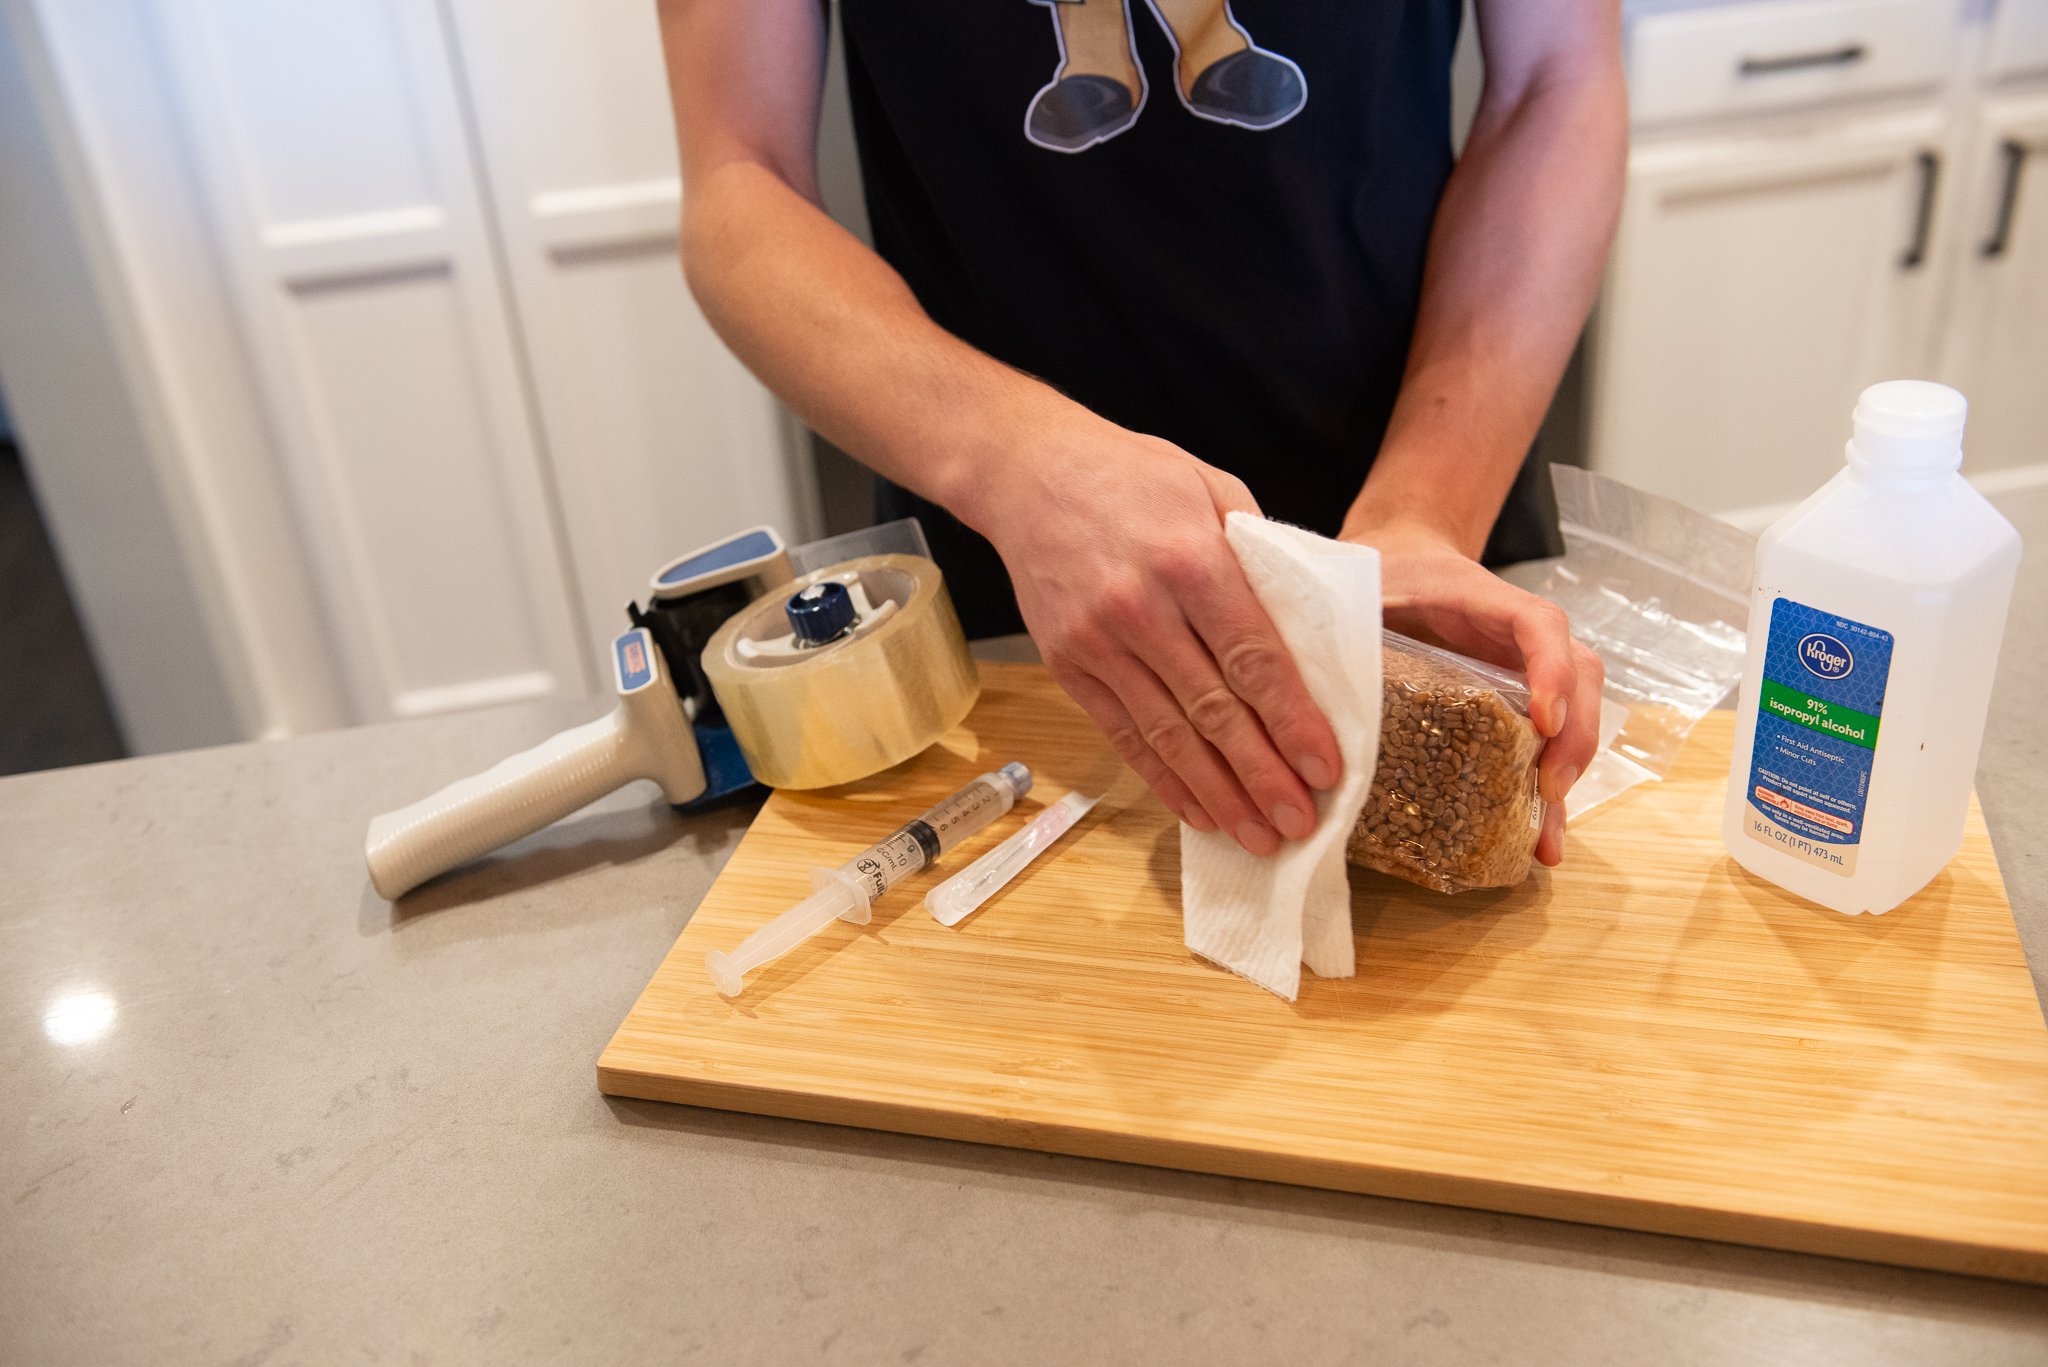
Prepare the items needed for inoculating your grain bag
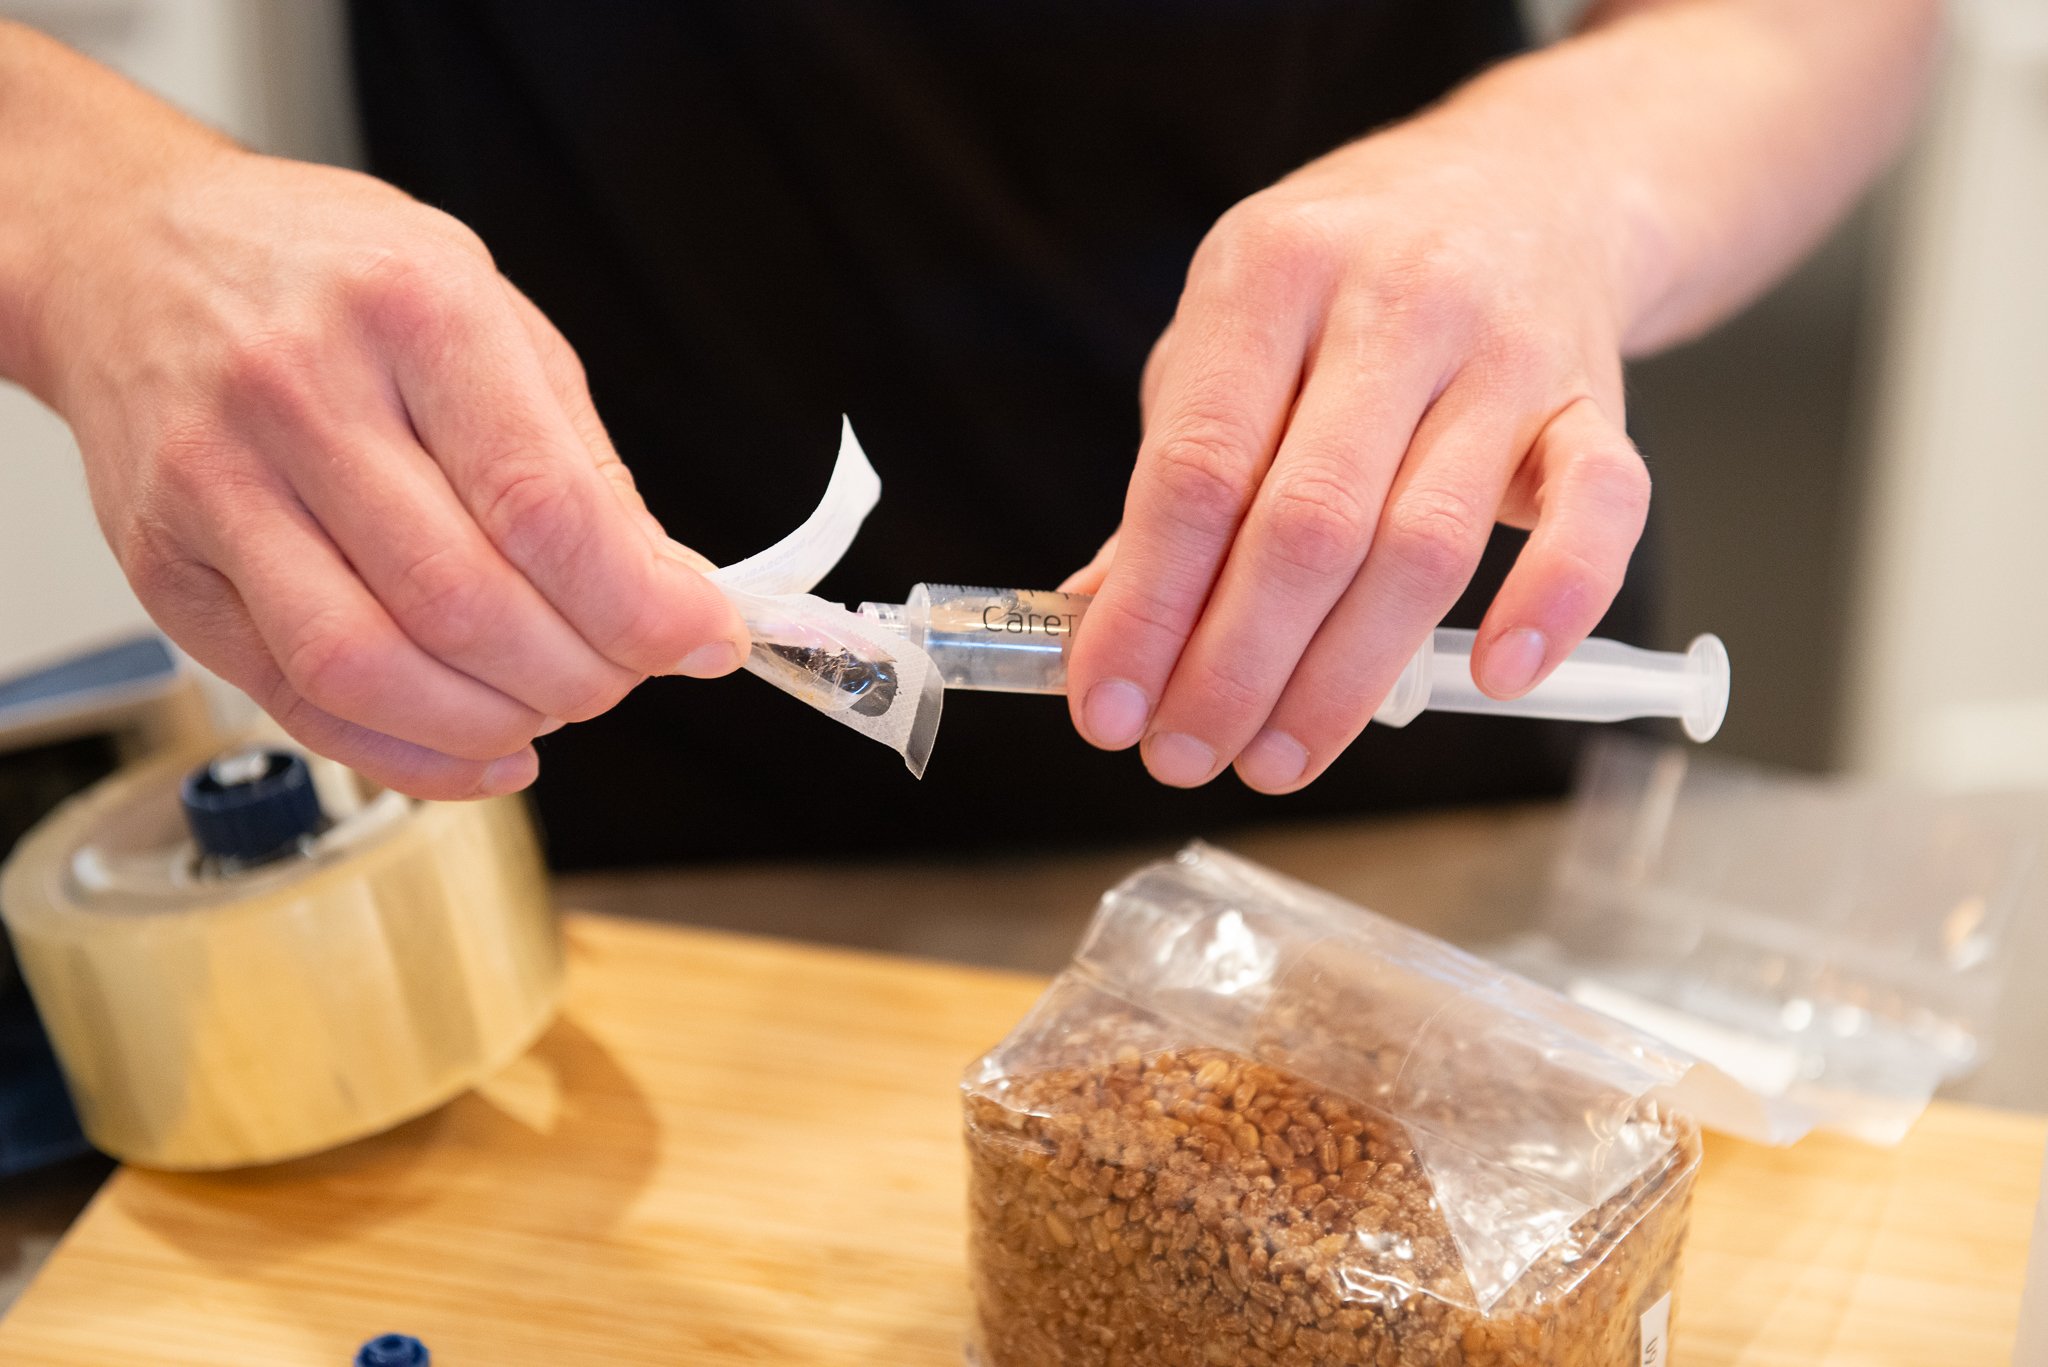
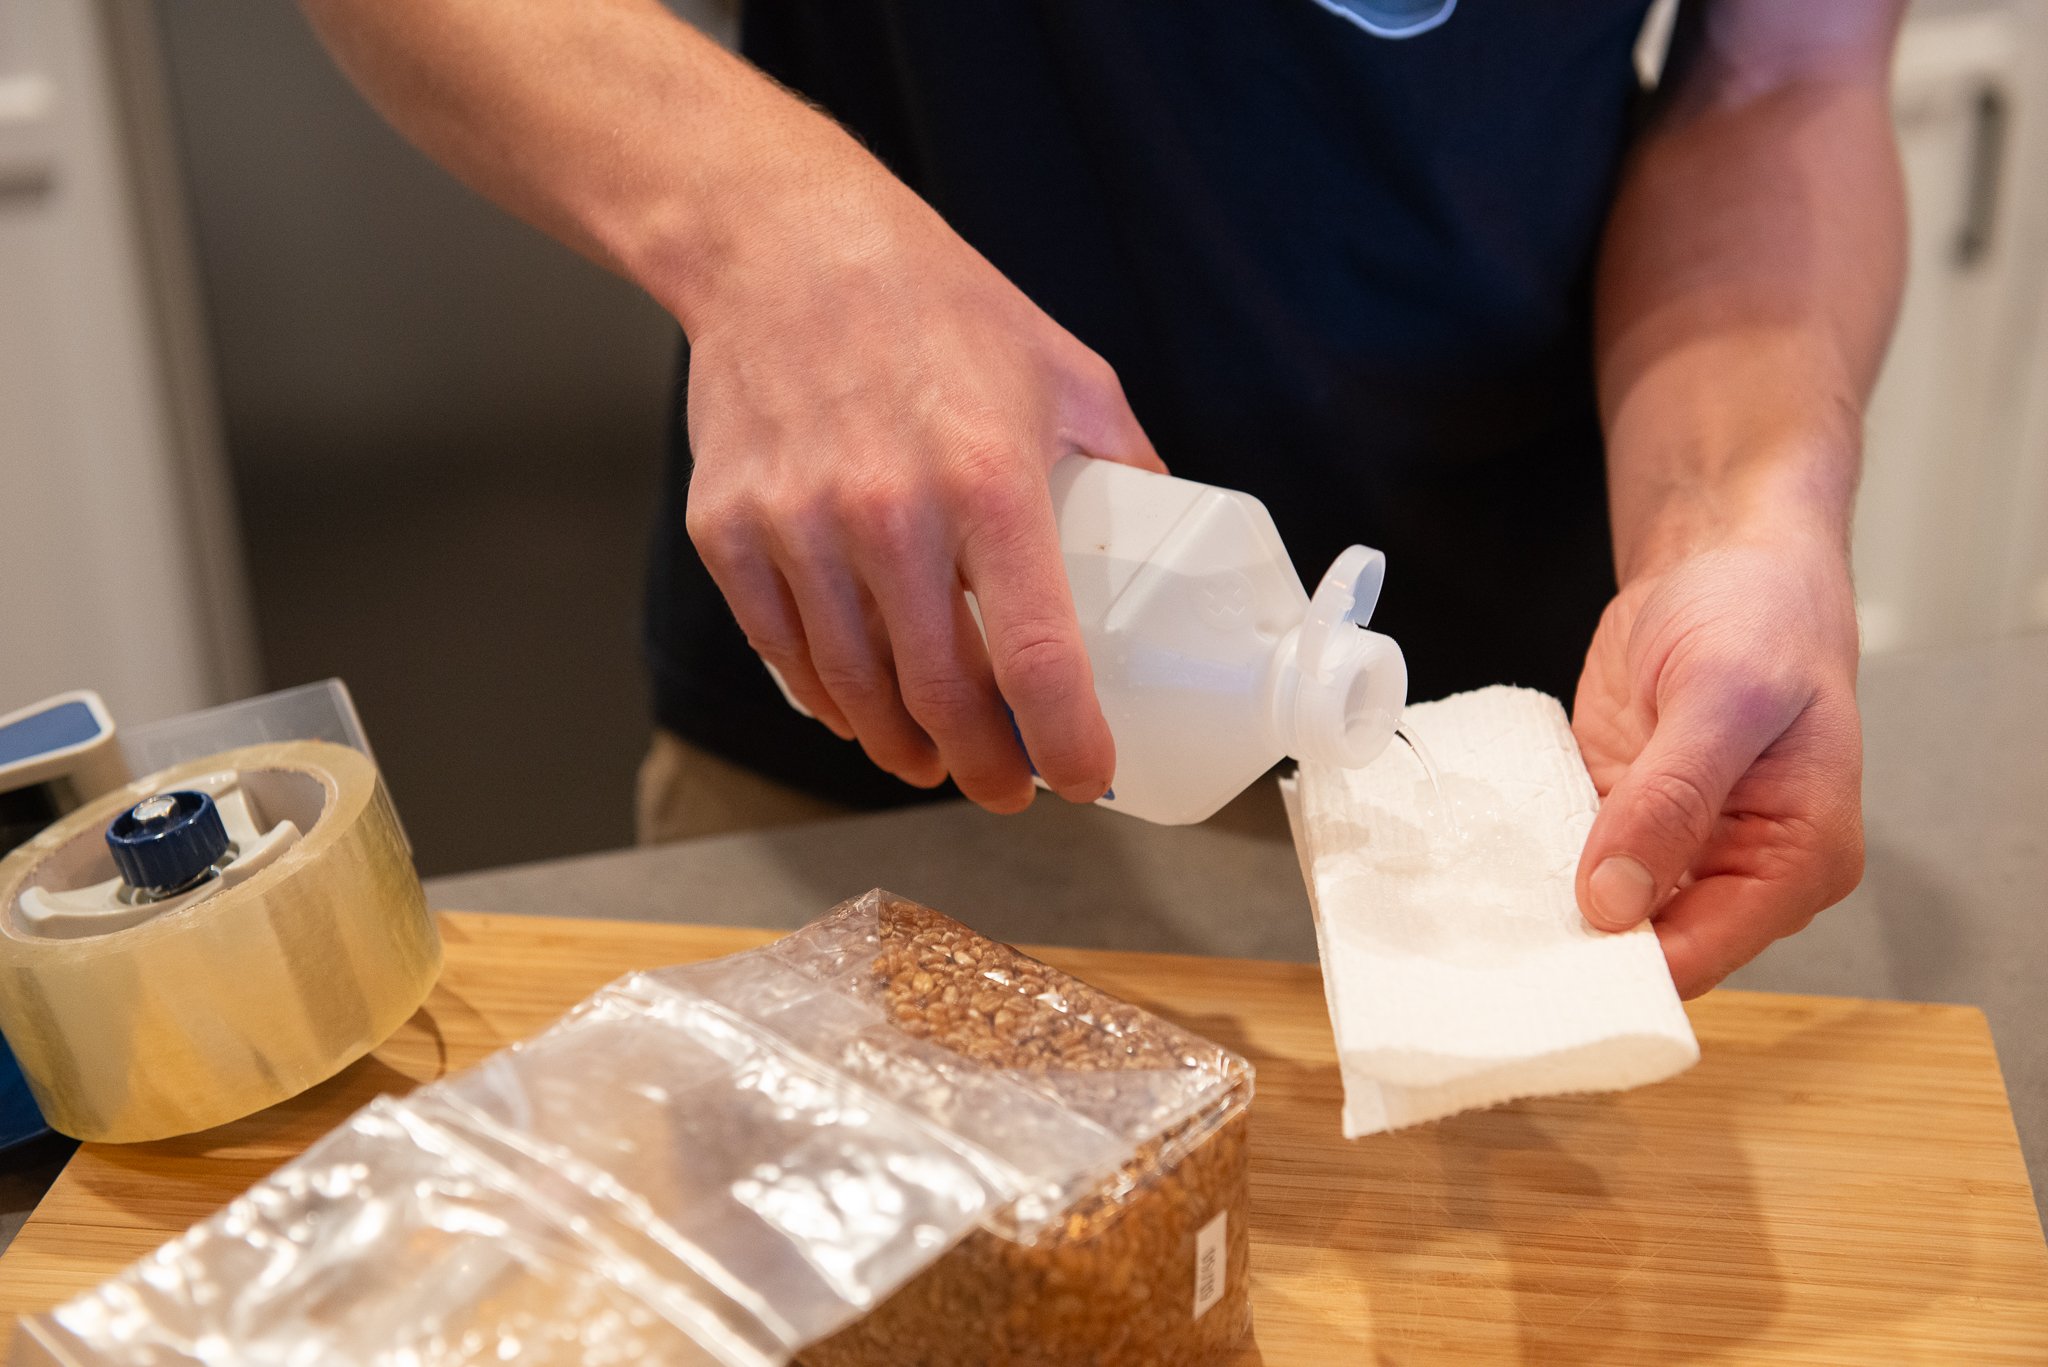
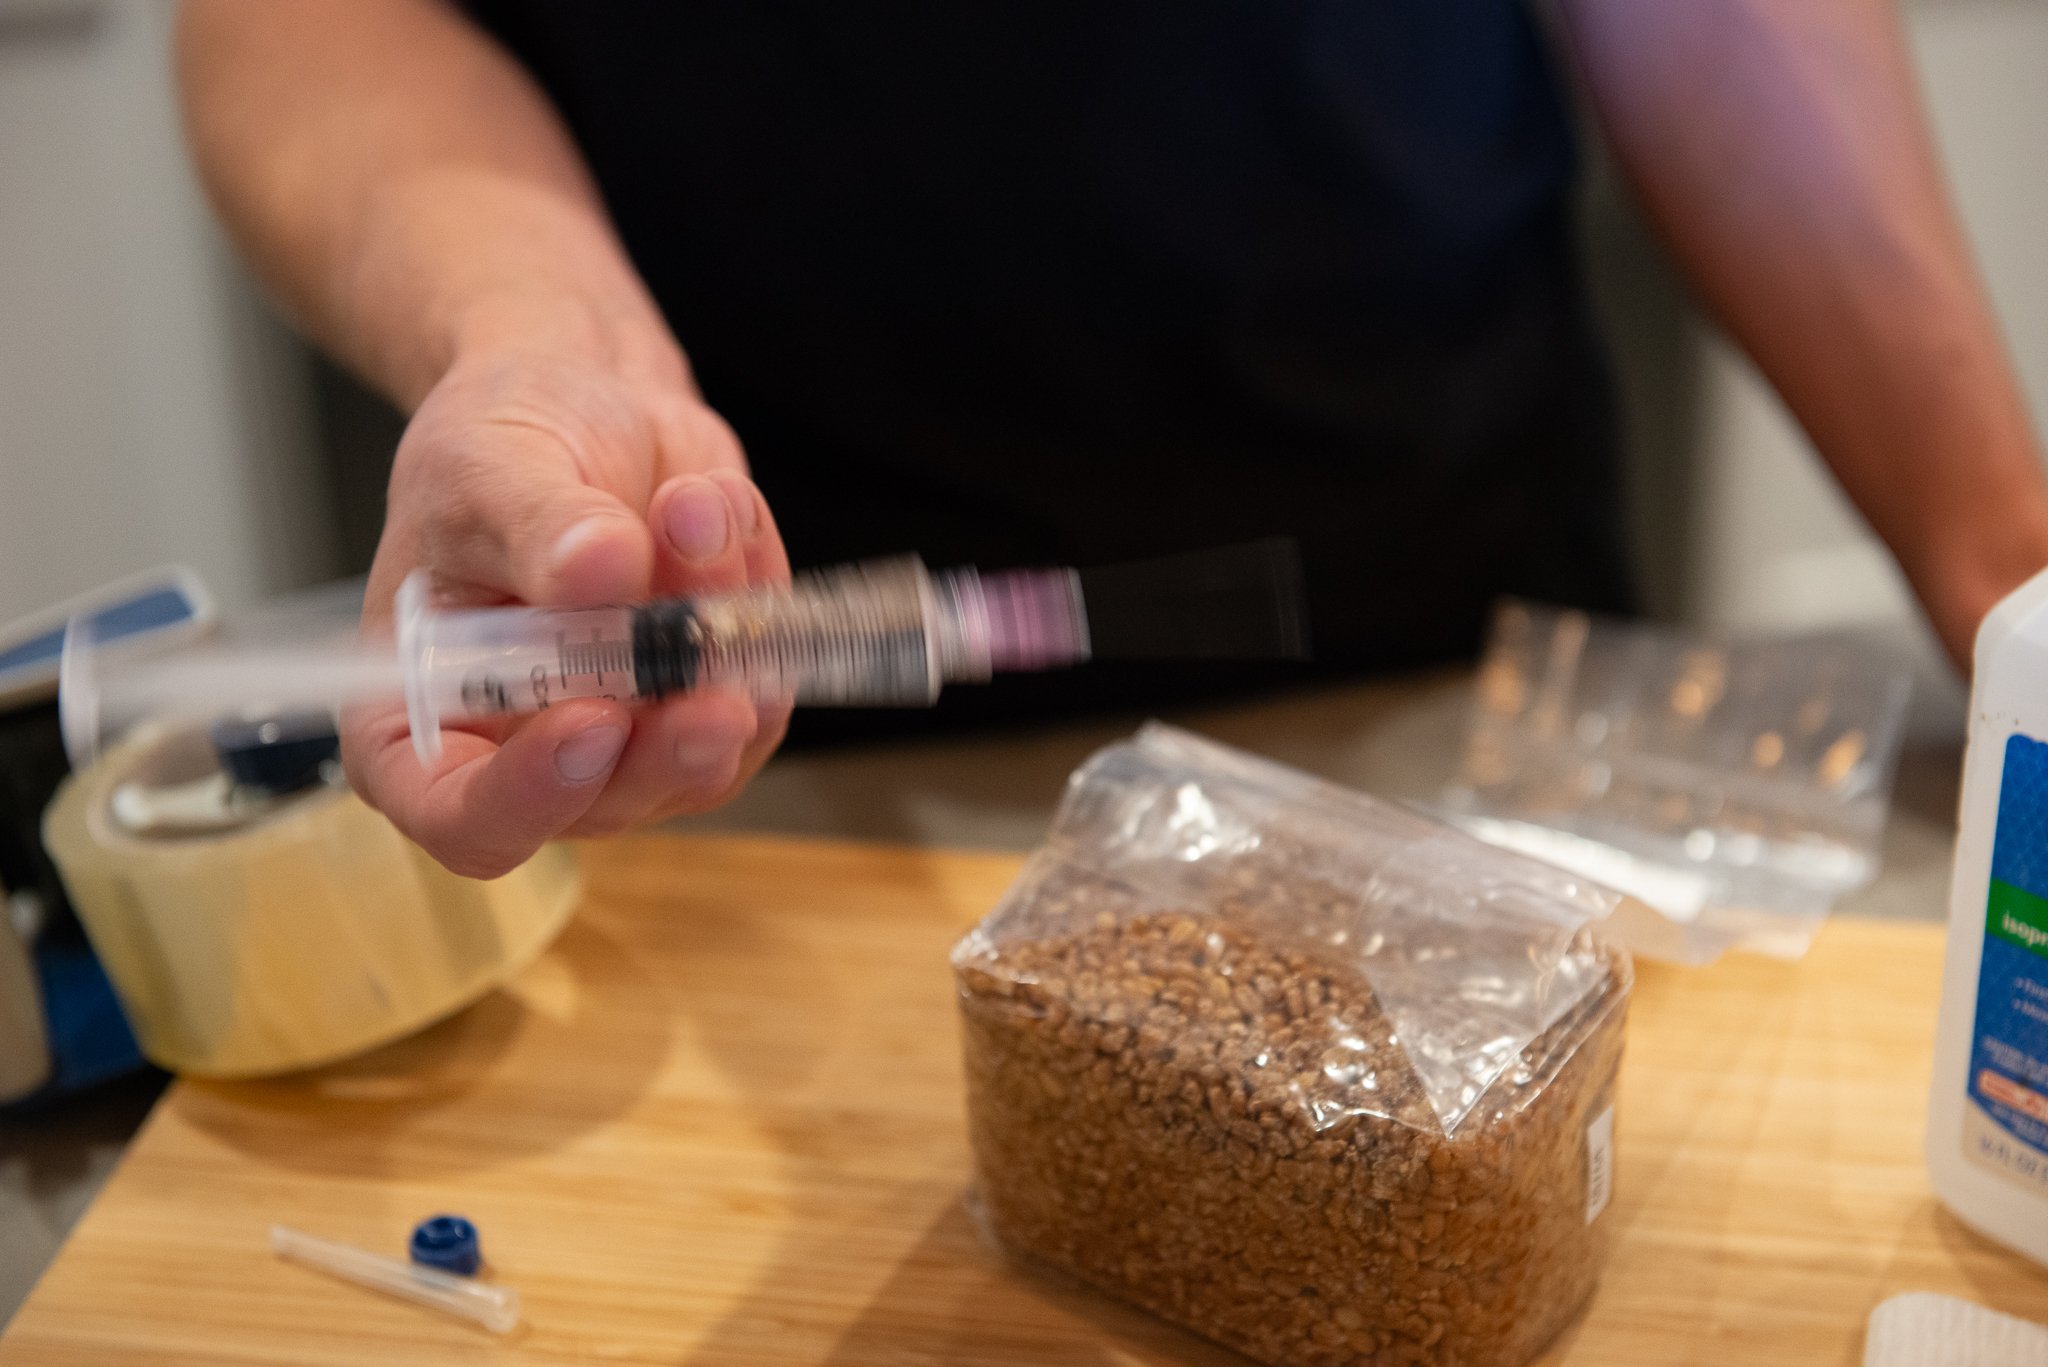
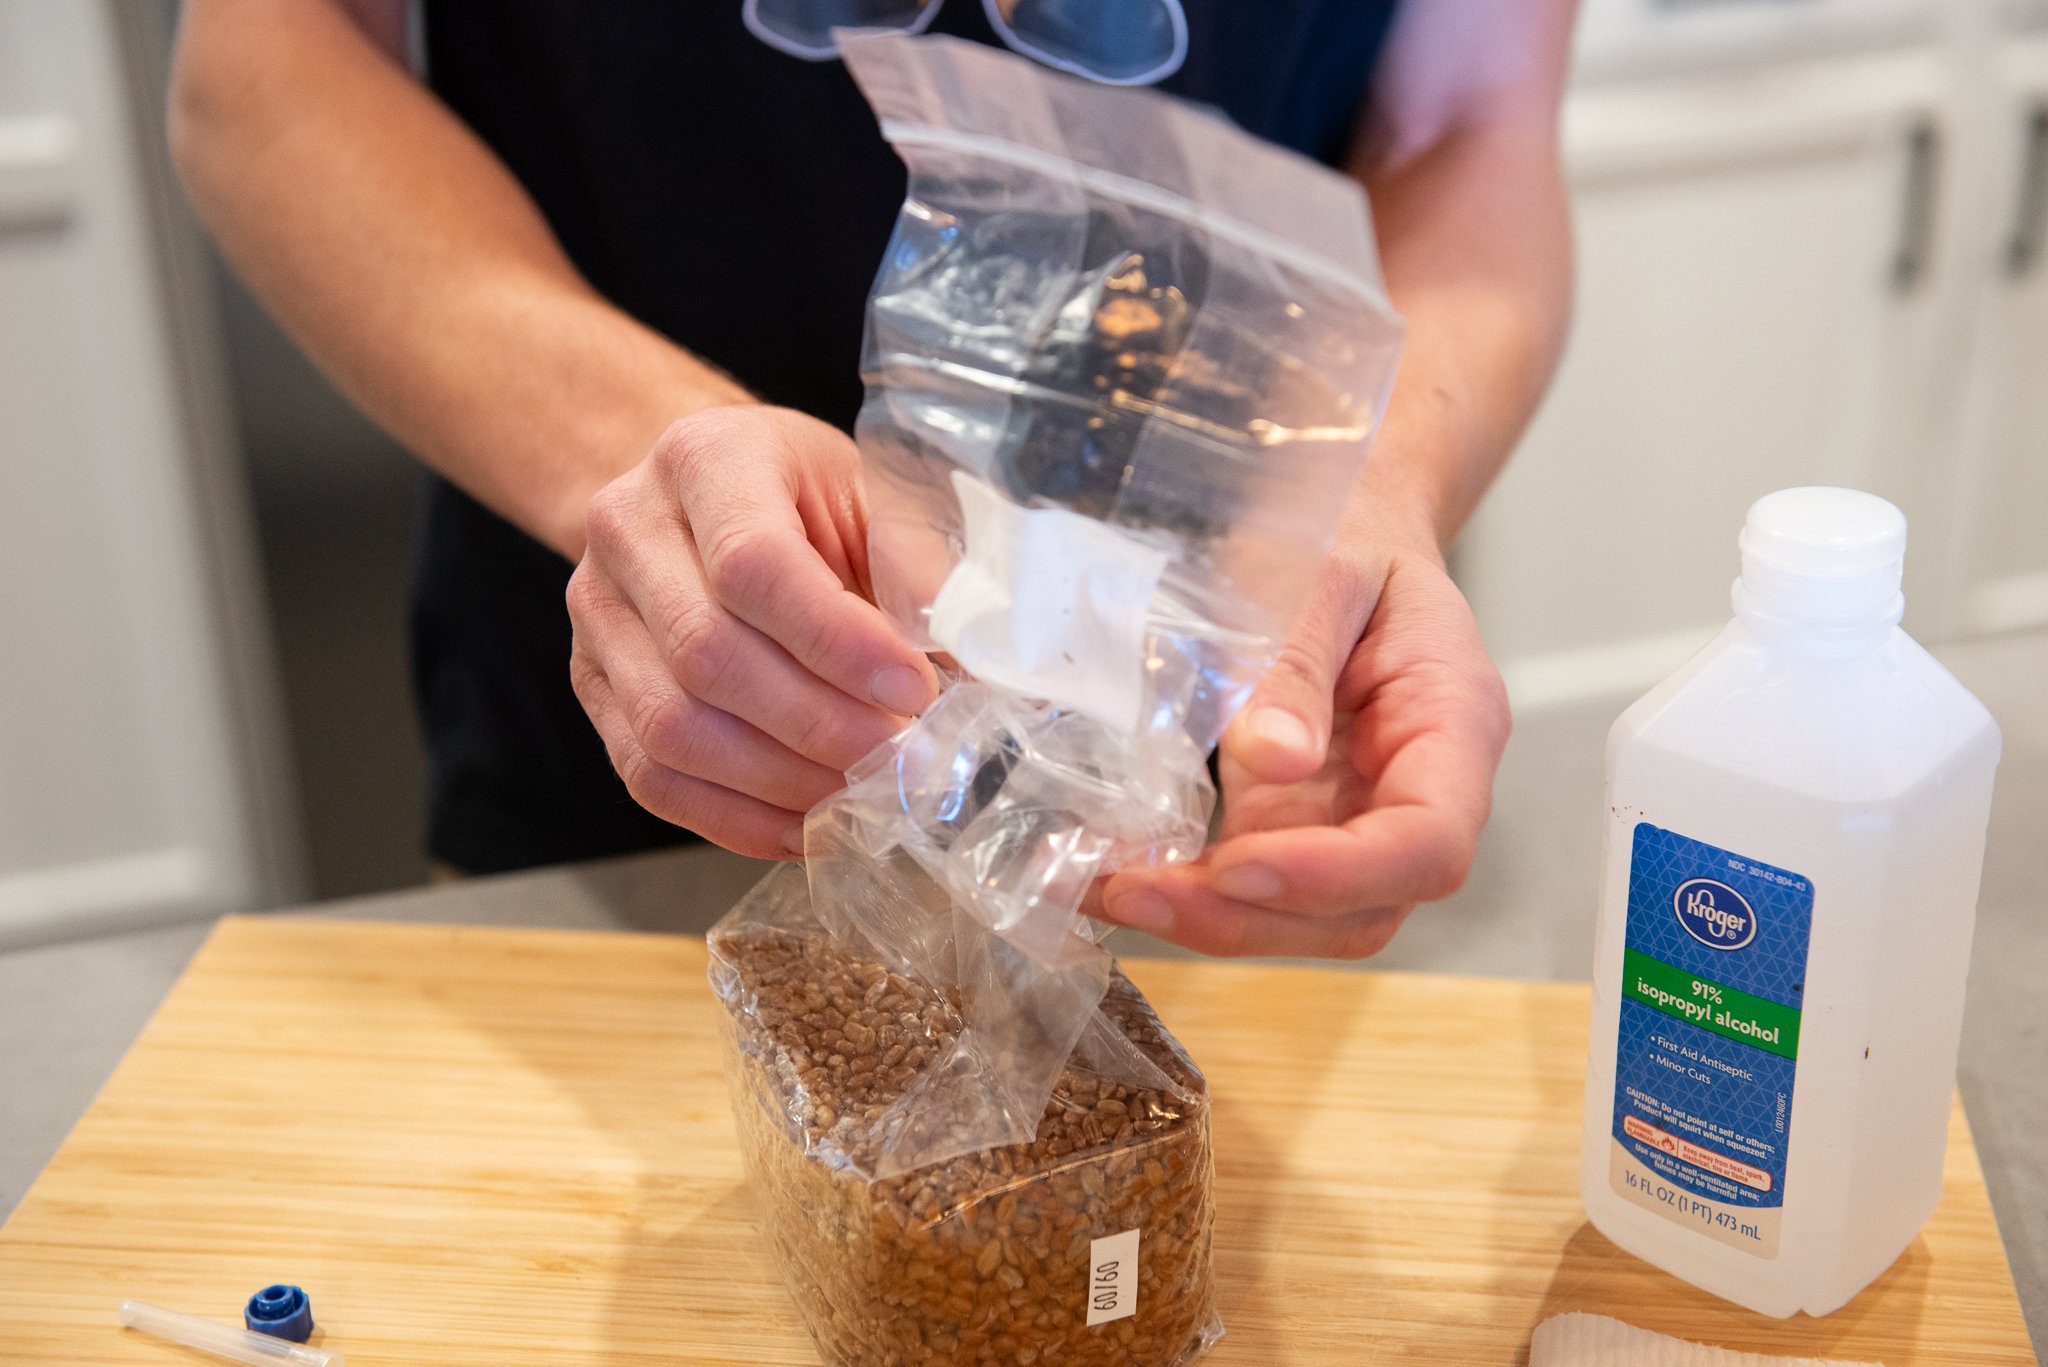
Washing your hands is recommended. Open the packaging that came with your culture syringe and shake, being sure to break apart most clusters that may have formed. Prepare the syringe for use by removing the tip-cap of the syringe and screwing on the sterilized needle. Do not remove the sheath that comes with the sterilized needle yet! Spray 70% isopropyl alcohol on the outside of your grain bag. If your syringe came with an alcohol wipe, this is a perfect substitute.
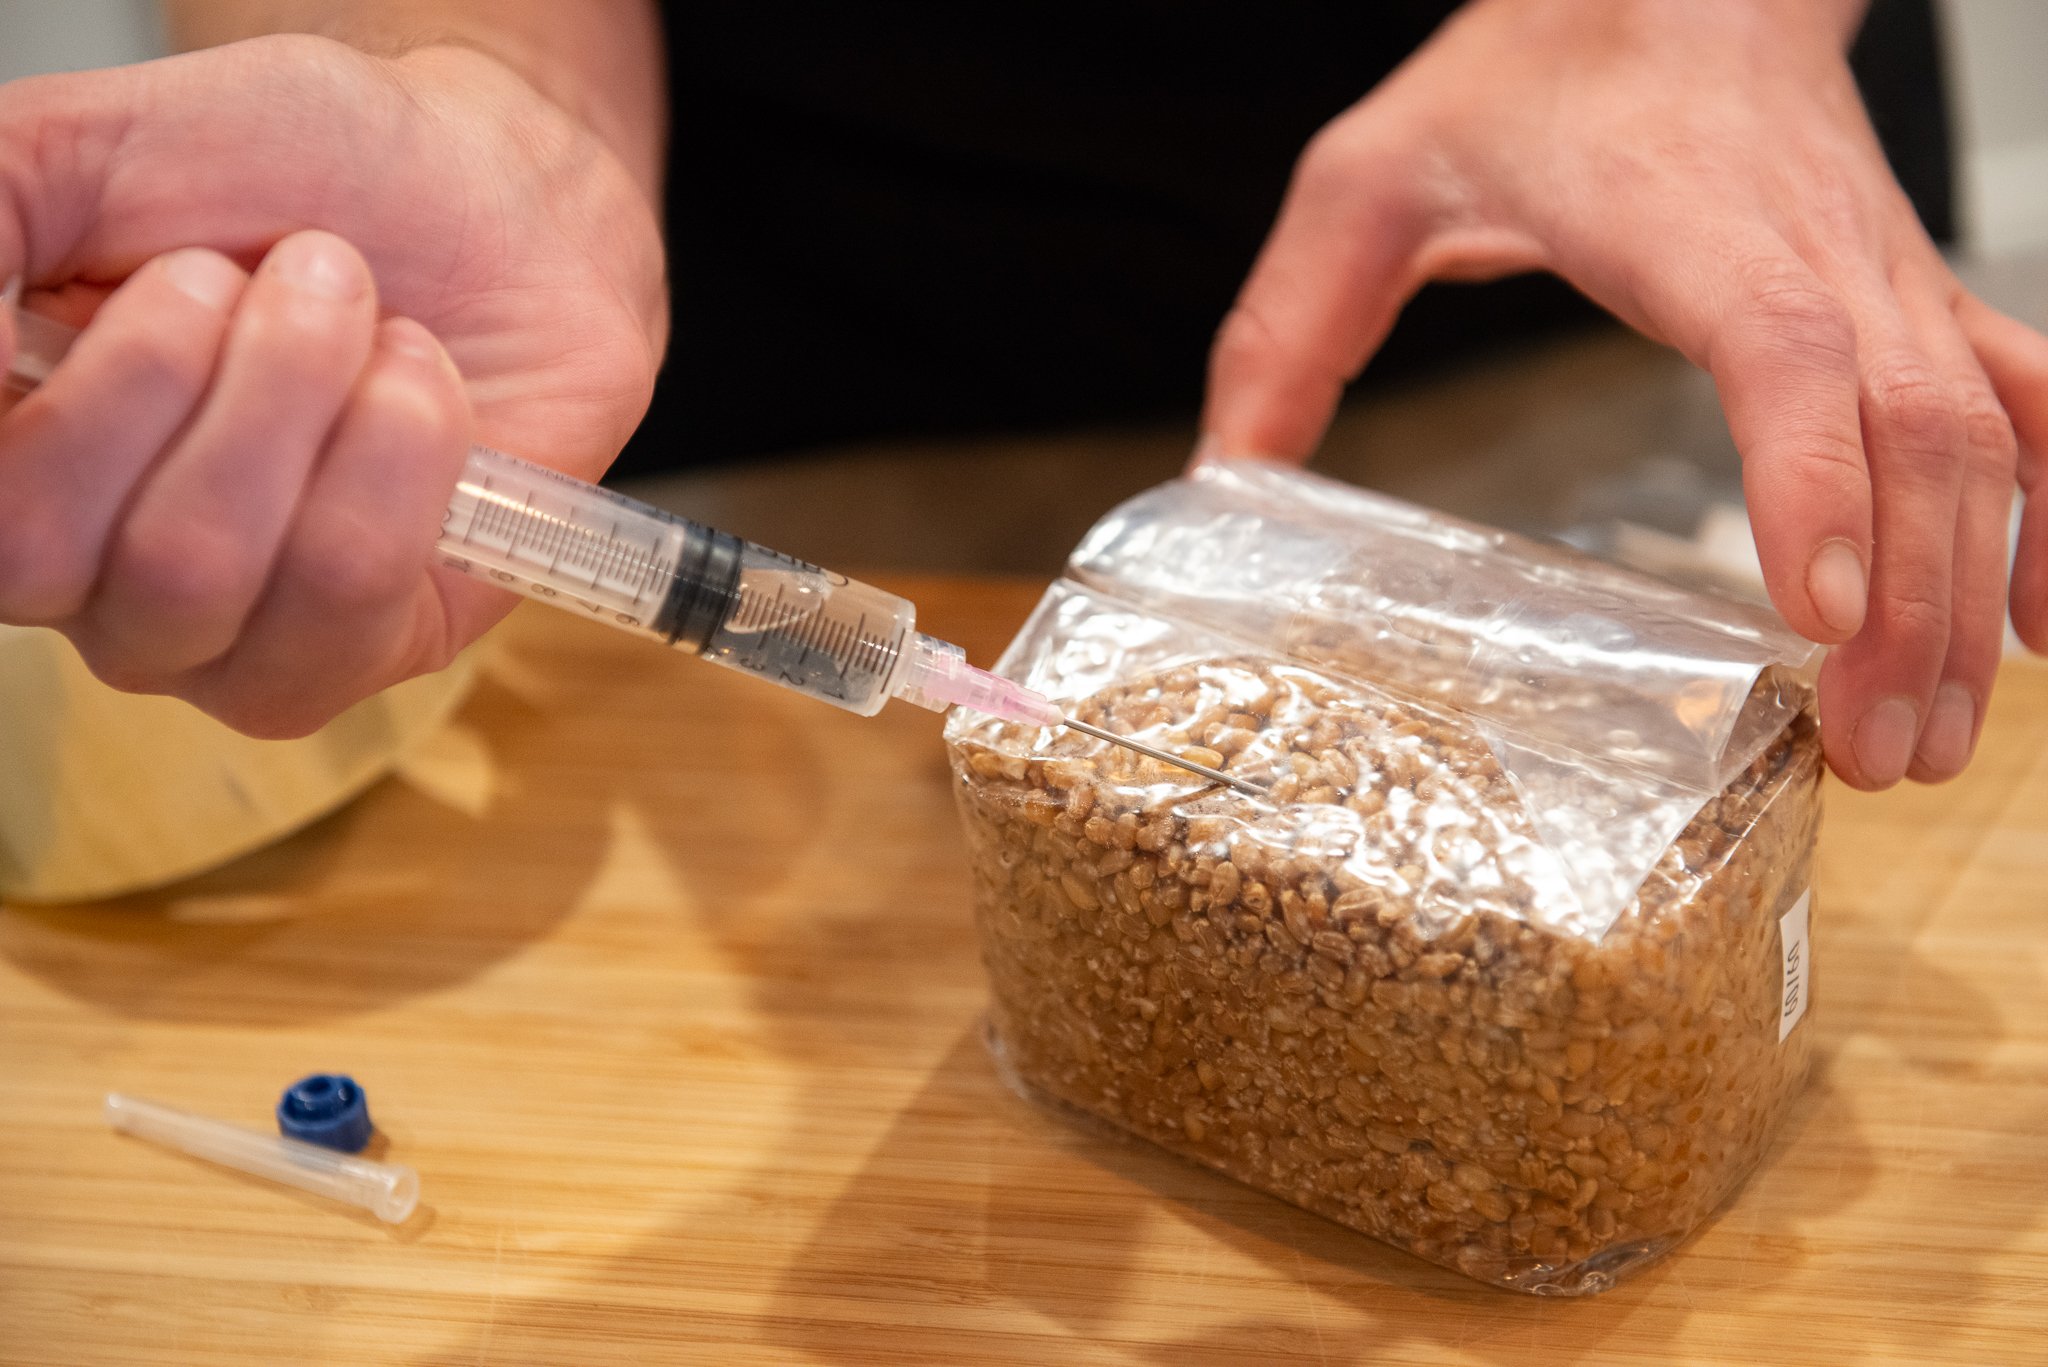
Remove the sheath from the spore syringe, if you did not shake the syringe in the previous step do that now, then insert the needle 1-2 inches inside the center of the sterilized grain bag. Inject the needle only halfway, trying to not let any plastic parts of the needle touch the grain bag. Inject approximately 3 mL of culture slurry. Do not inject more than 3mL of culture, too much excess water could cause bacterial contamination.
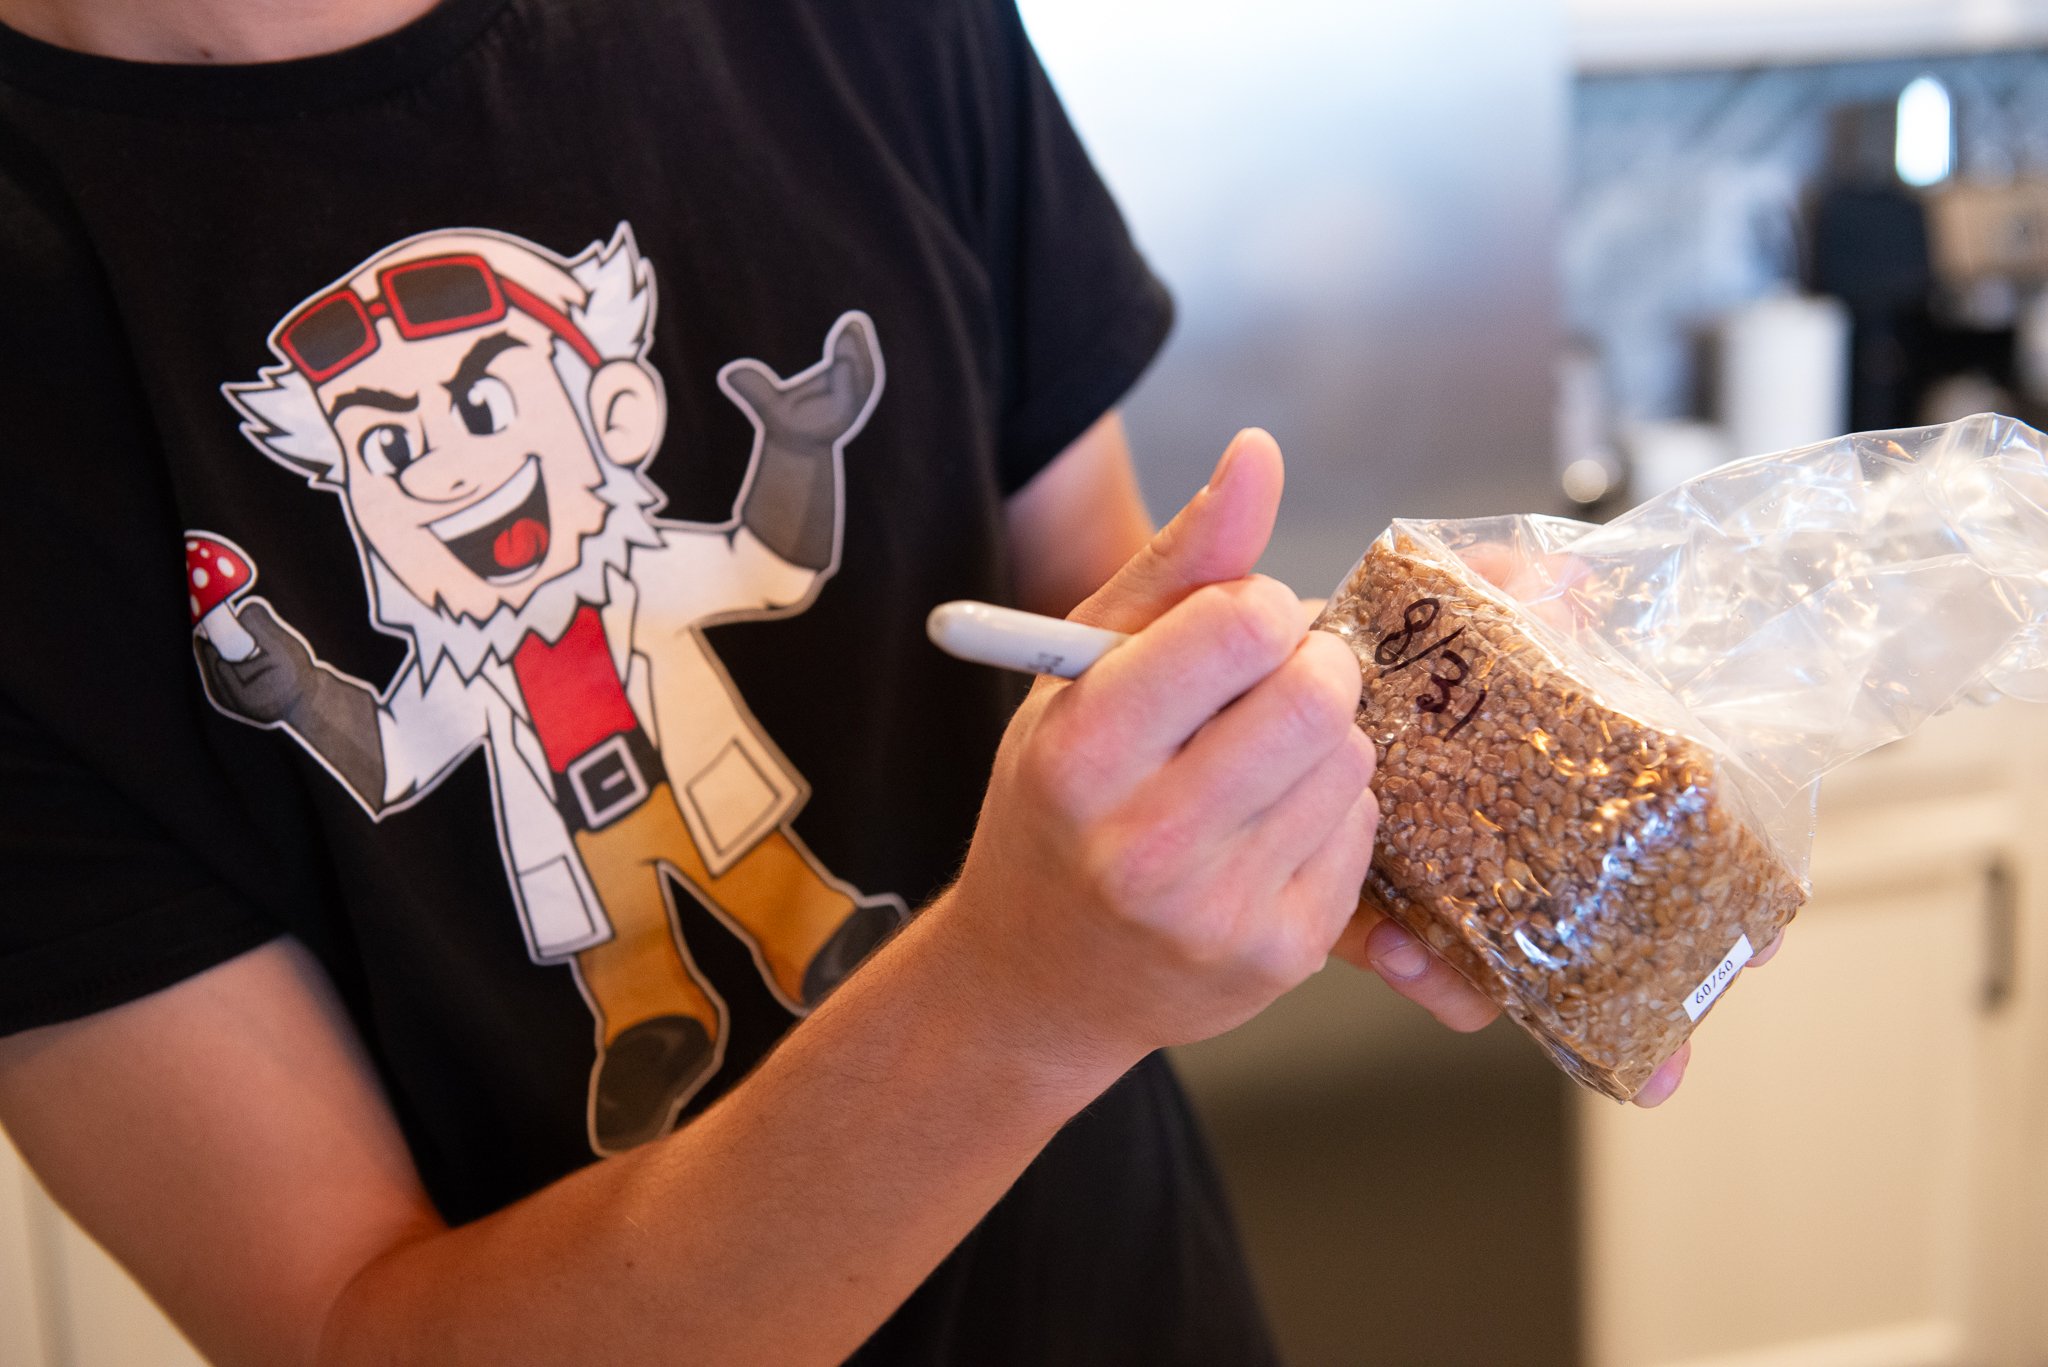
Remove the needle from the grain bag. Do not set the needle down on any surface. Sheath the needle if you are finished inoculating all of your substrates. Cover the injection site on the grain bag with a piece of tape, label if desired.
Don’t forget to sheath your needle before setting it back down like we did in this photo! Apply your tape to the injection site to ensure the grain bag is sealed tight again.
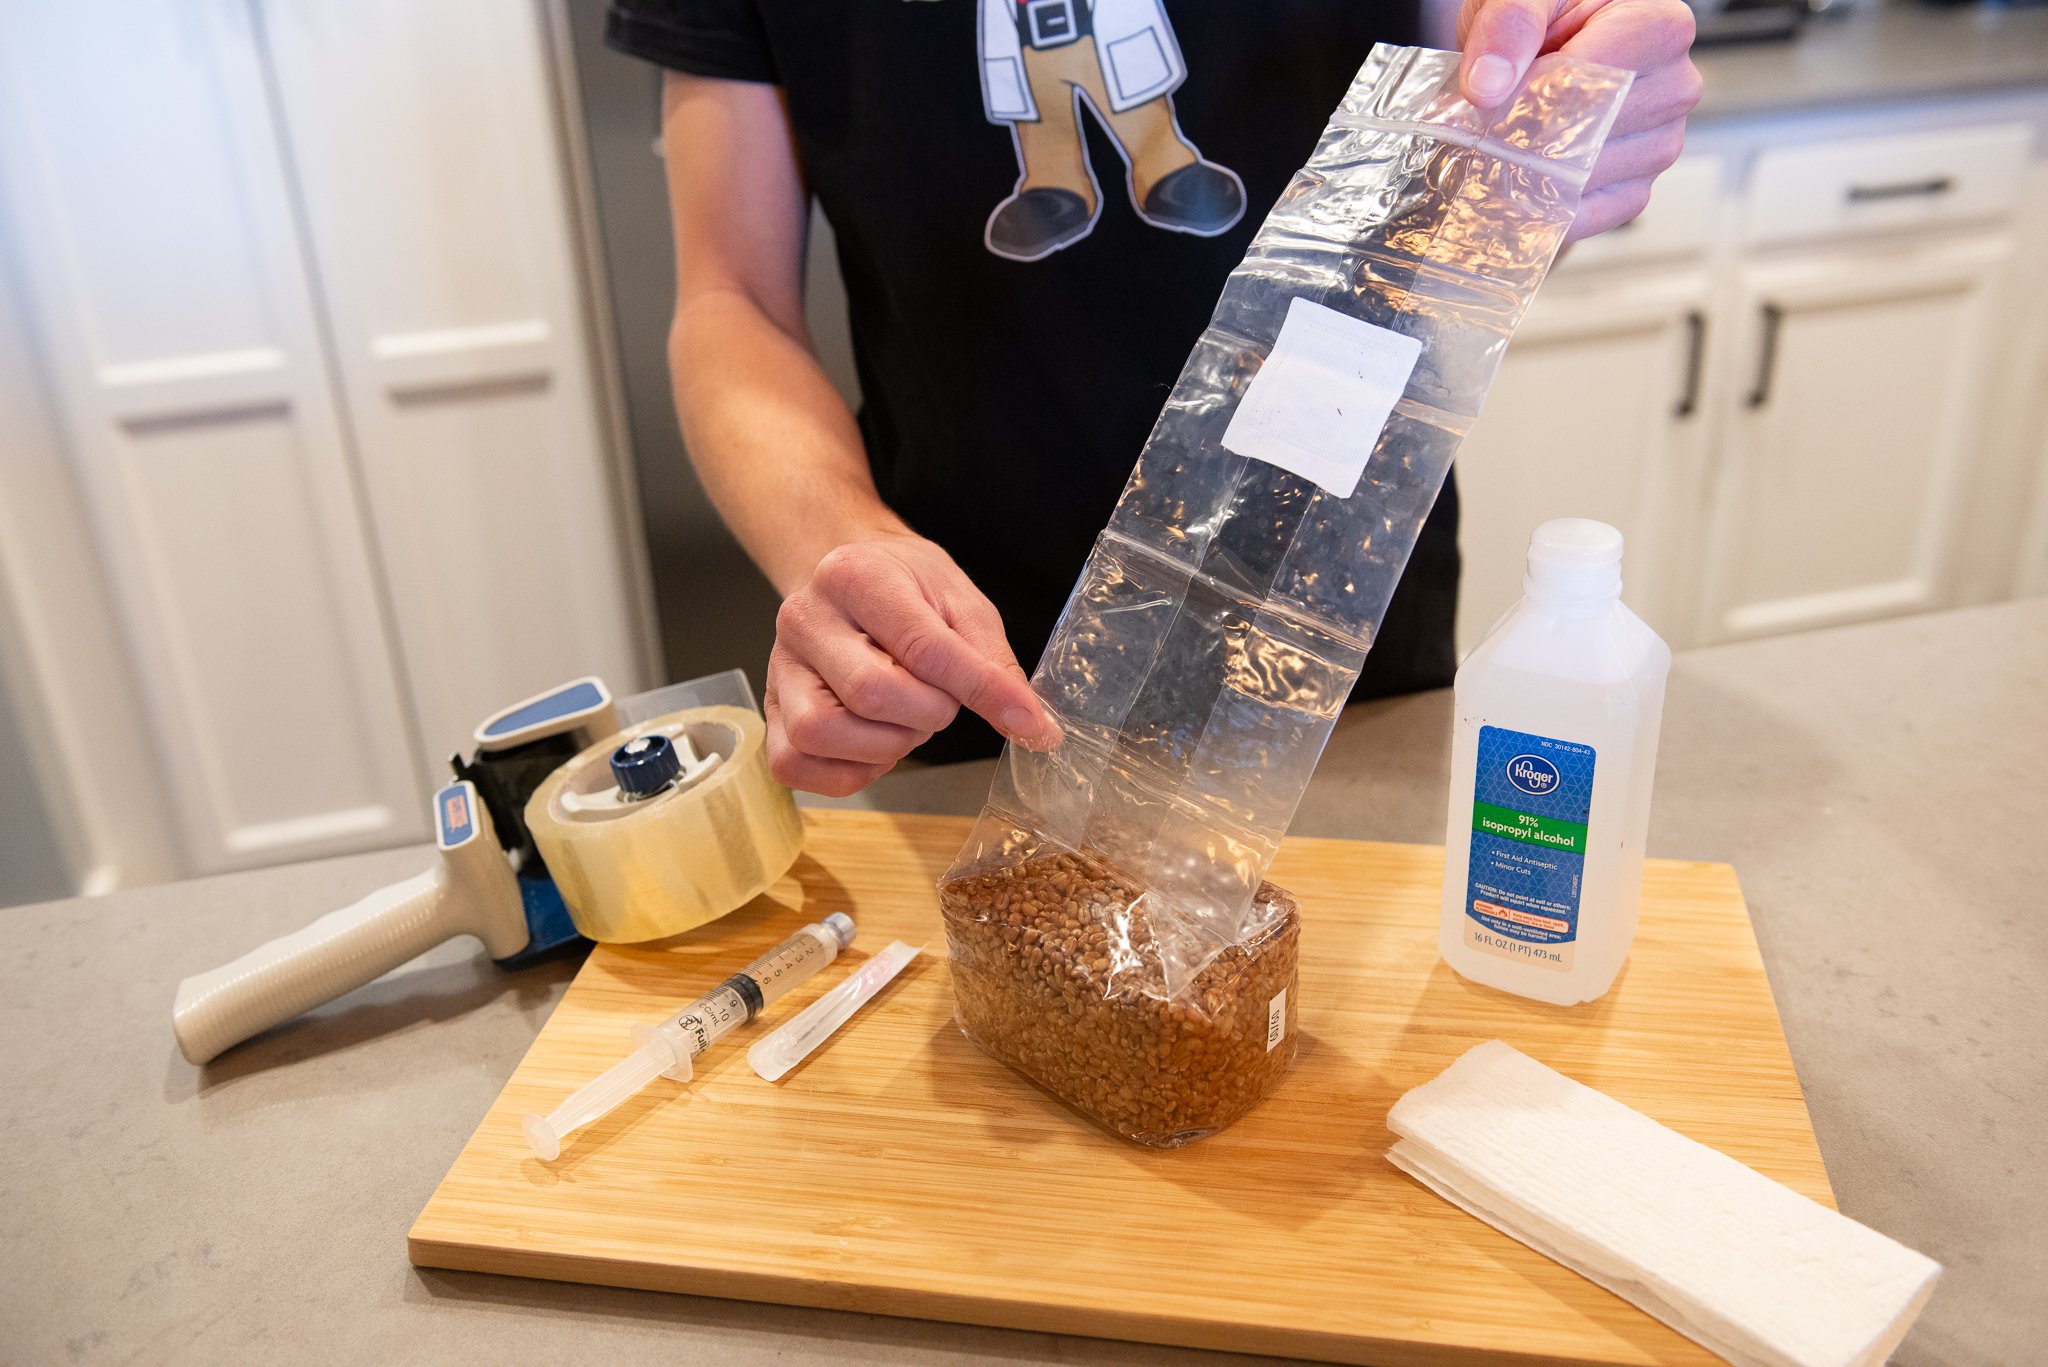
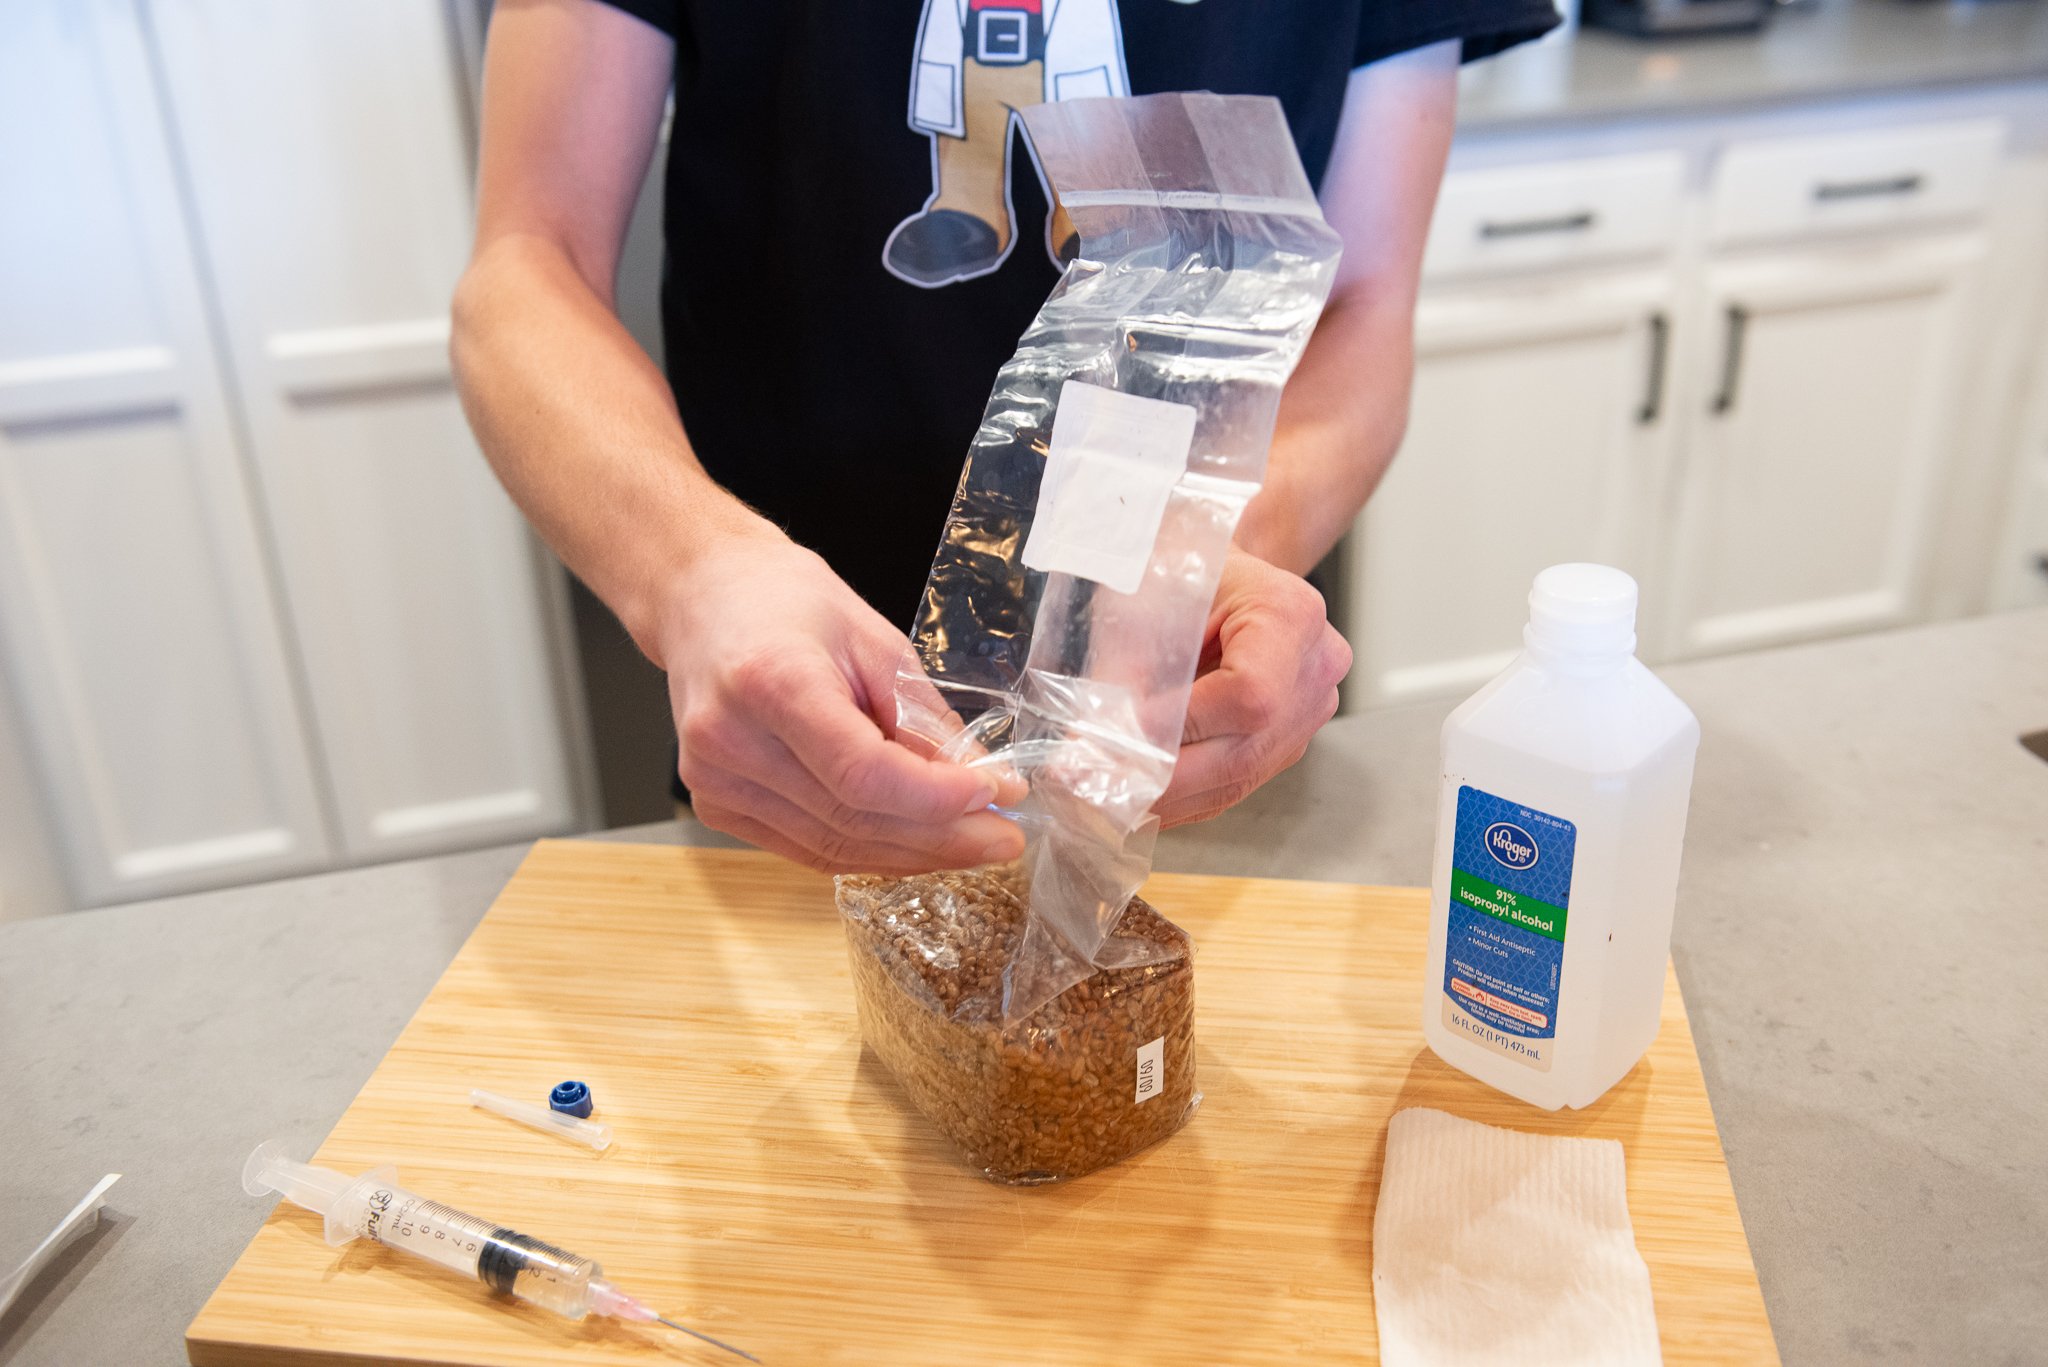
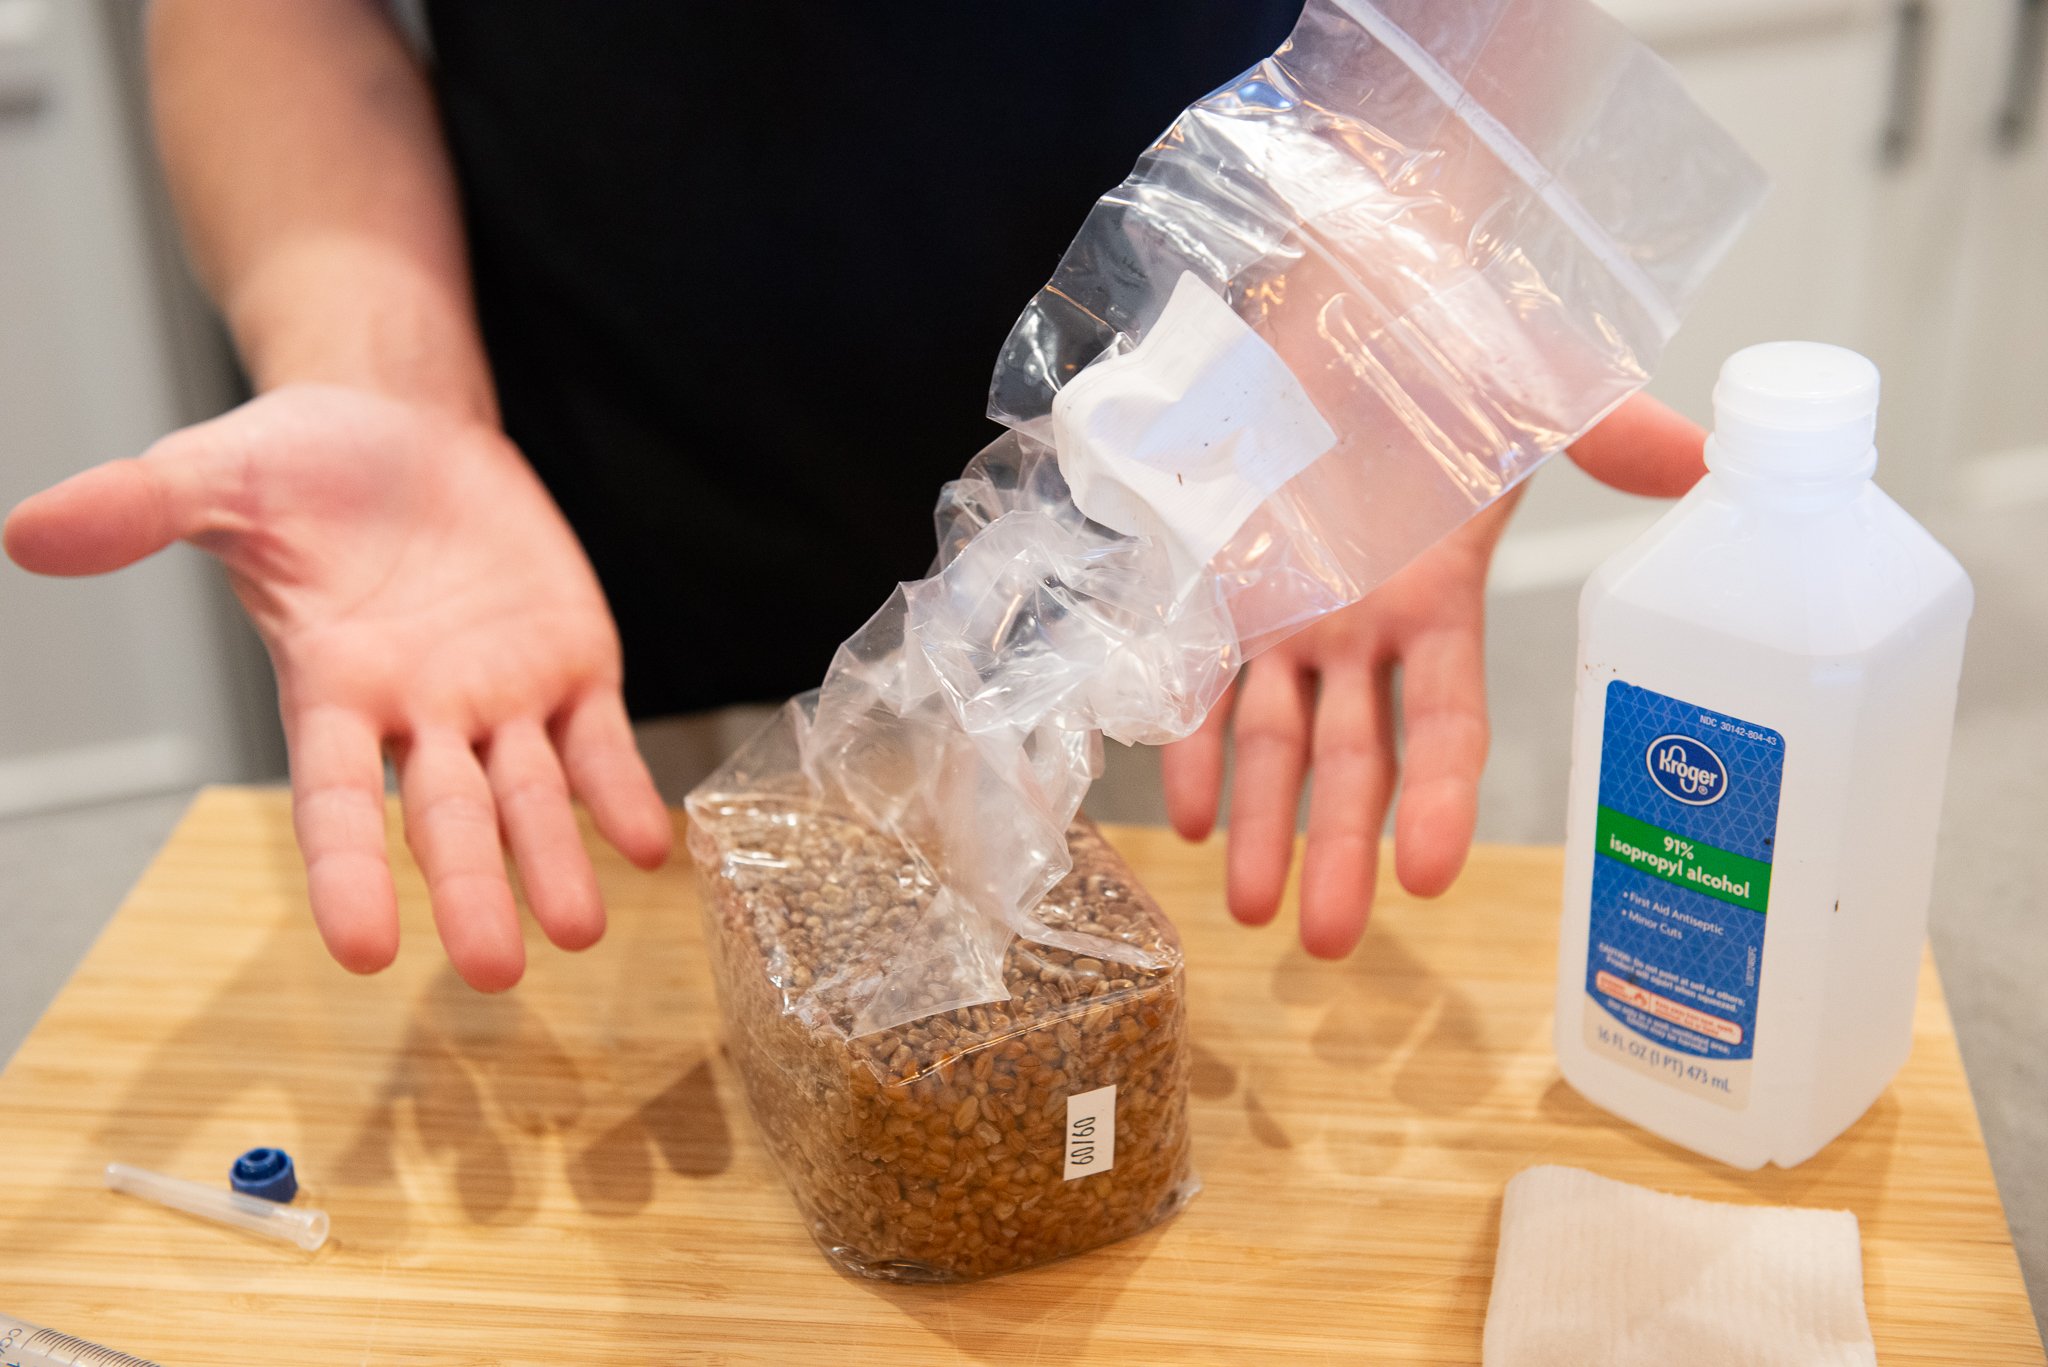
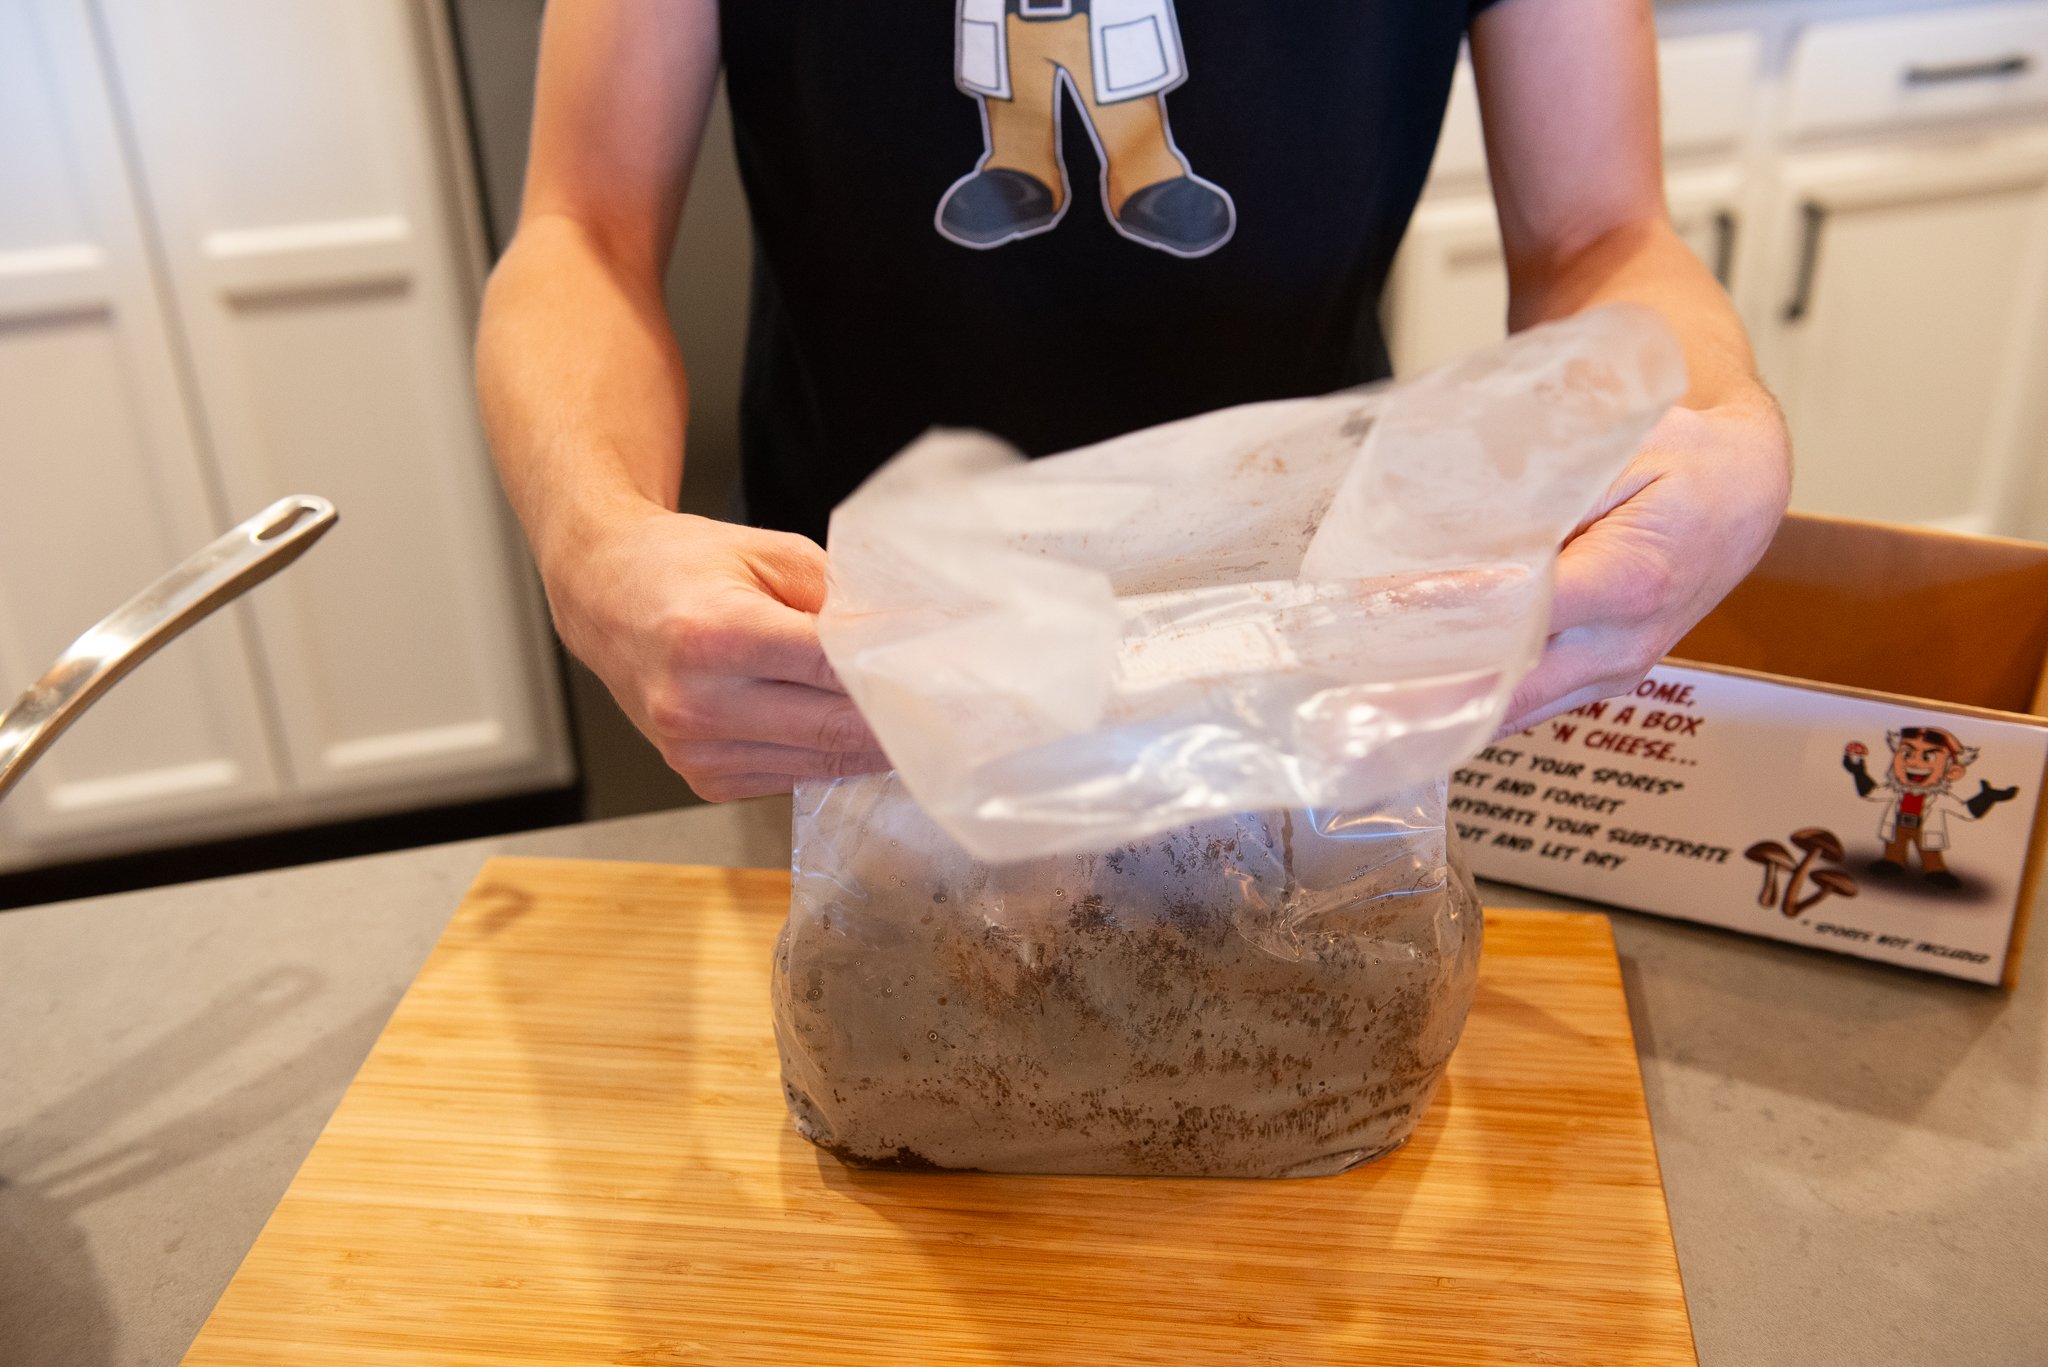
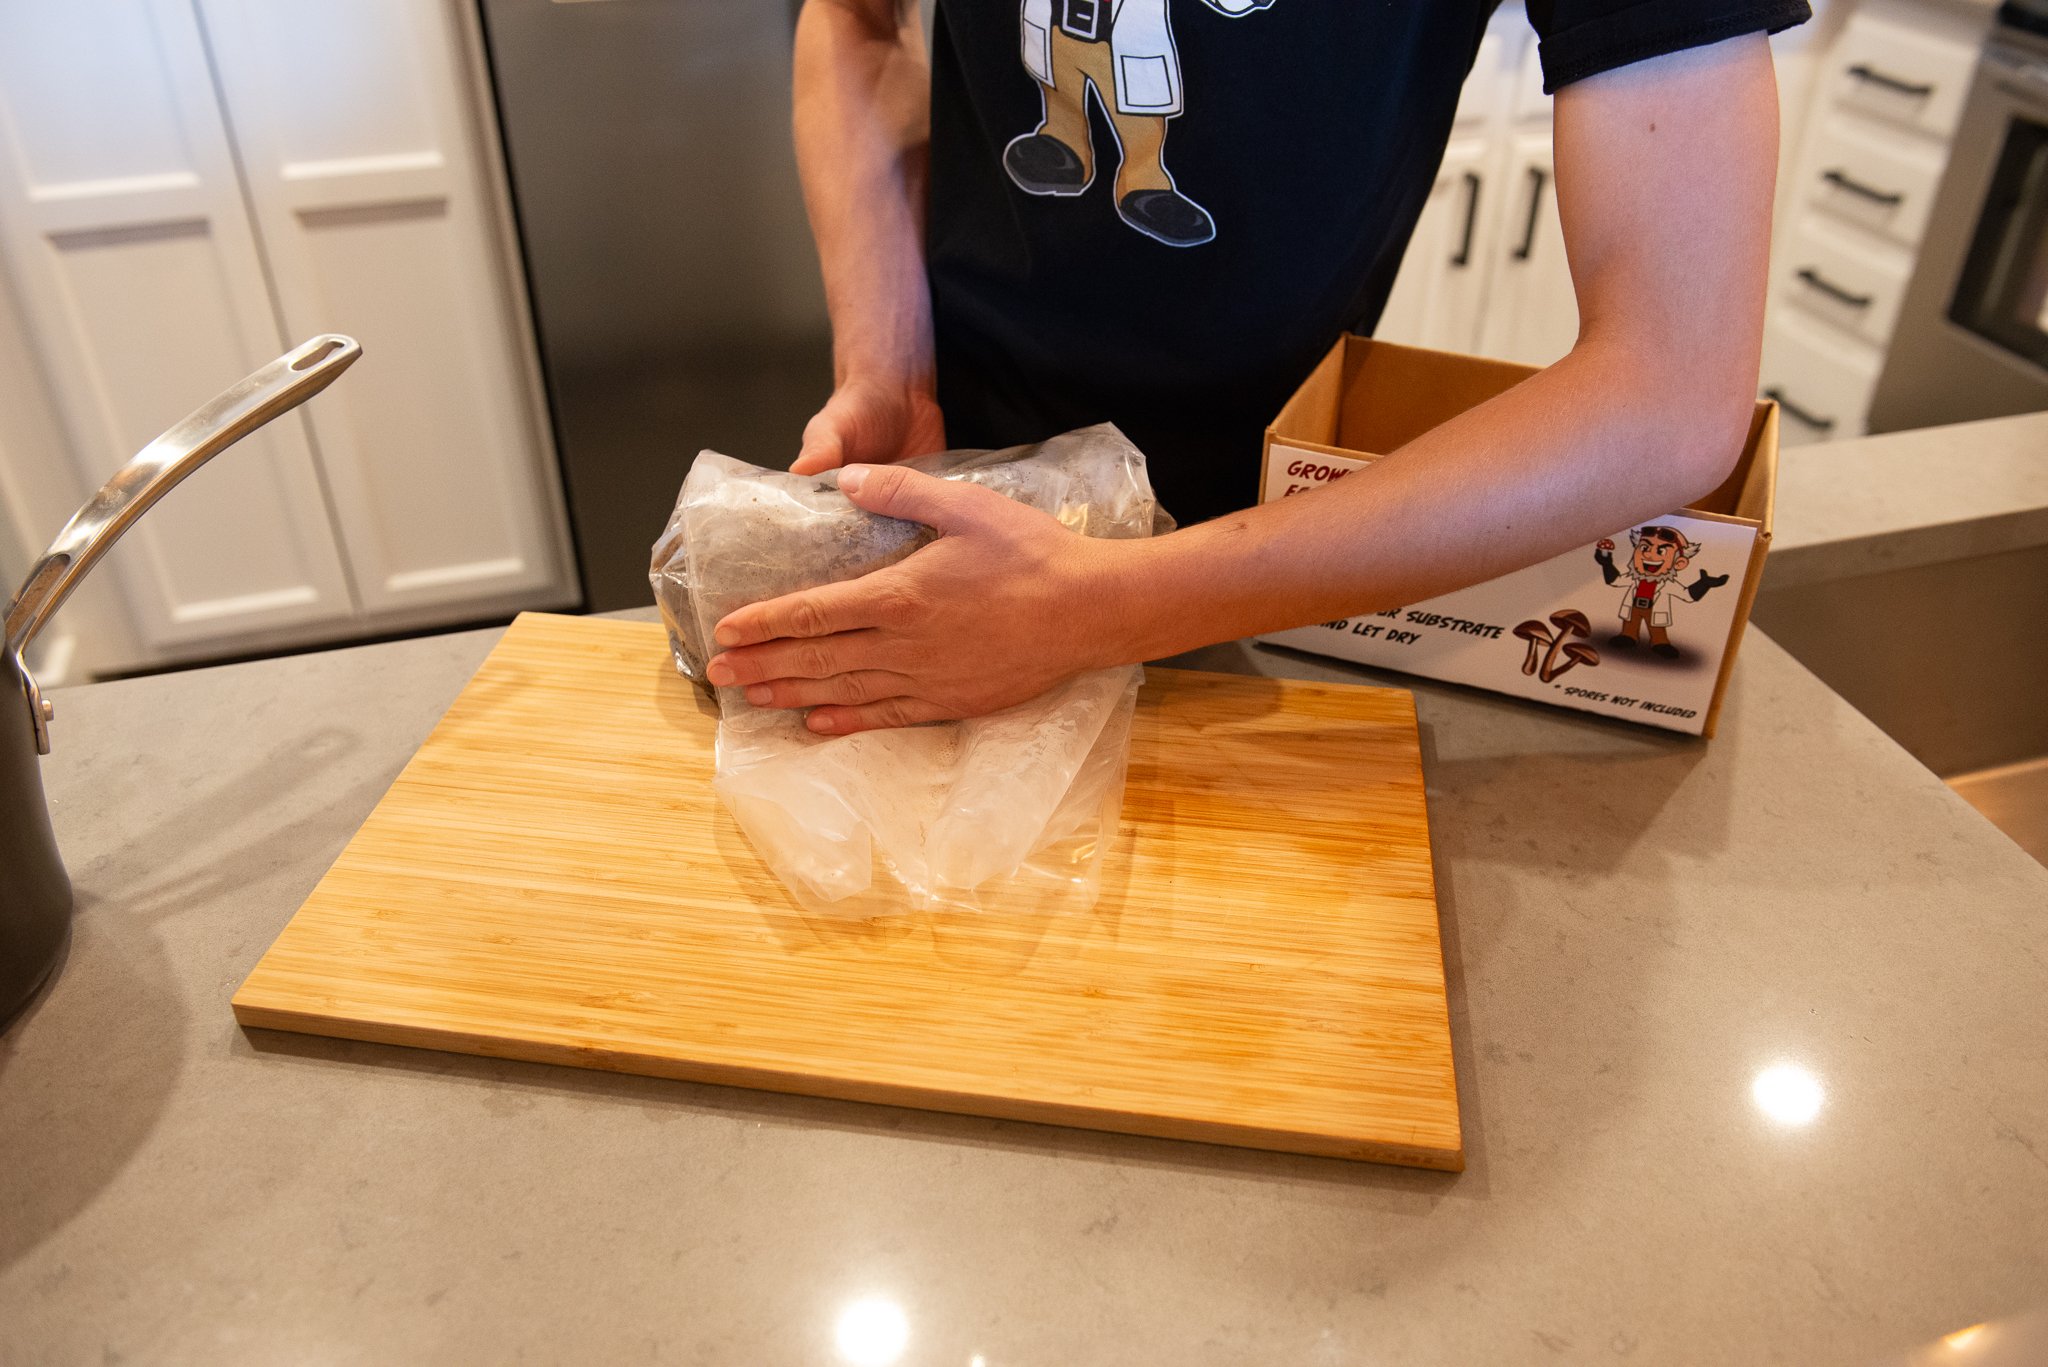
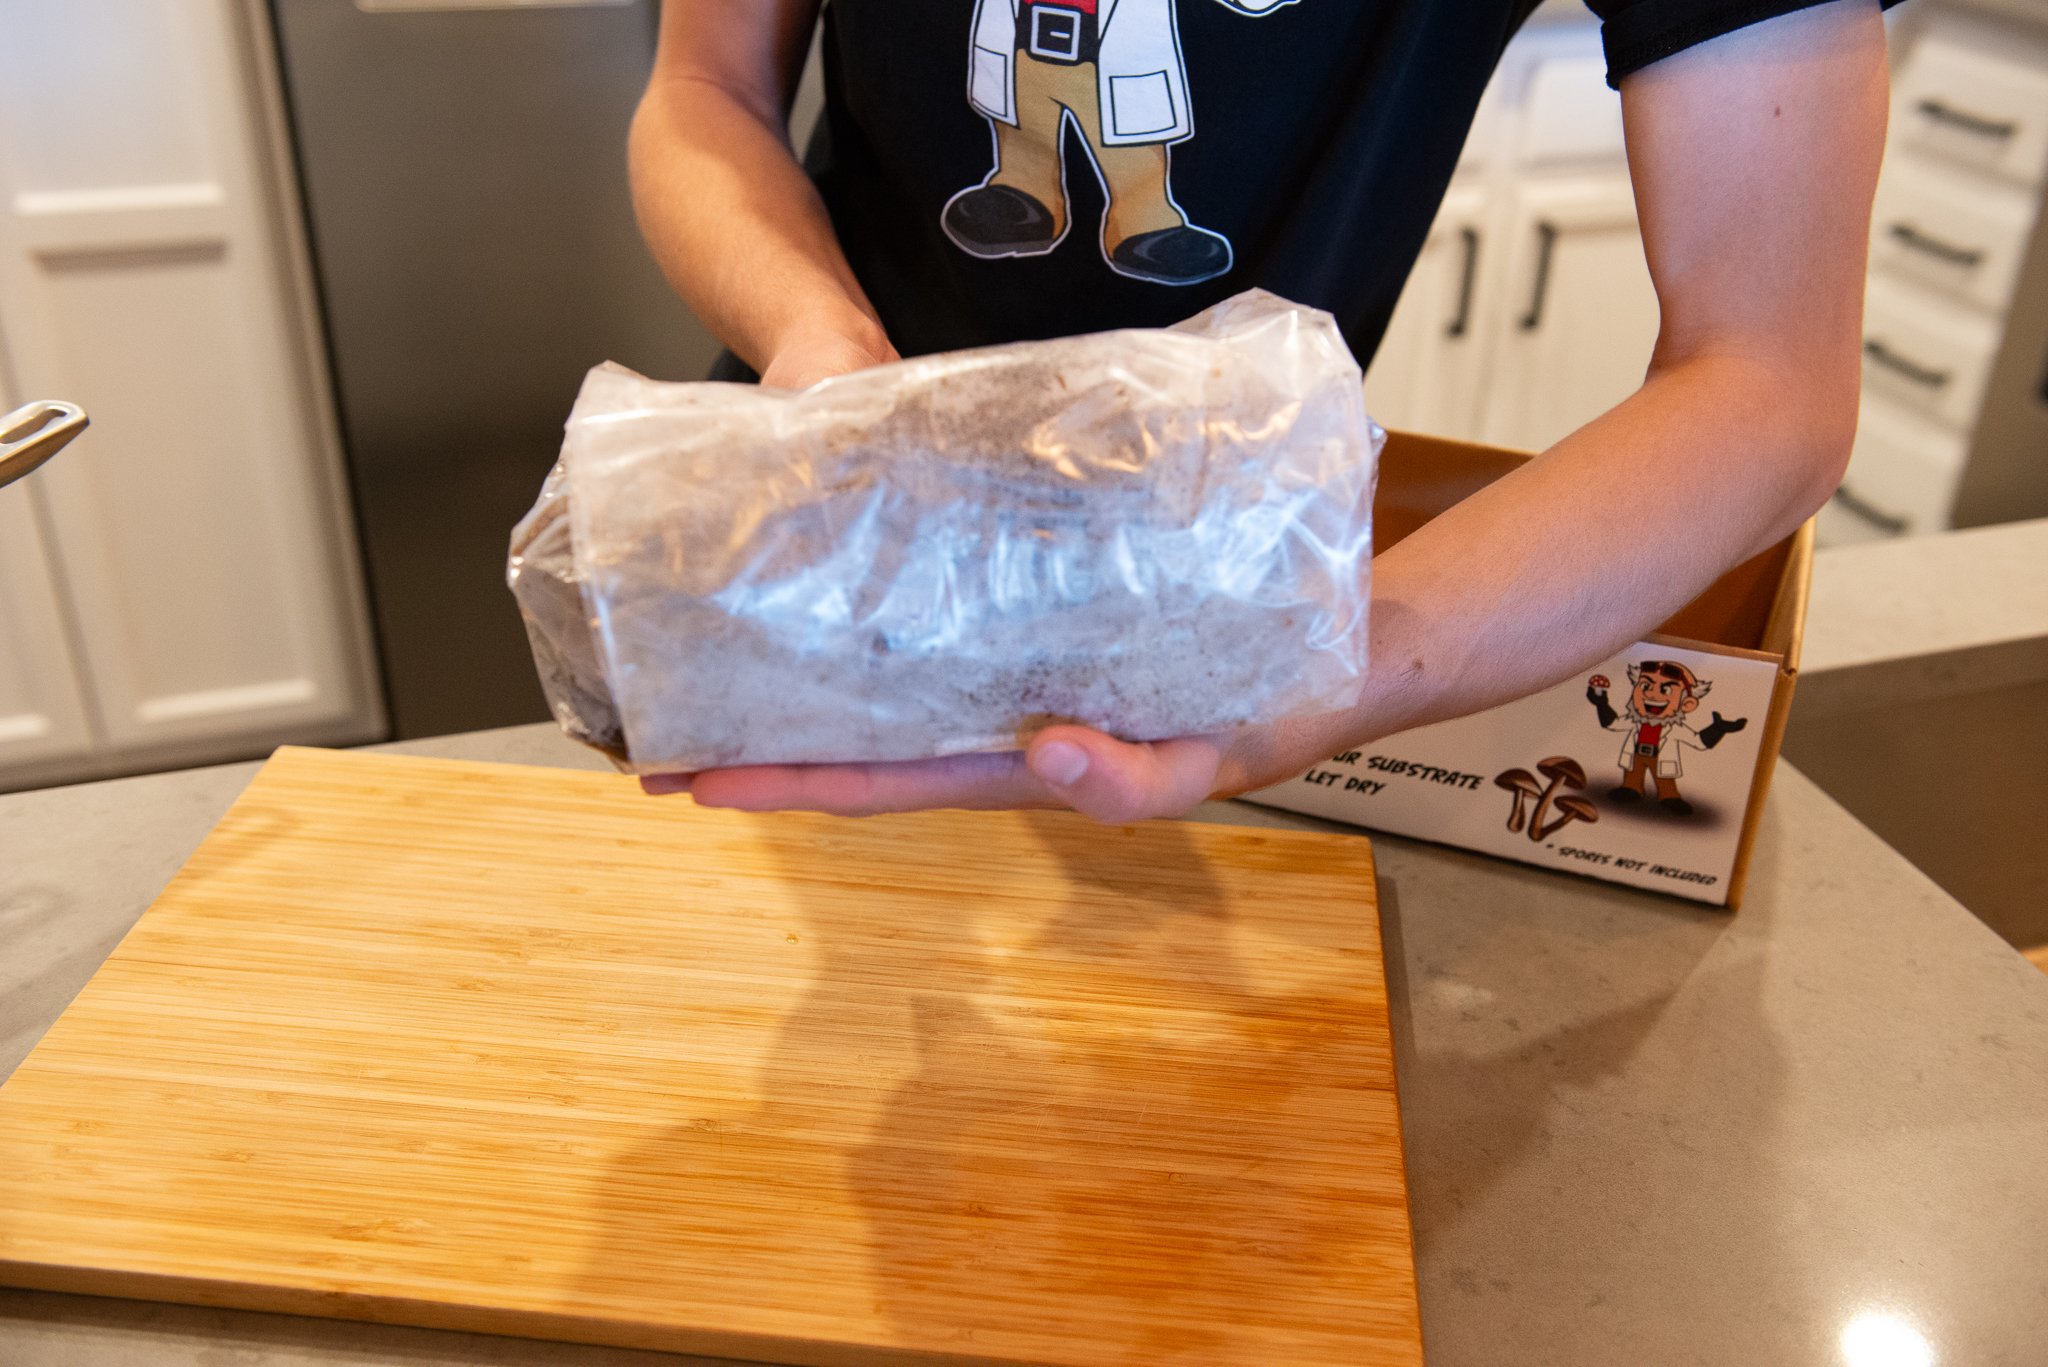
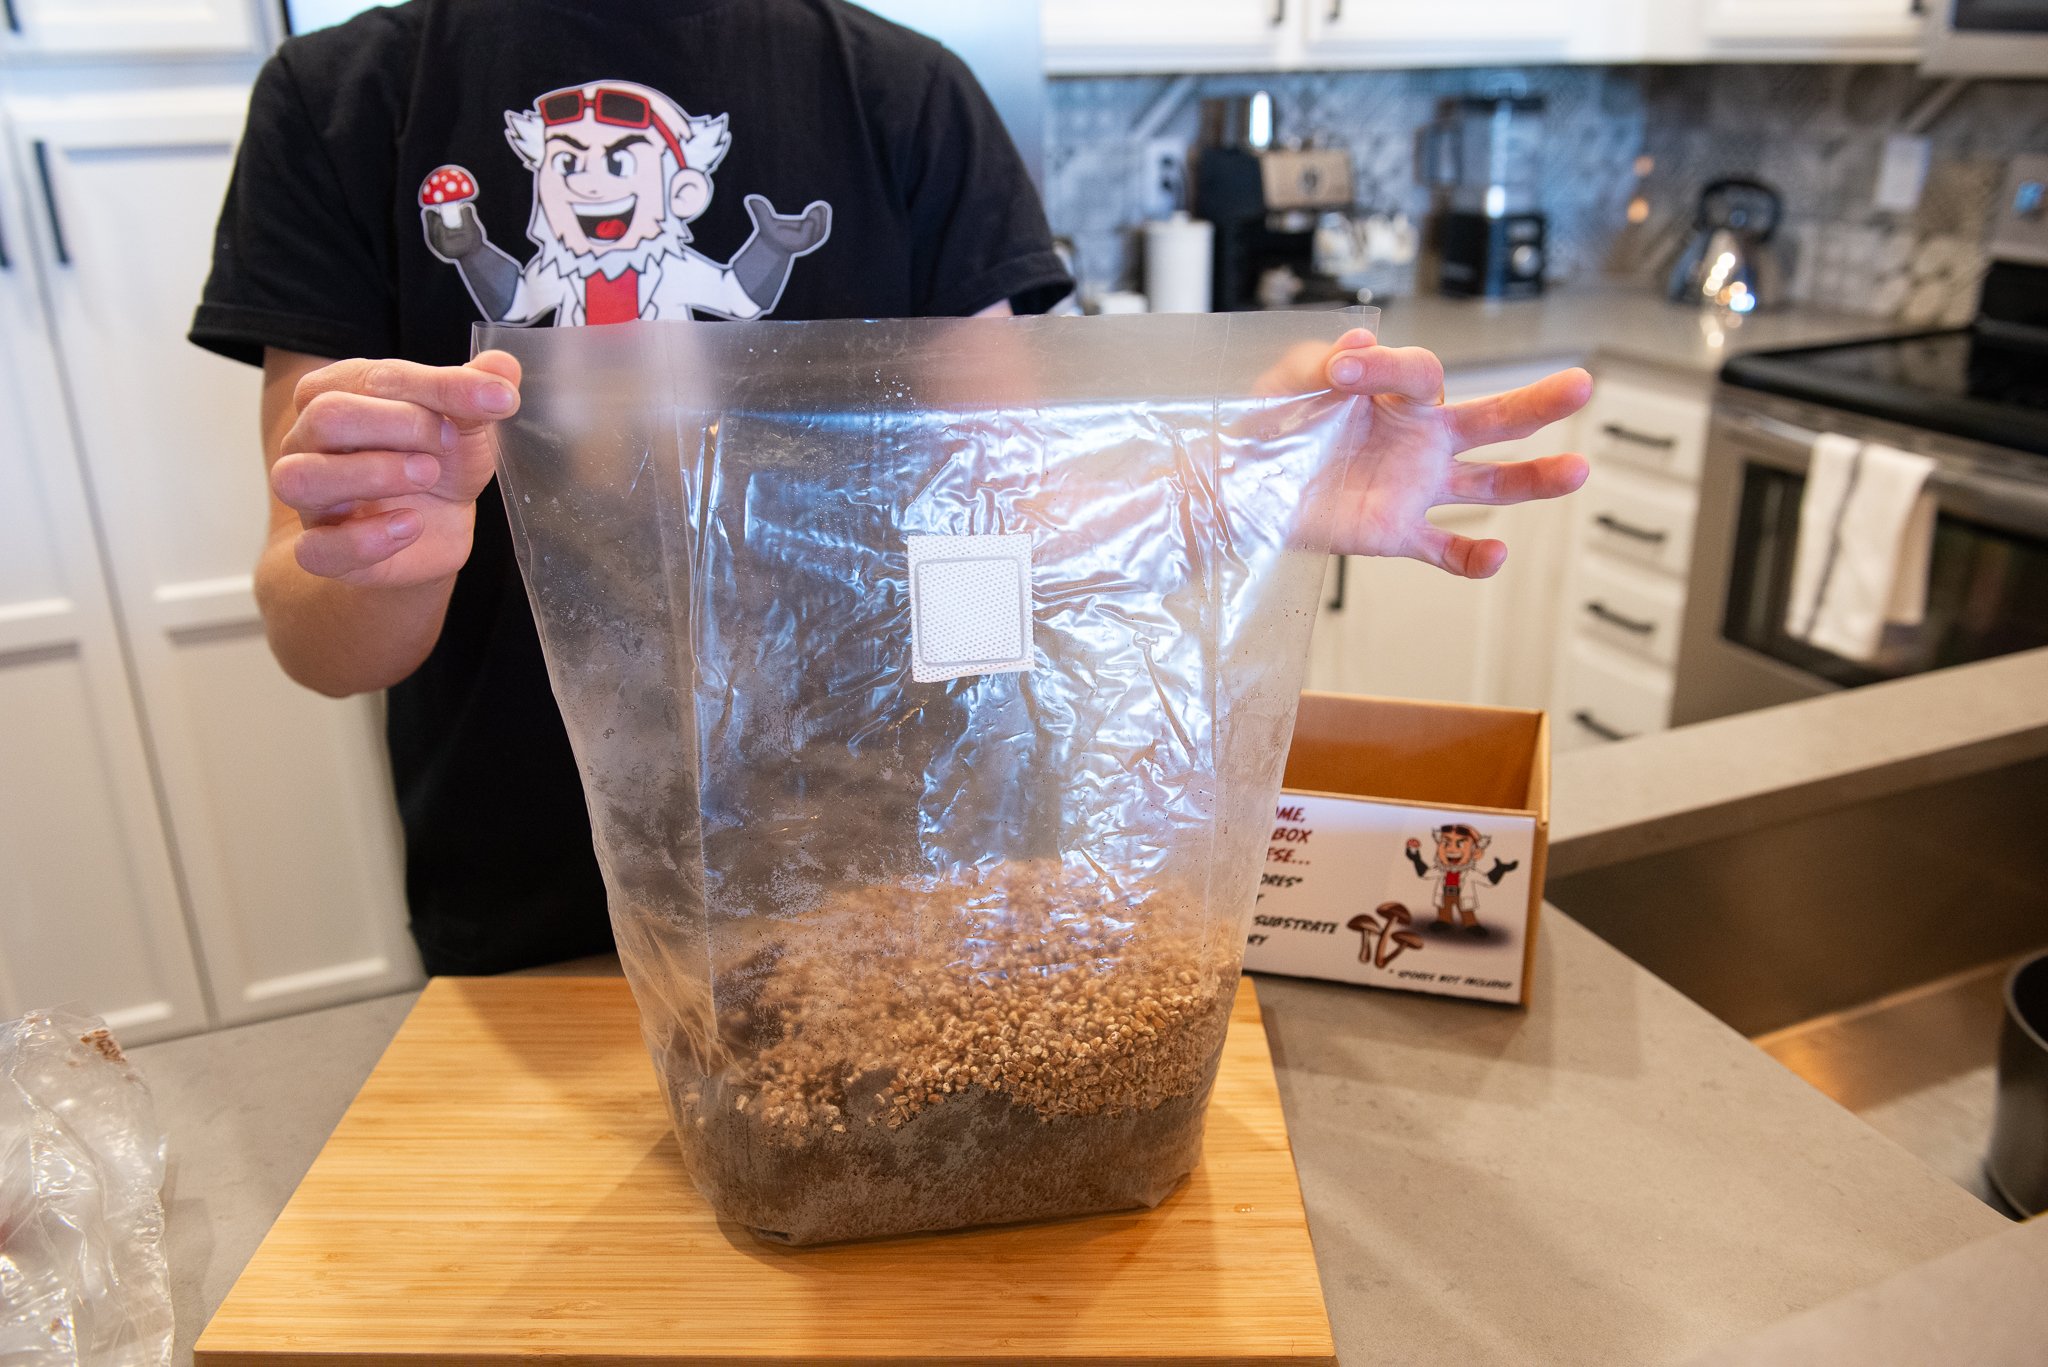
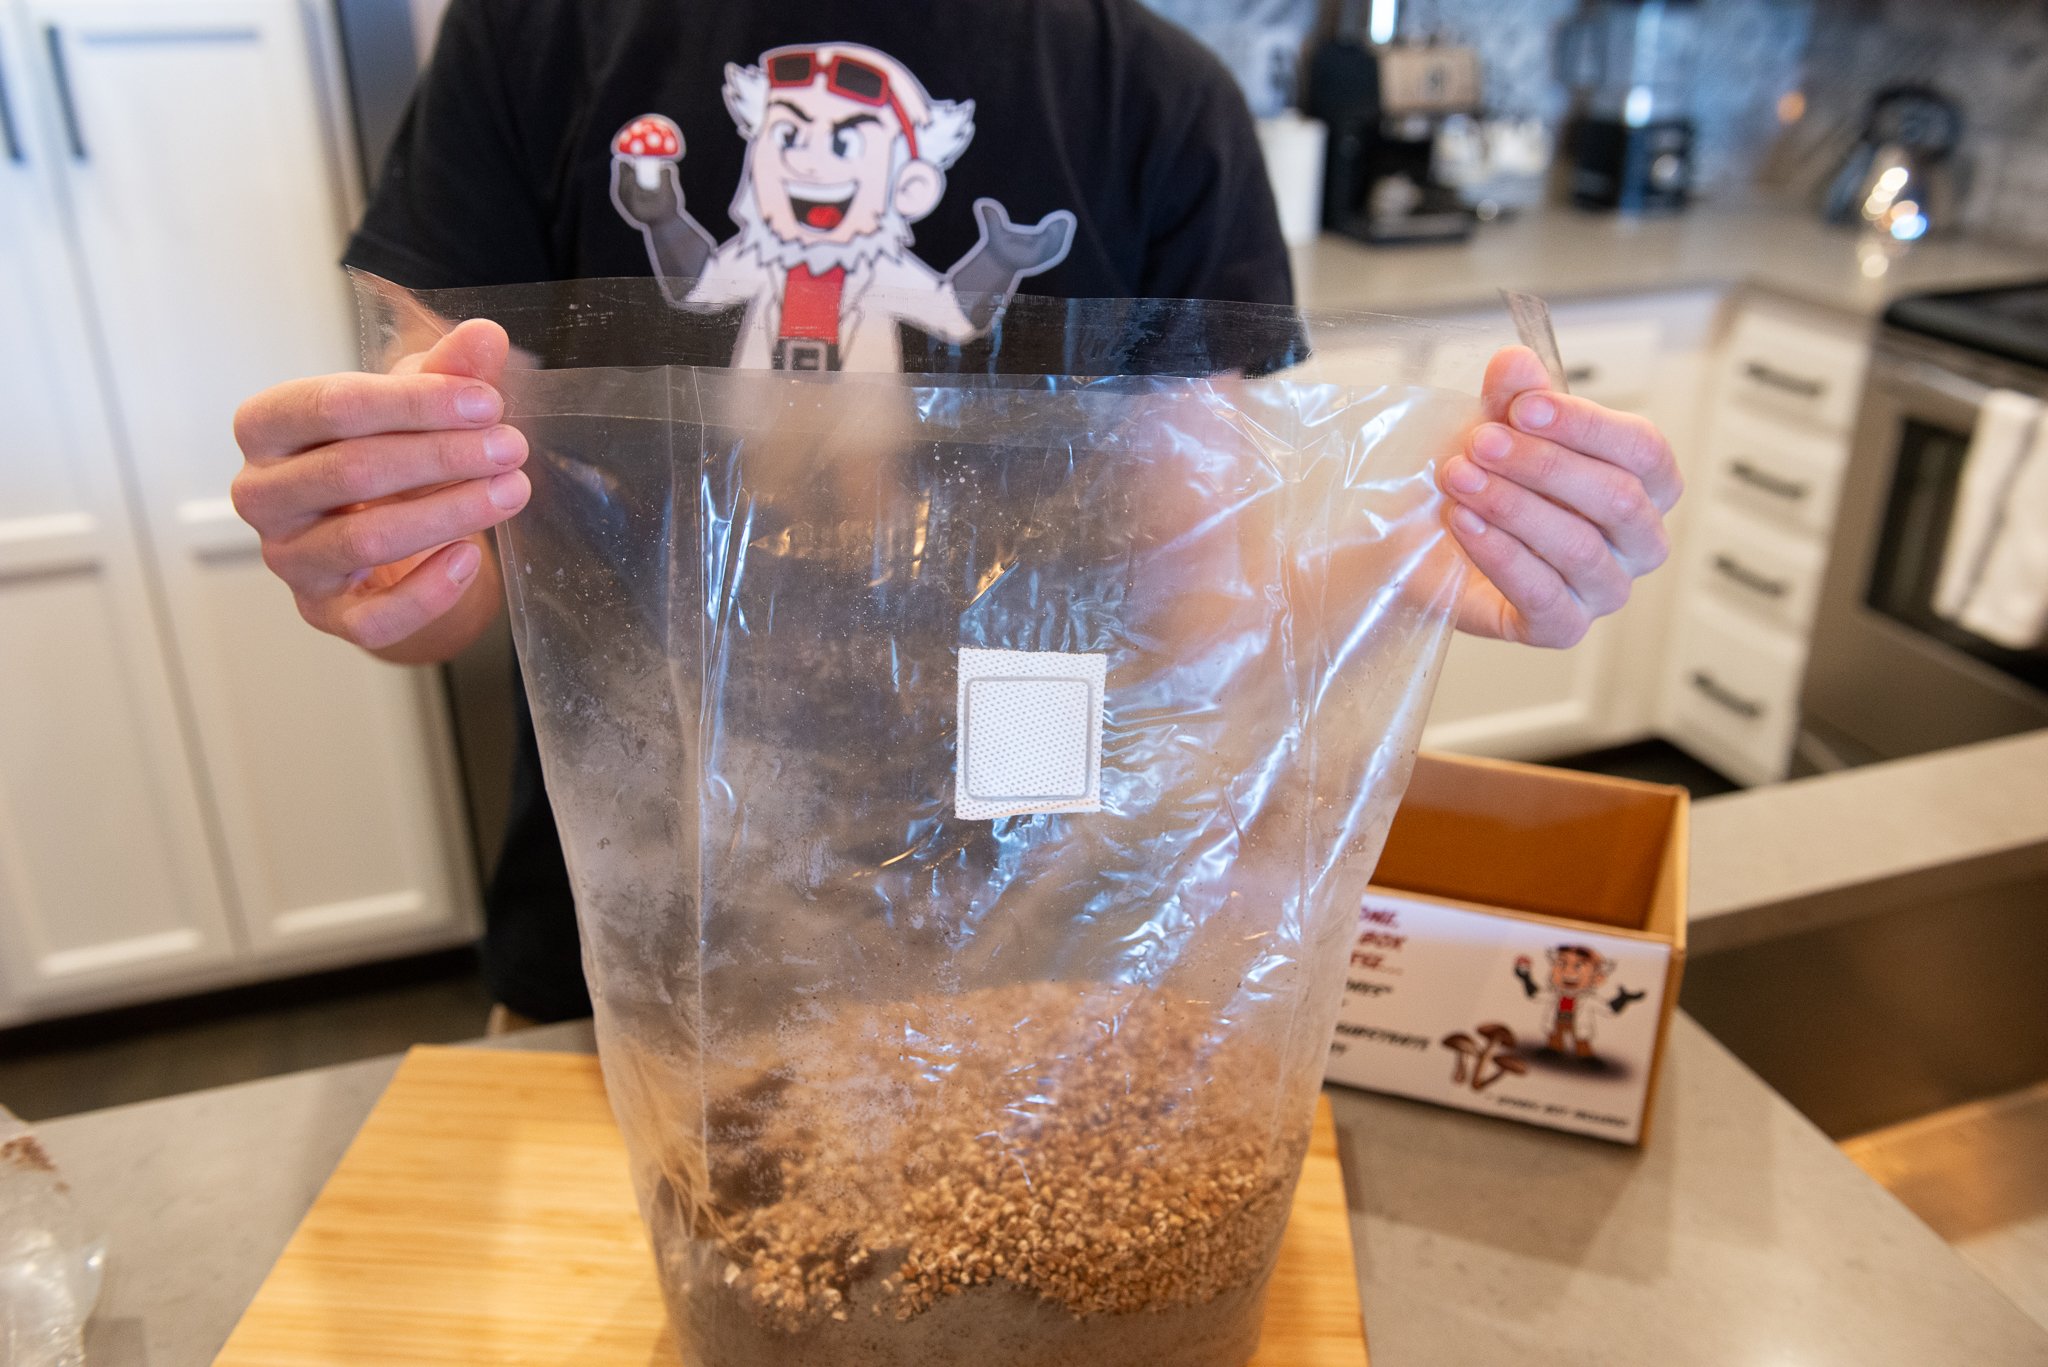
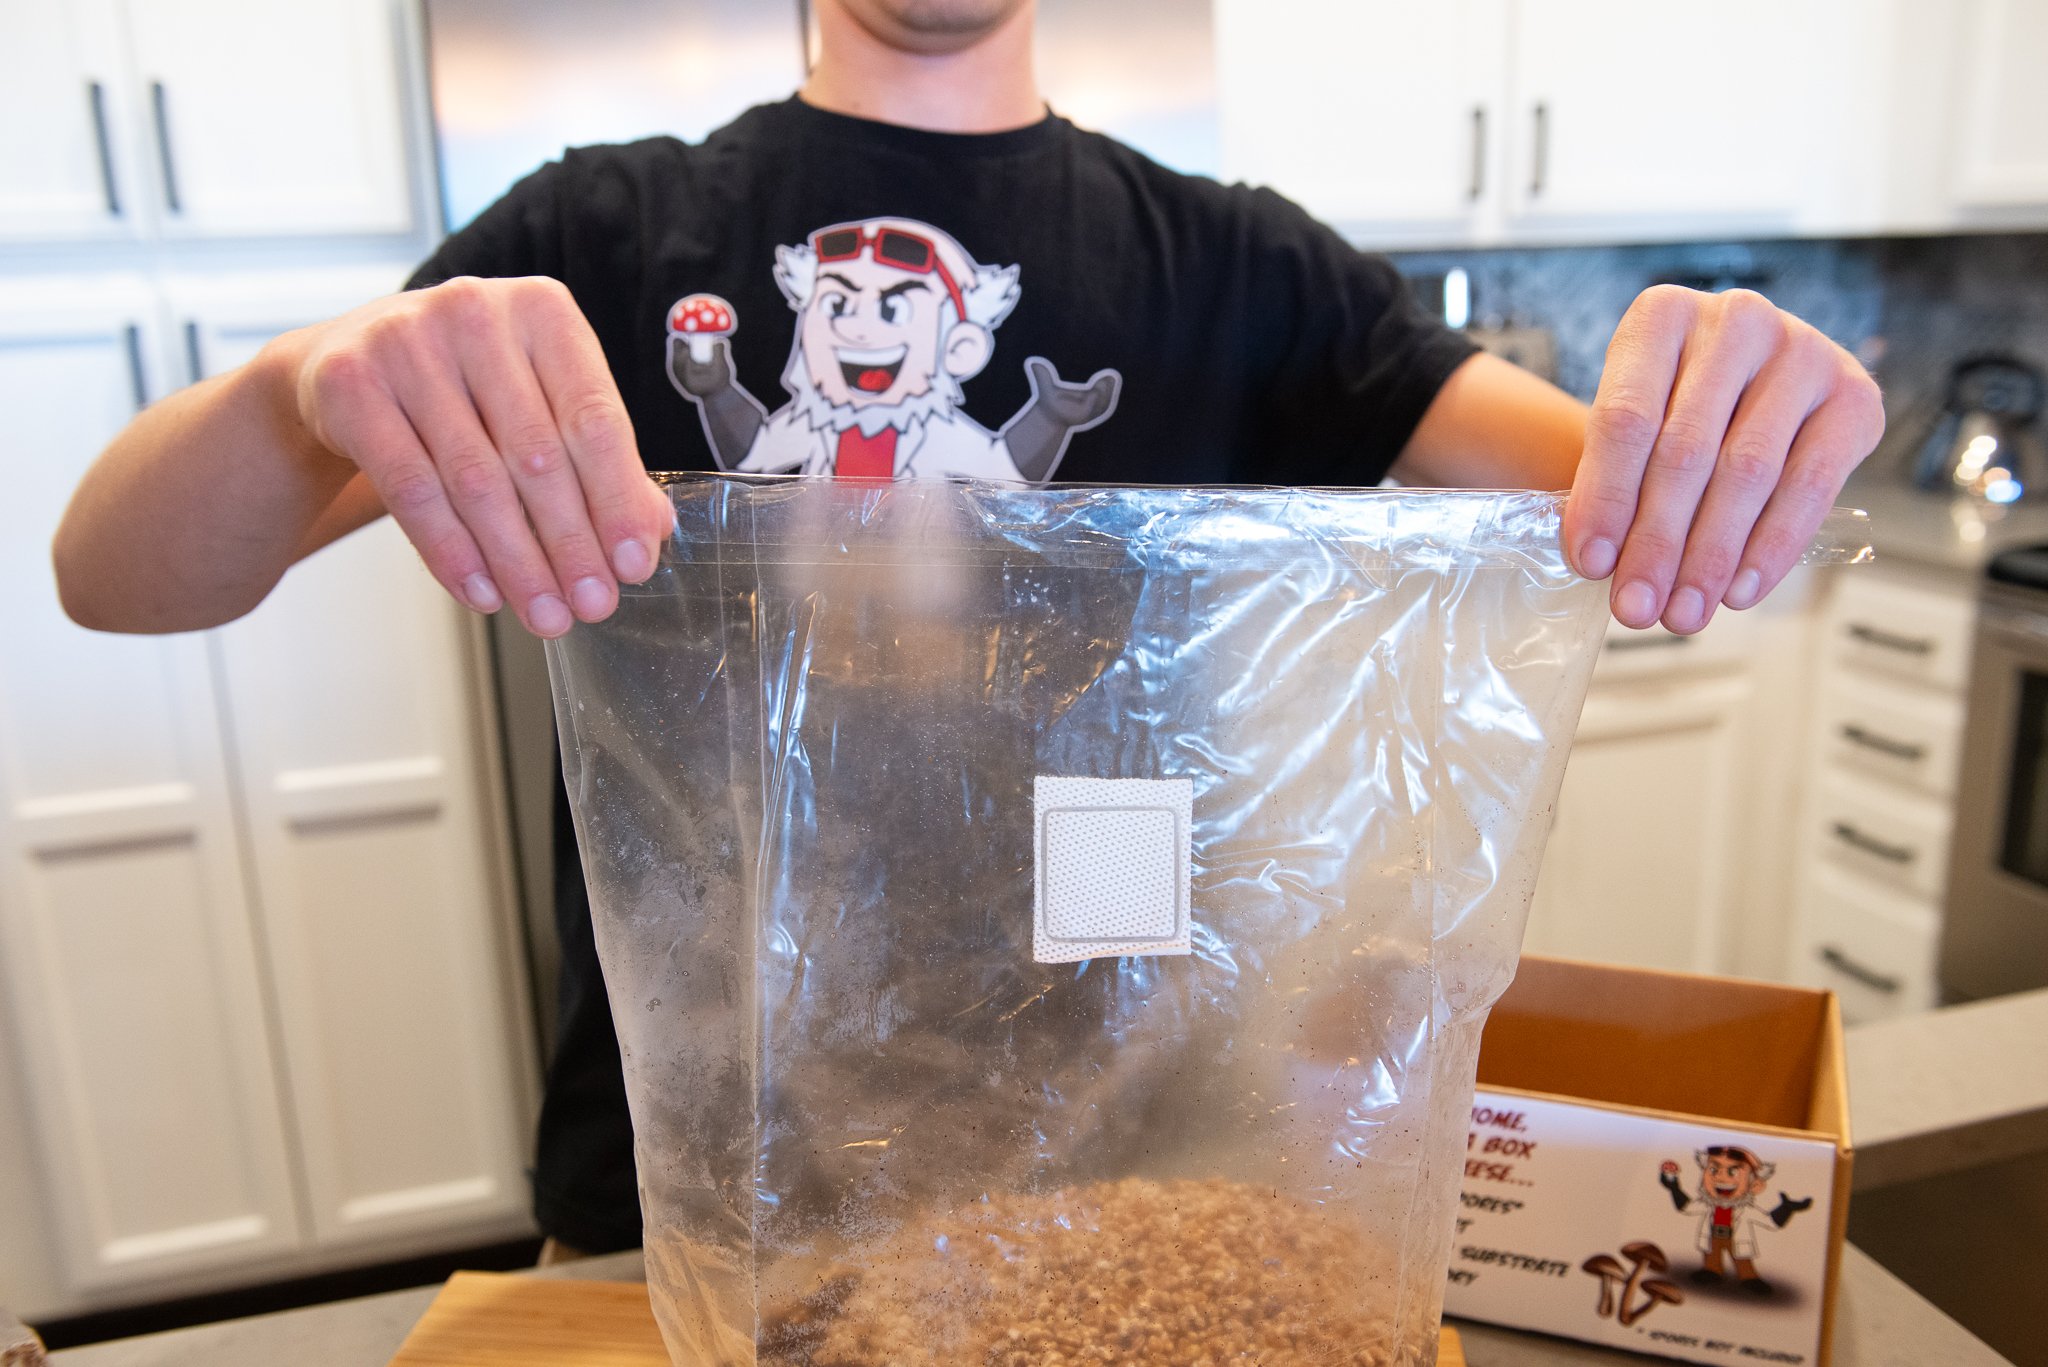
Without opening the bag, allow for air within the bag to reach the inside portion of the filter patch. To do this, gently unfold the top empty portion of the grain bag. Open a pathway of air from the filter patch to the grain below by working the bag in the same motion as you would open microwavable popcorn. (See pictures).
Either save needle and slurry for another time*, or inoculate any other substrates you might have. If you've purchased The Trifecta, or have more than one grain bag, we recommend inoculating all of the grain bags at once. Completely colonized grain will last much longer than uncolonized grain. You can then store the colonized grain bag(s) that you aren’t using right away - just deflate the air out of the bag, seal it with tape, and pop it in your fridge.
Colonizing Grain Bag
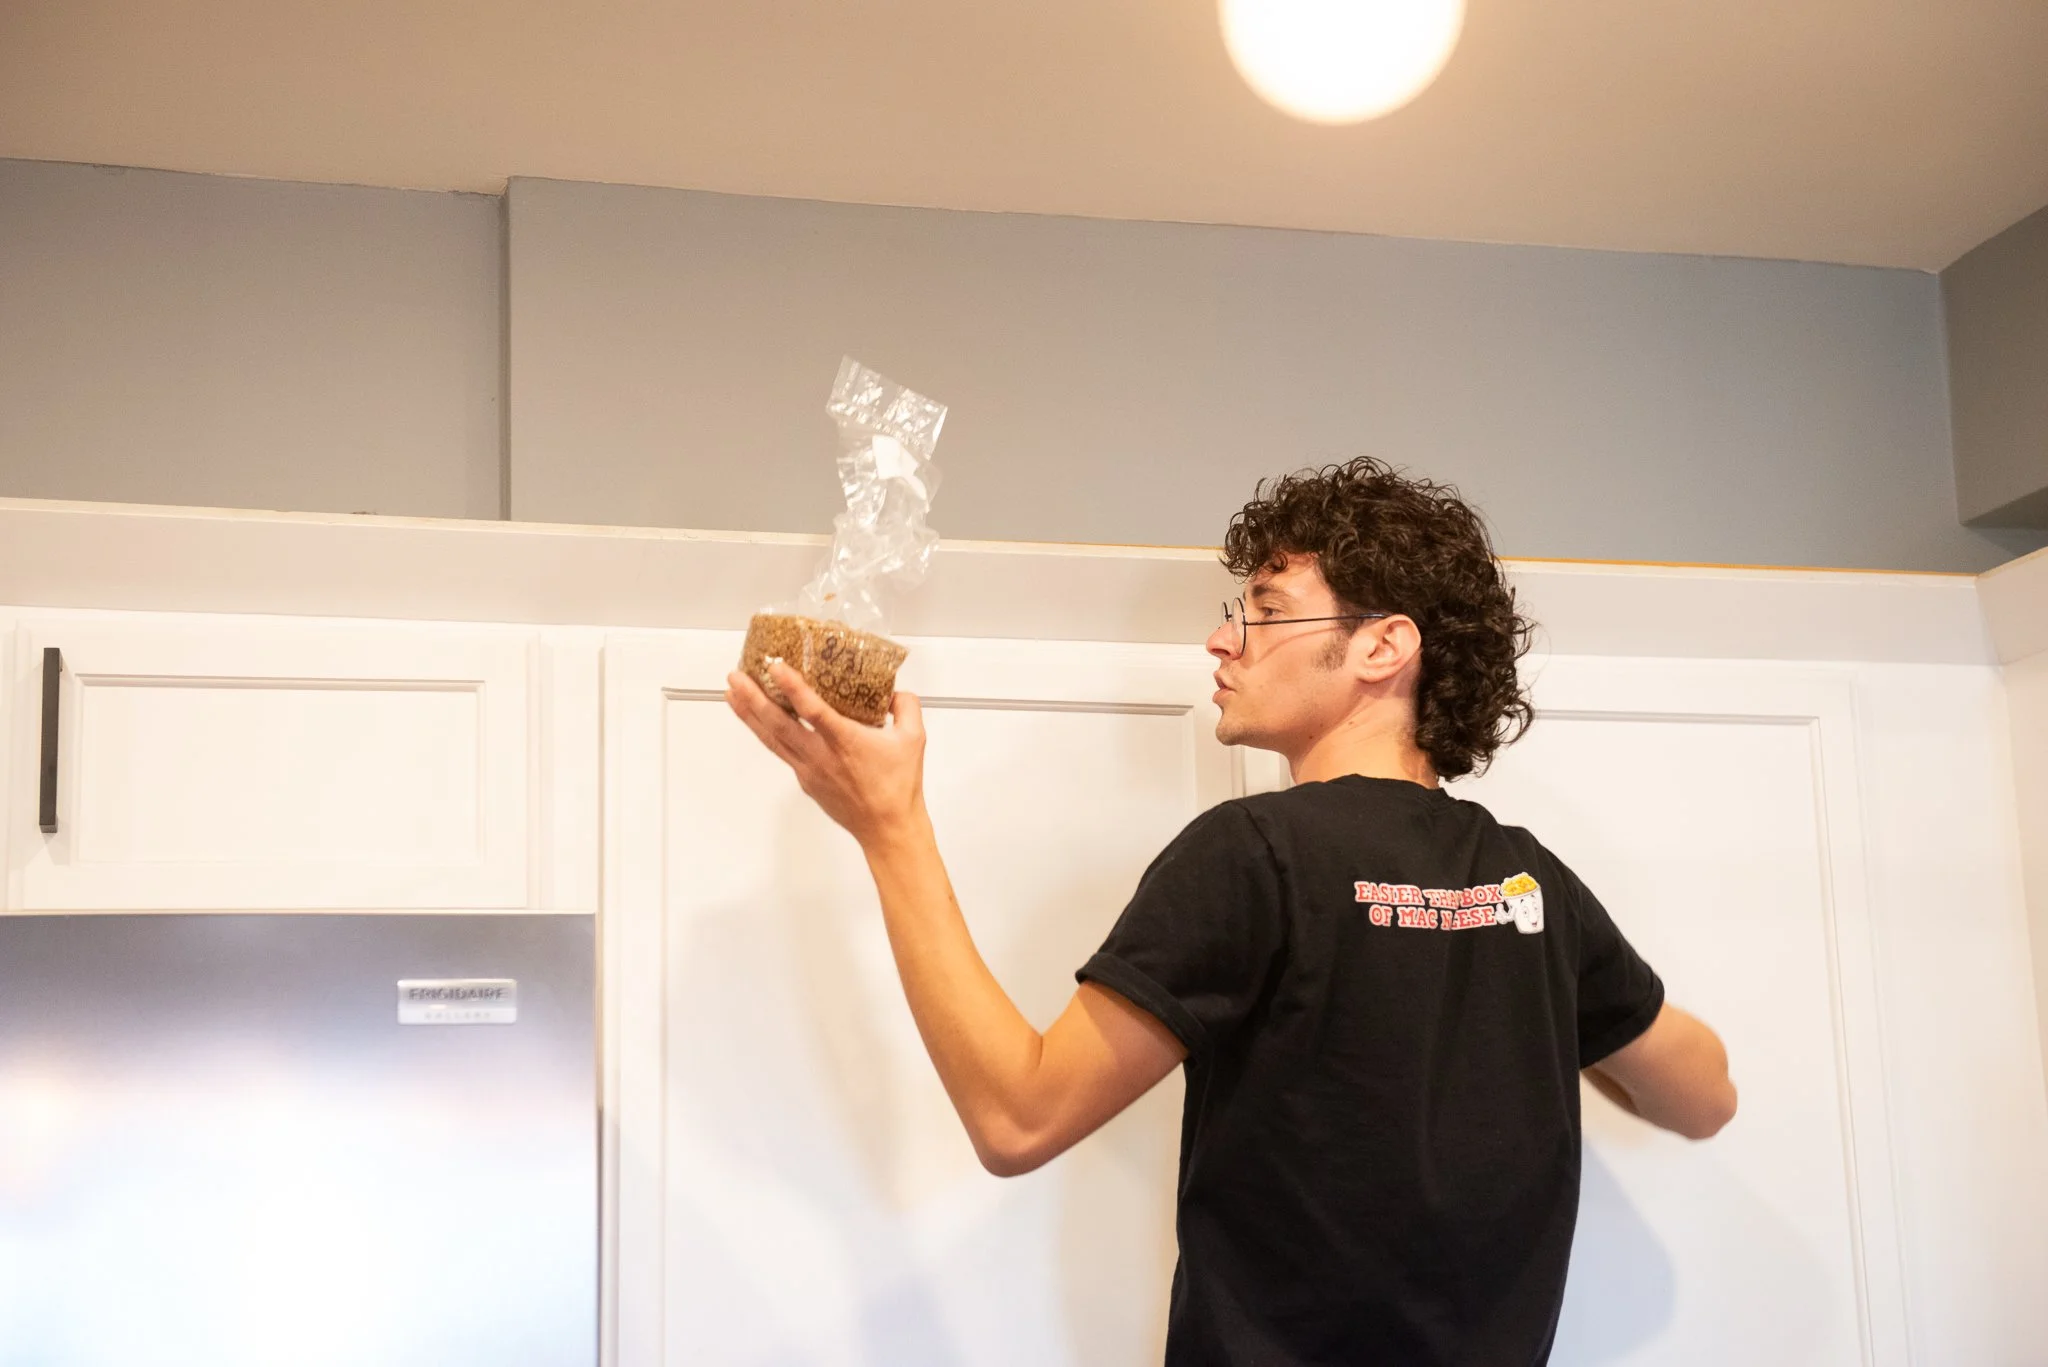
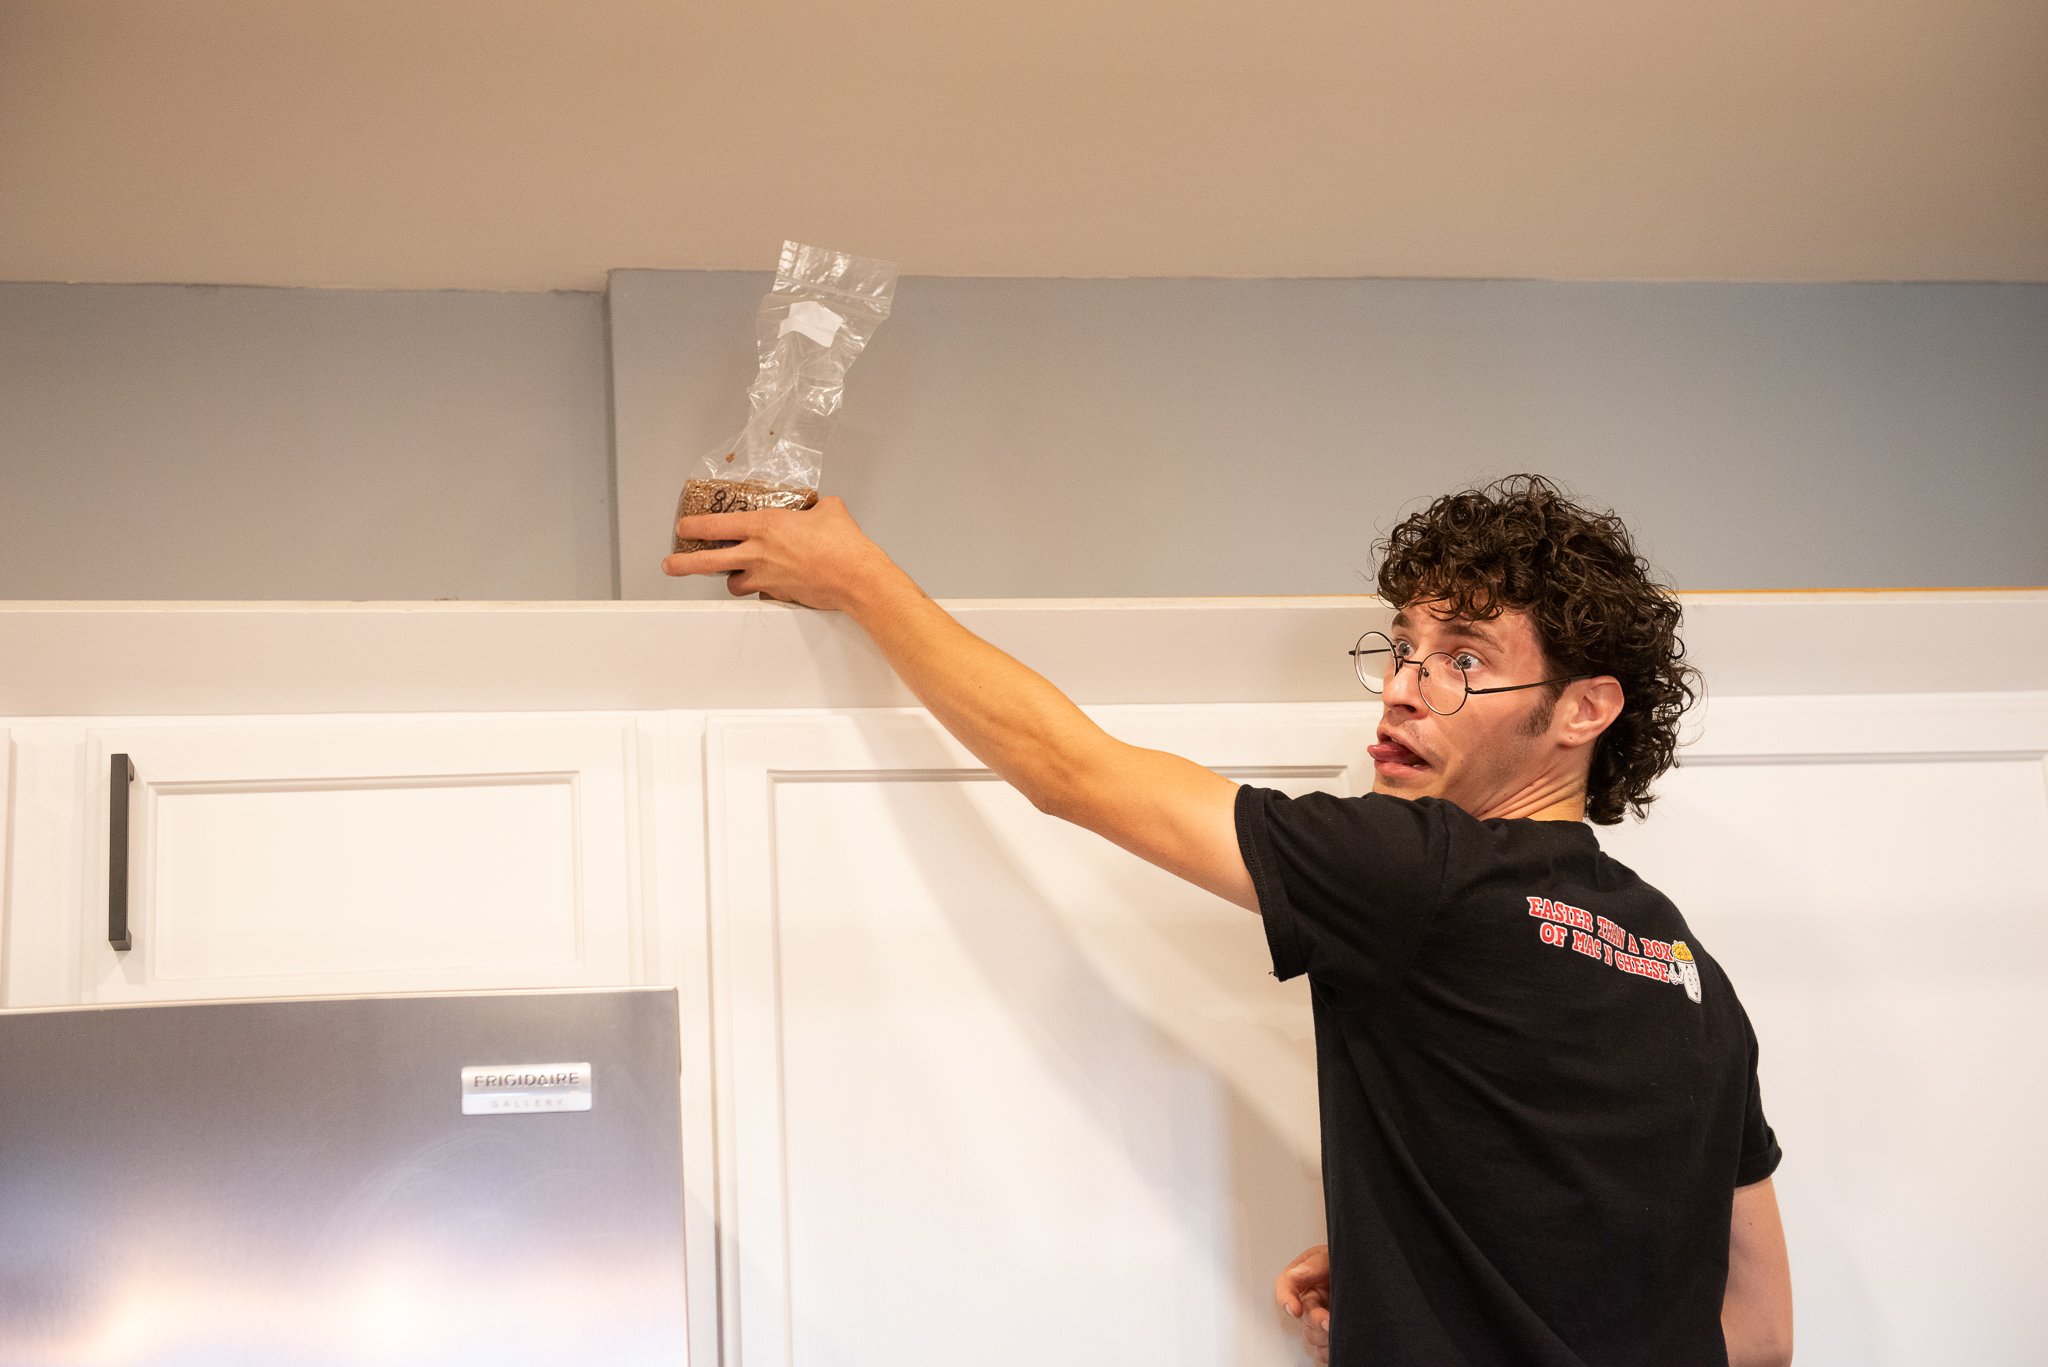
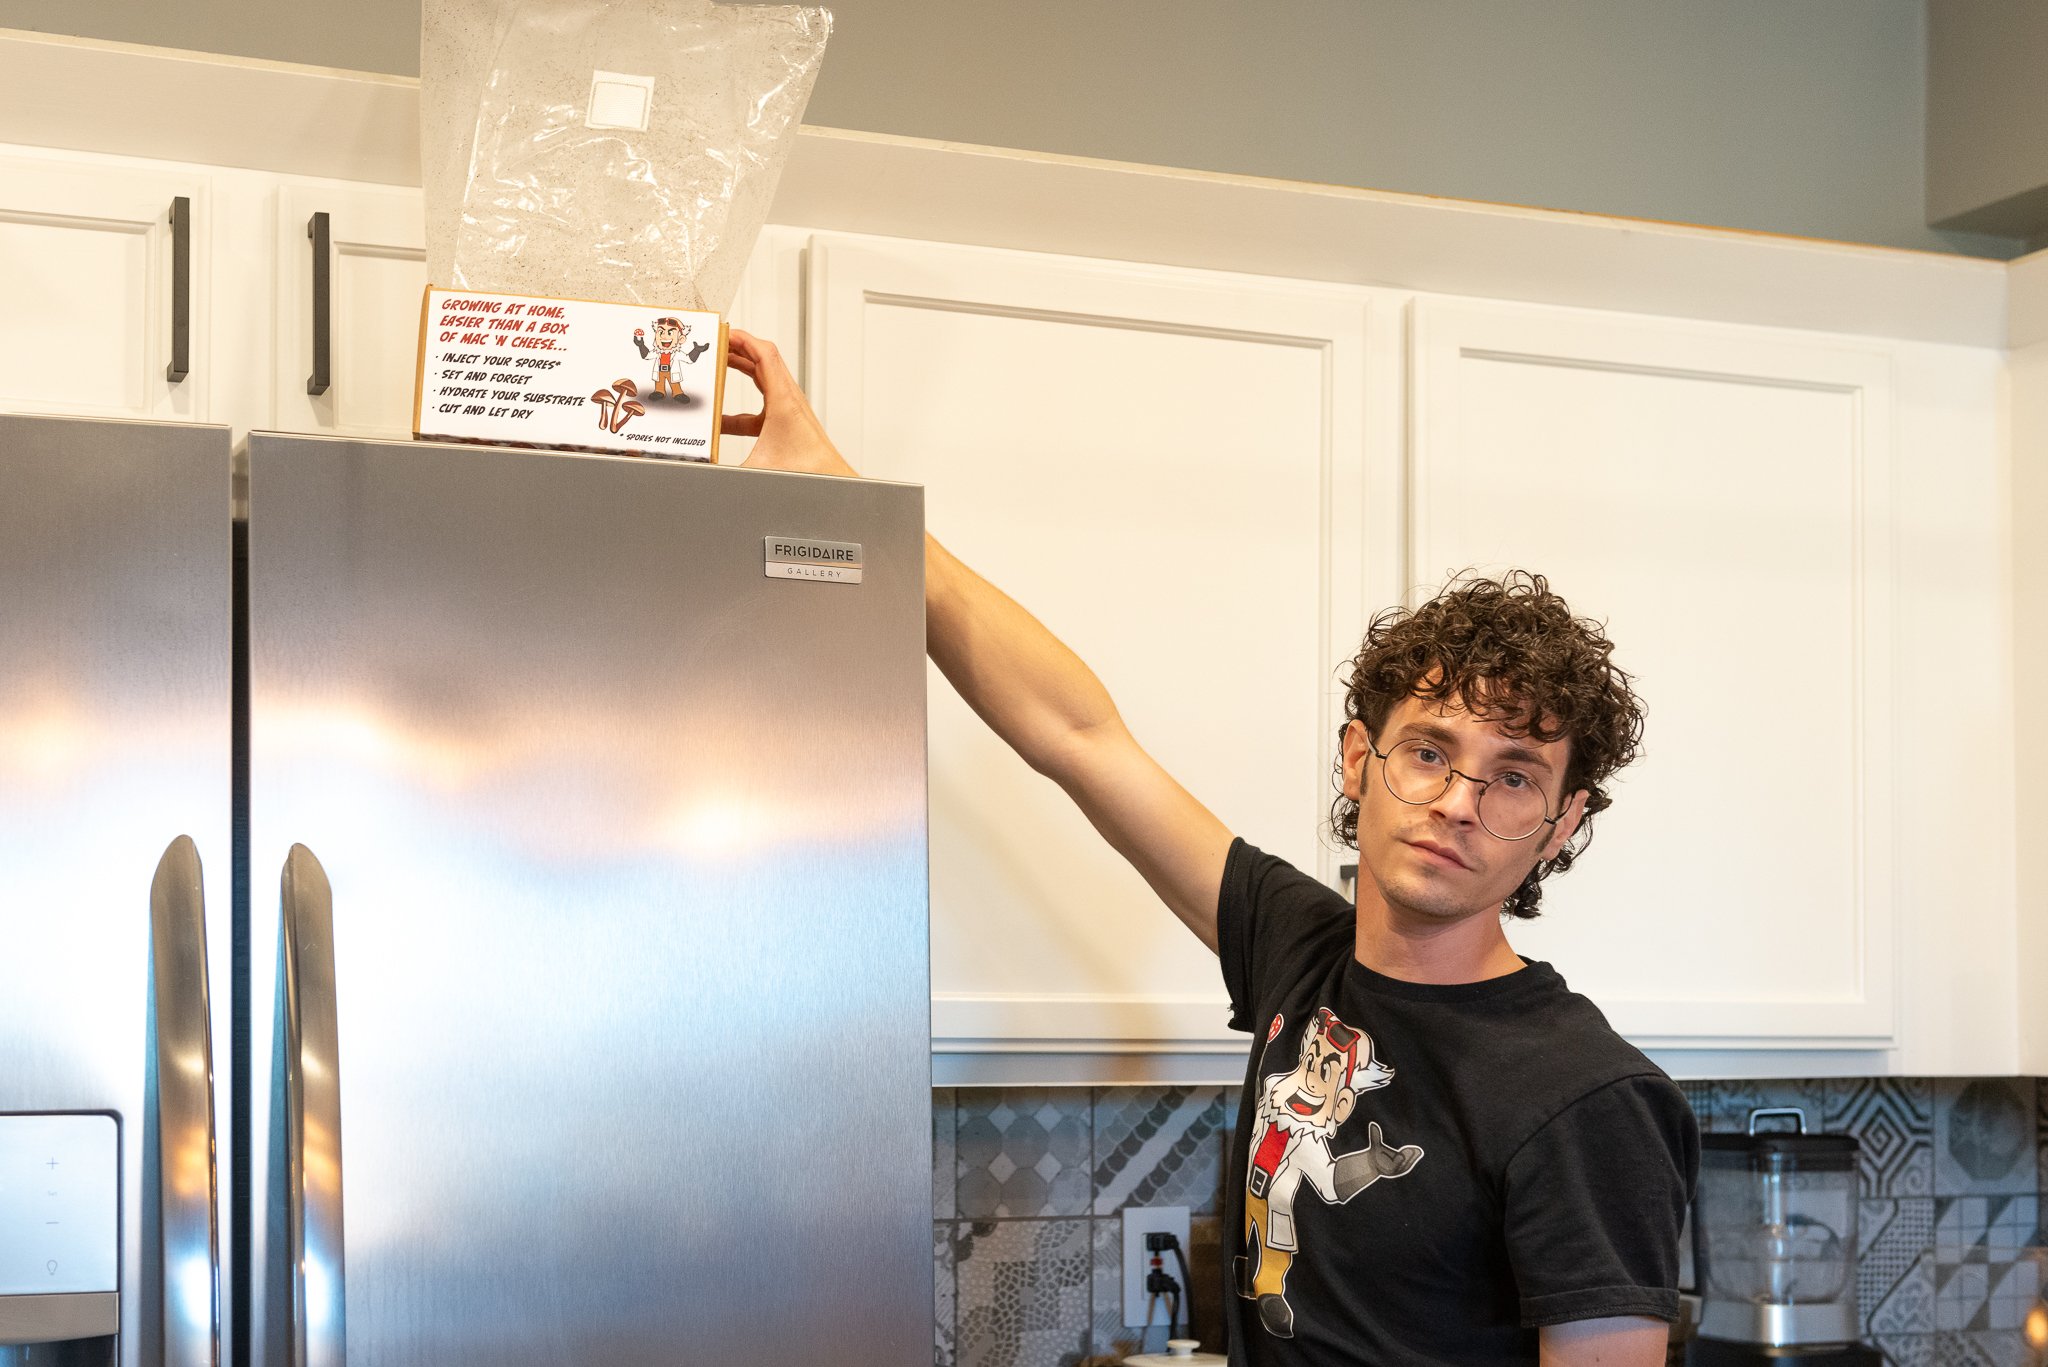
Upon inoculating the sterilized grain bag, be sure to place the bag in an area that will remain as close as possible to 75℉. Be wary of temperatures over 78℉ and under 68℉. Do your best to leave the bag completely undisturbed, the mycelium grows faster if you don't watch it! We recommend on top of your cabinets or refrigerator.
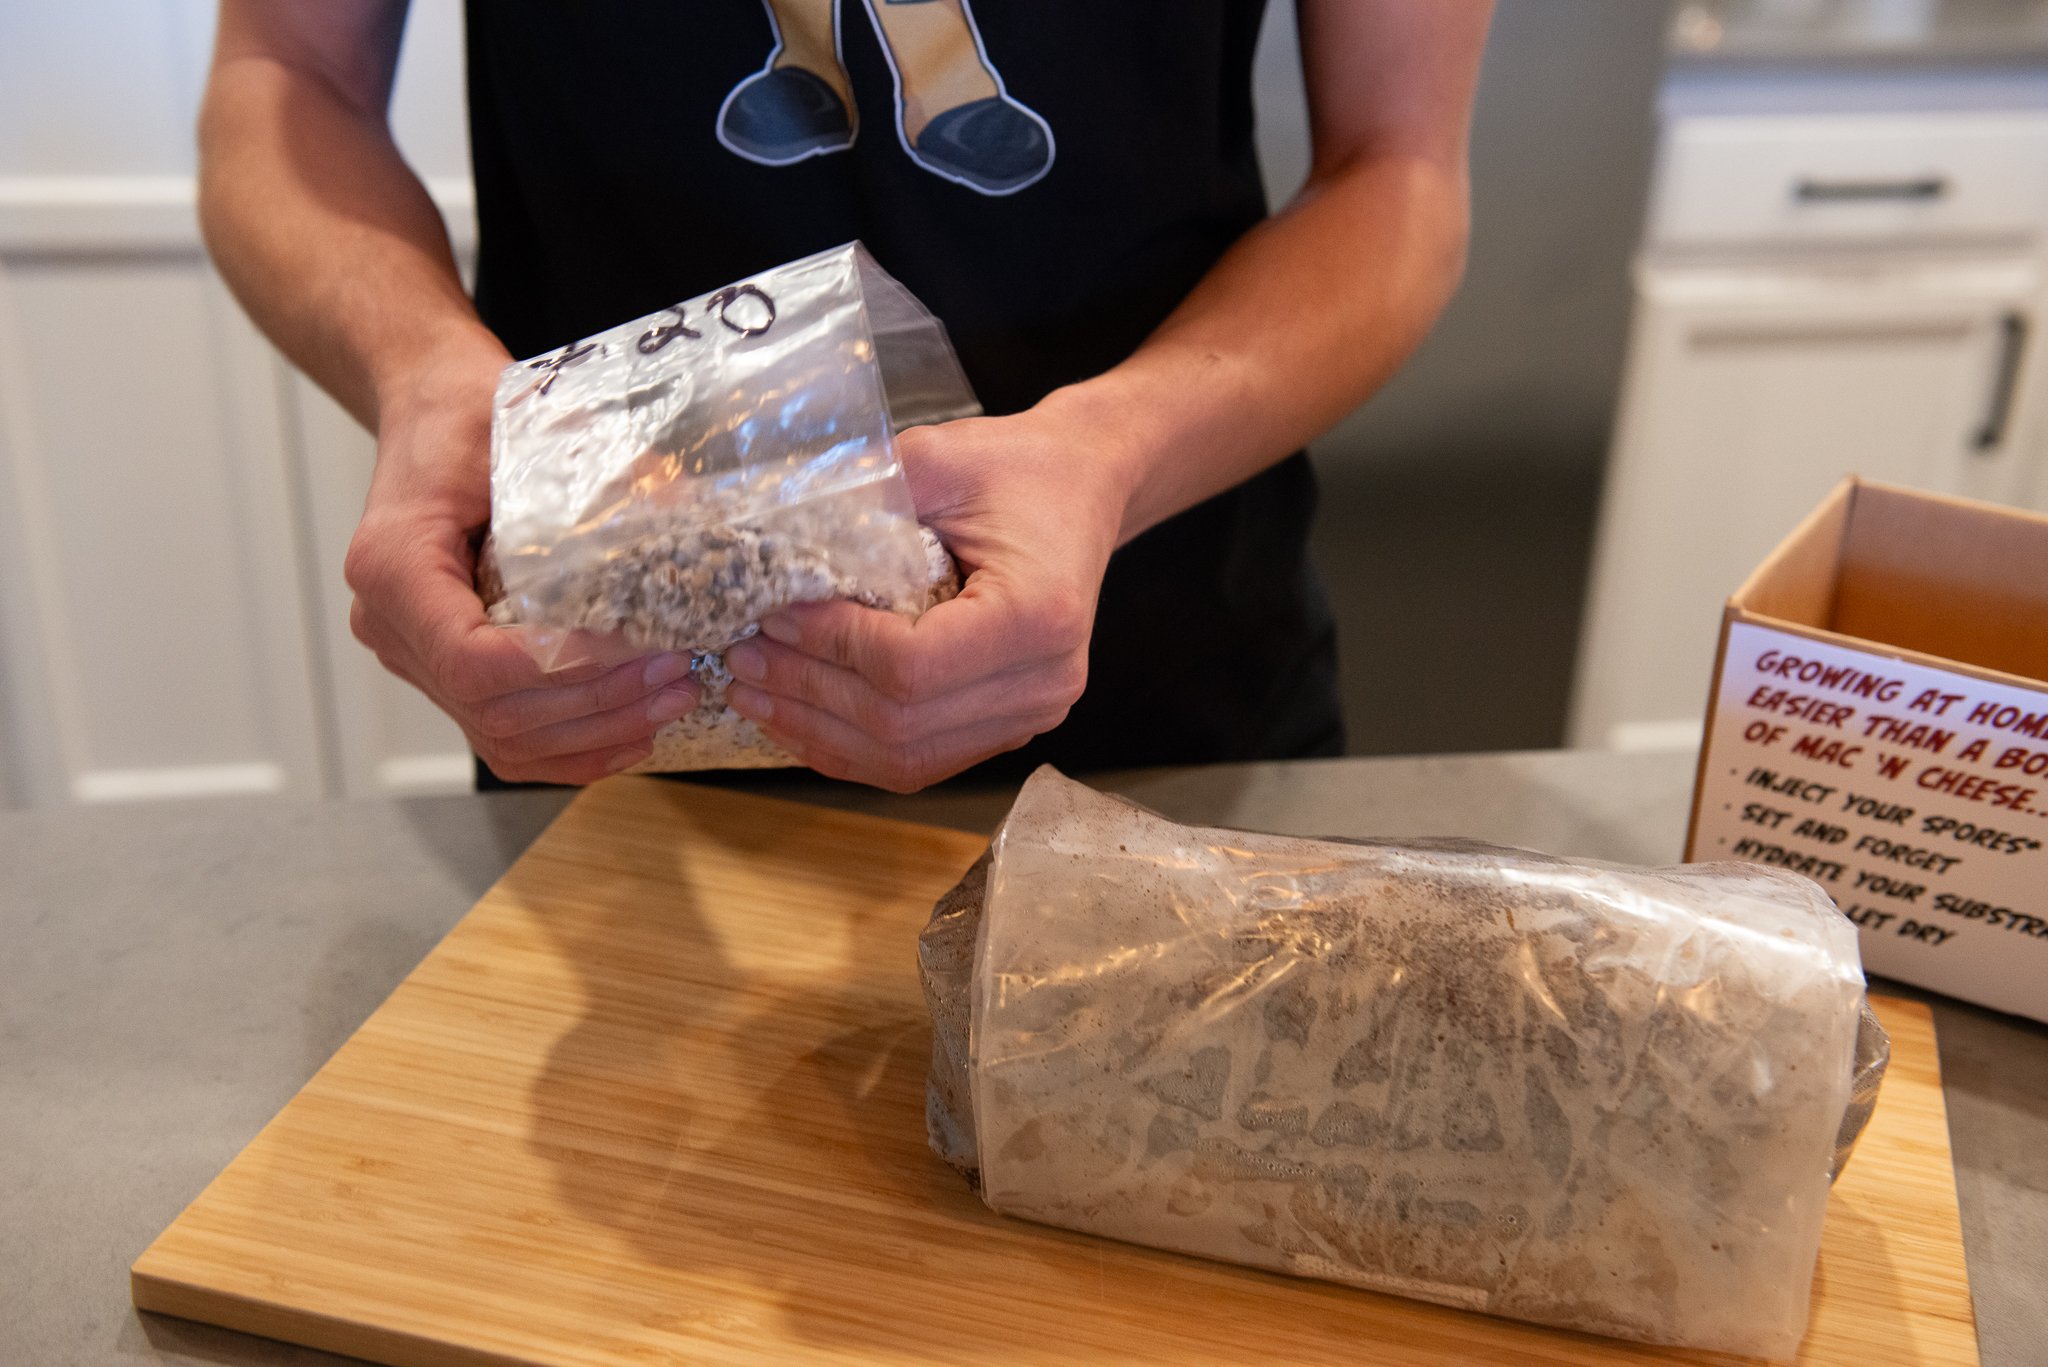
Do not open the bag! If you notice that the grain bag is about 20% colonized with white mycelium, we recommend mixing the grain within the bag. This generally takes 7-10 days after inoculating the grain. Gently break apart any clusters of mycelium covered grain and do your best to mix the contents without opening the grain bag. Doing this will dramatically increase the speed of colonization for the remaining 80% of uncolonized grain. Full colonization can take around 3-4 weeks, longer if kept in a sub optimal temperature range. If foreign contaminations in the form of mold or bacteria start to grow, the grain bag should be considered void. Molds will often be green or black and sometimes yellow. When bacterial growth is present, your grain bag will be over-inflated and the grains will become darker and begin to look milky and wet, typically near the bottom of the bag.
Hydrating Masters Mix for BoomBox
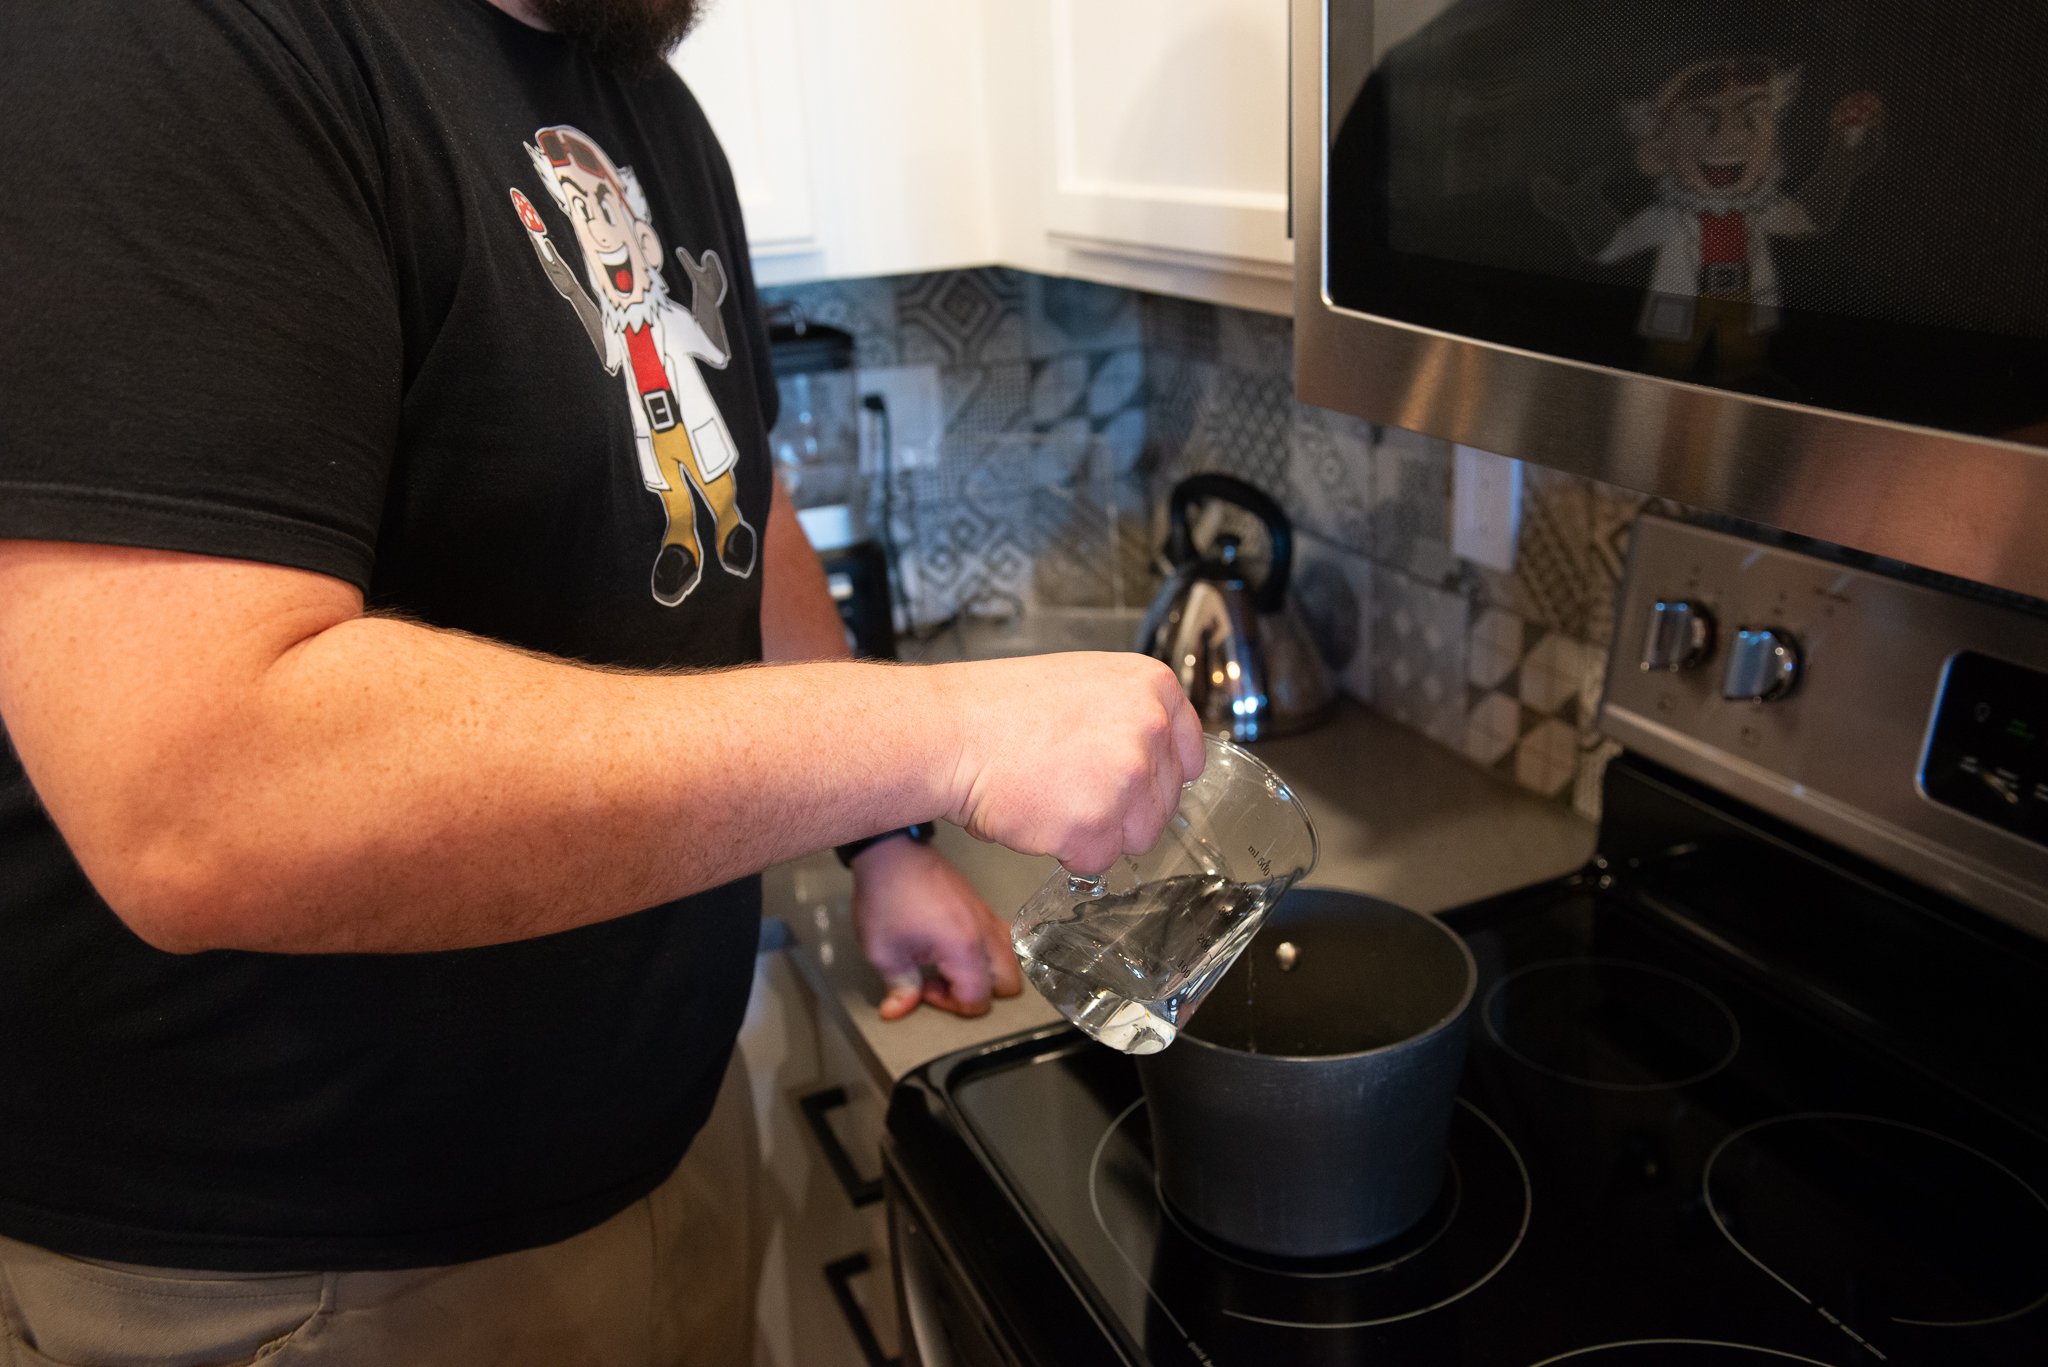
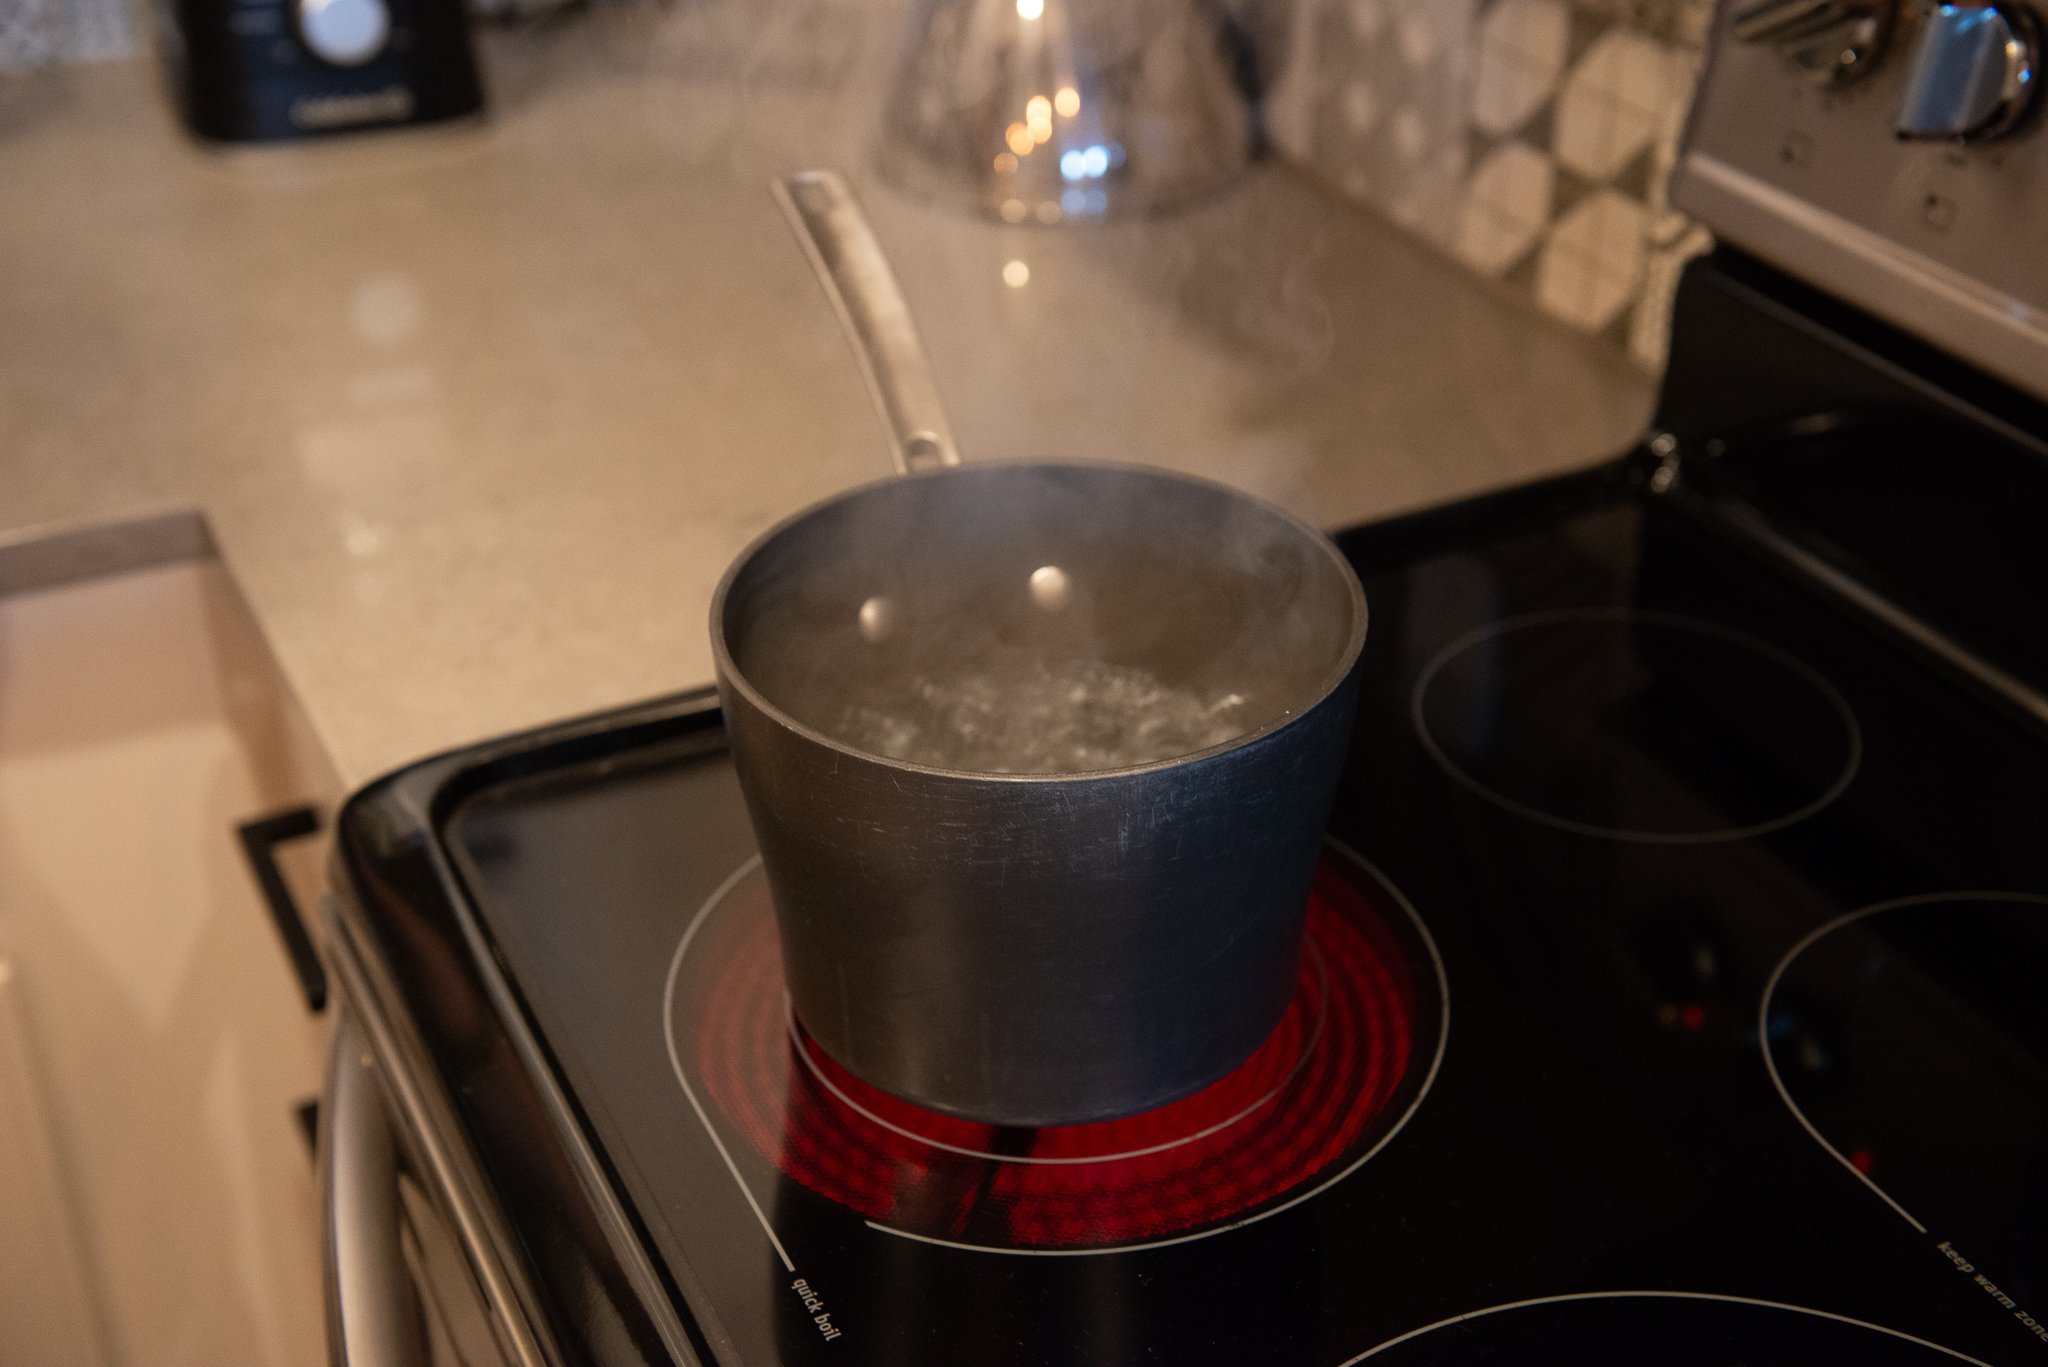
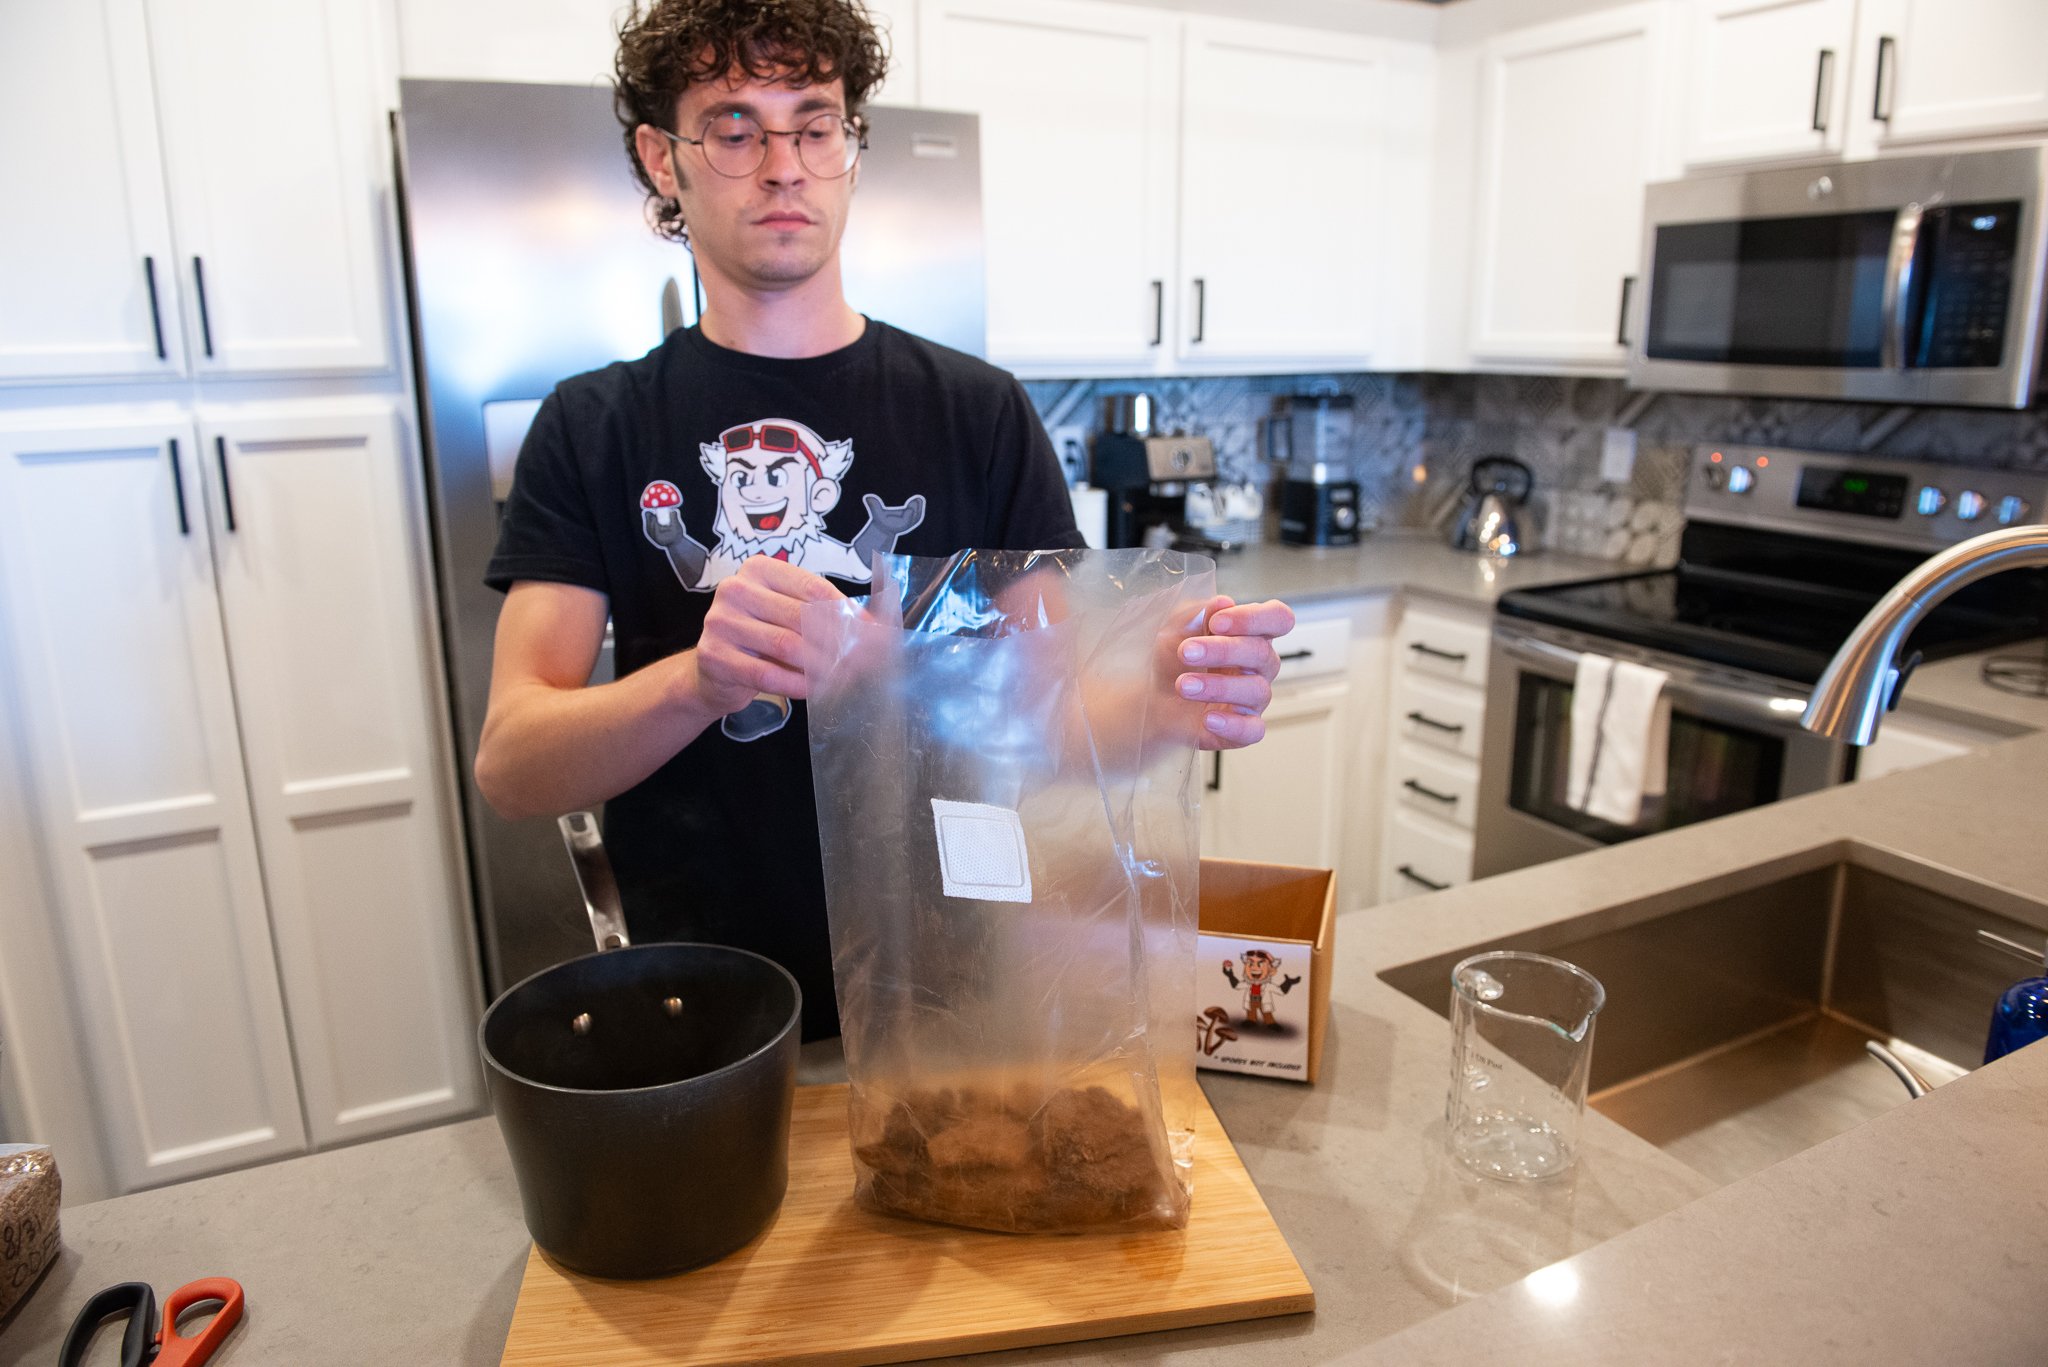
Bring 4 and 1/4 cups (1 liter, or 1000ML) of water to a boil. DO NOT OVER BOIL (you will need as close to 1 liter of water, over boiling will reduce this volume)
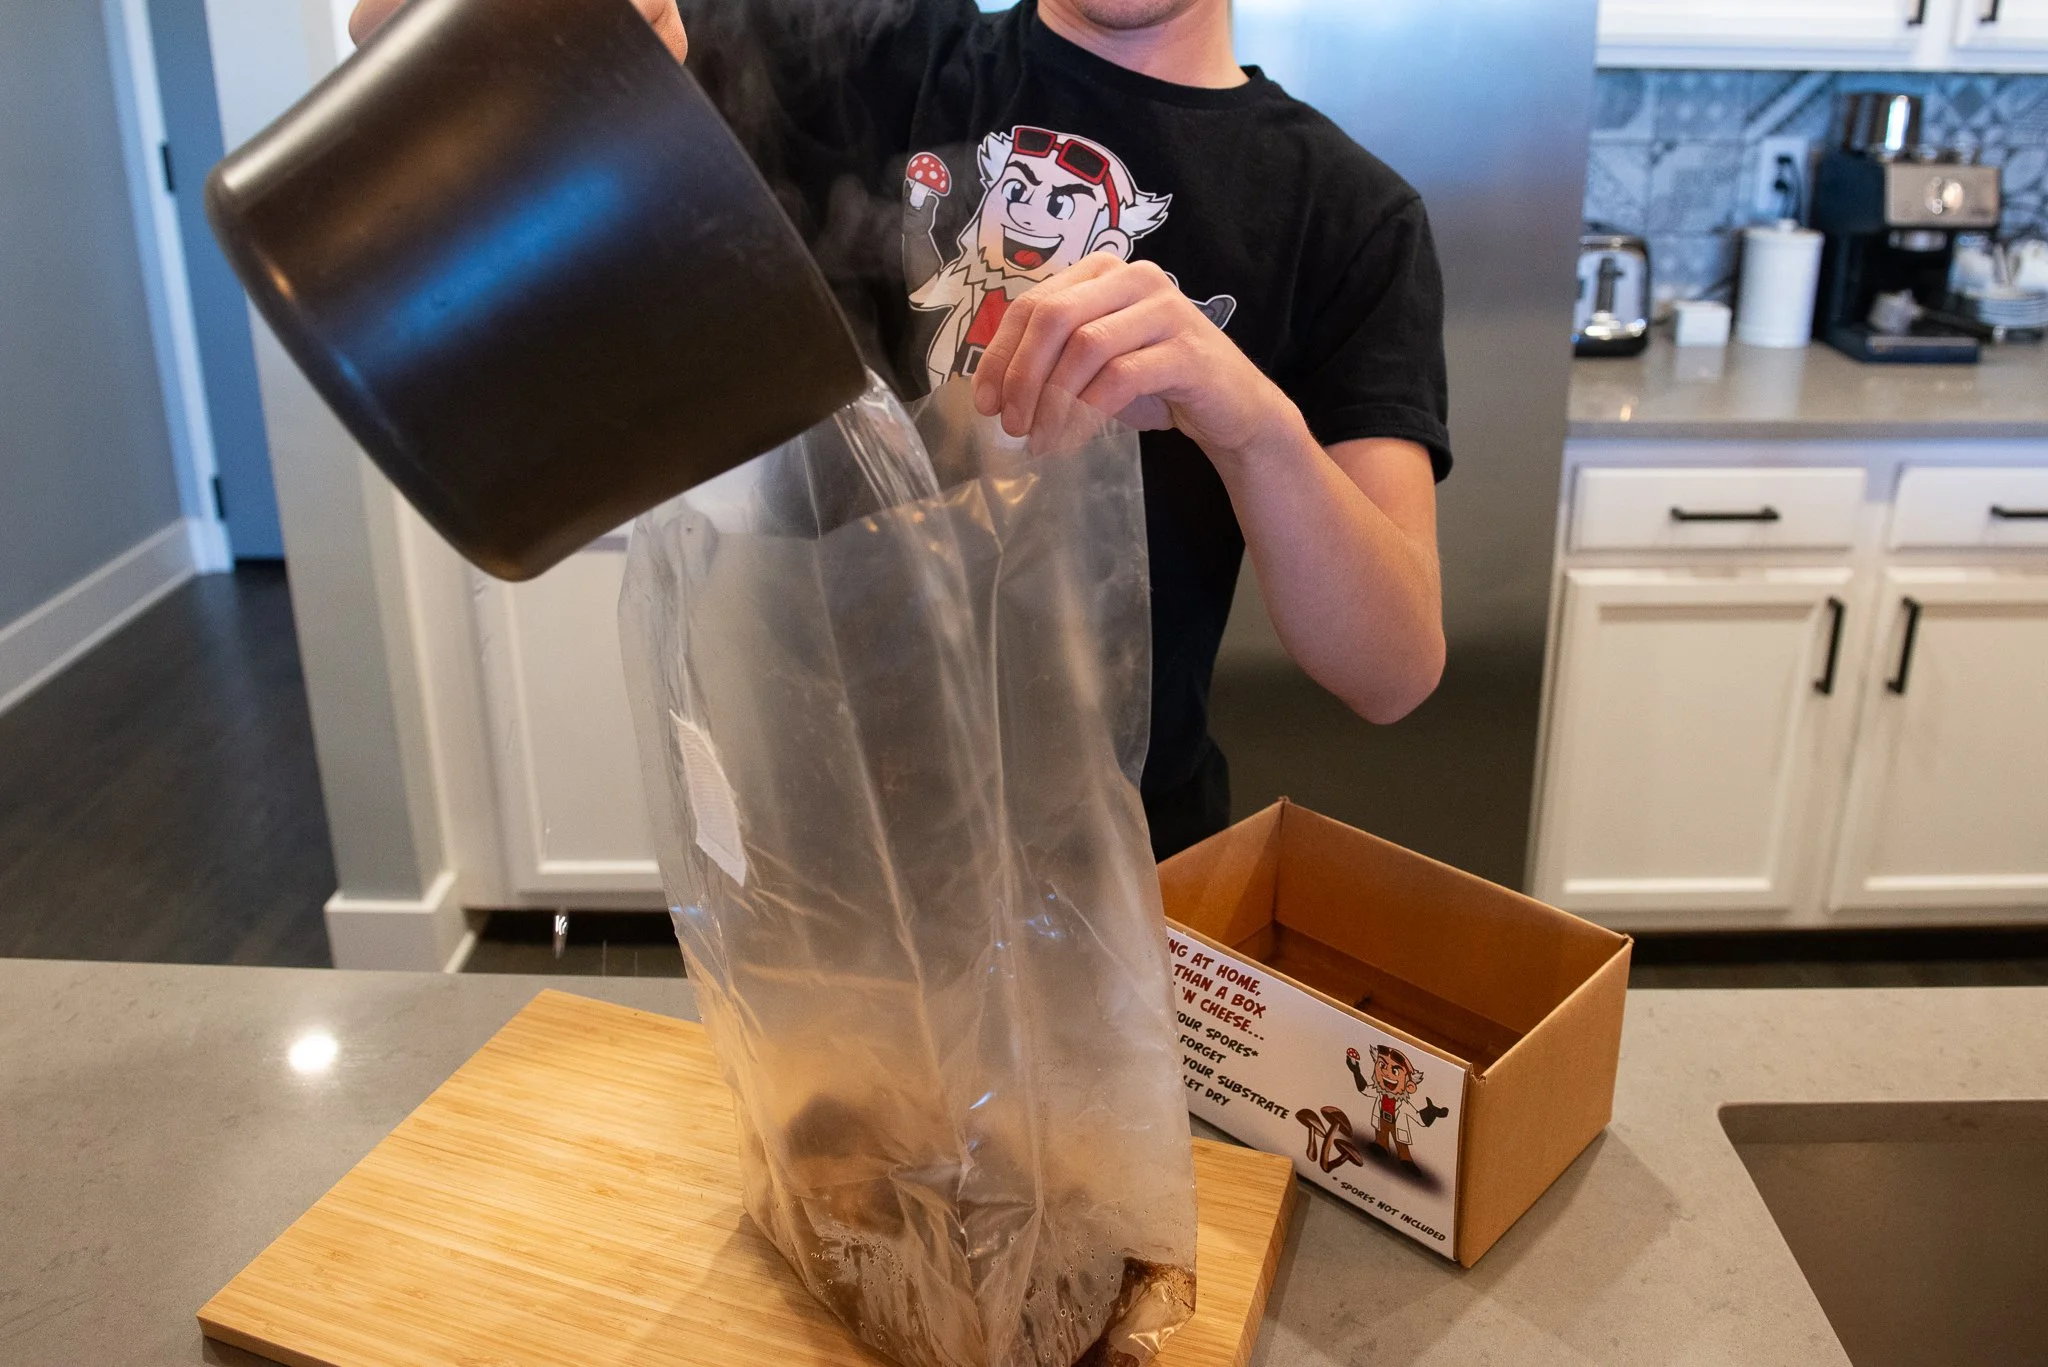
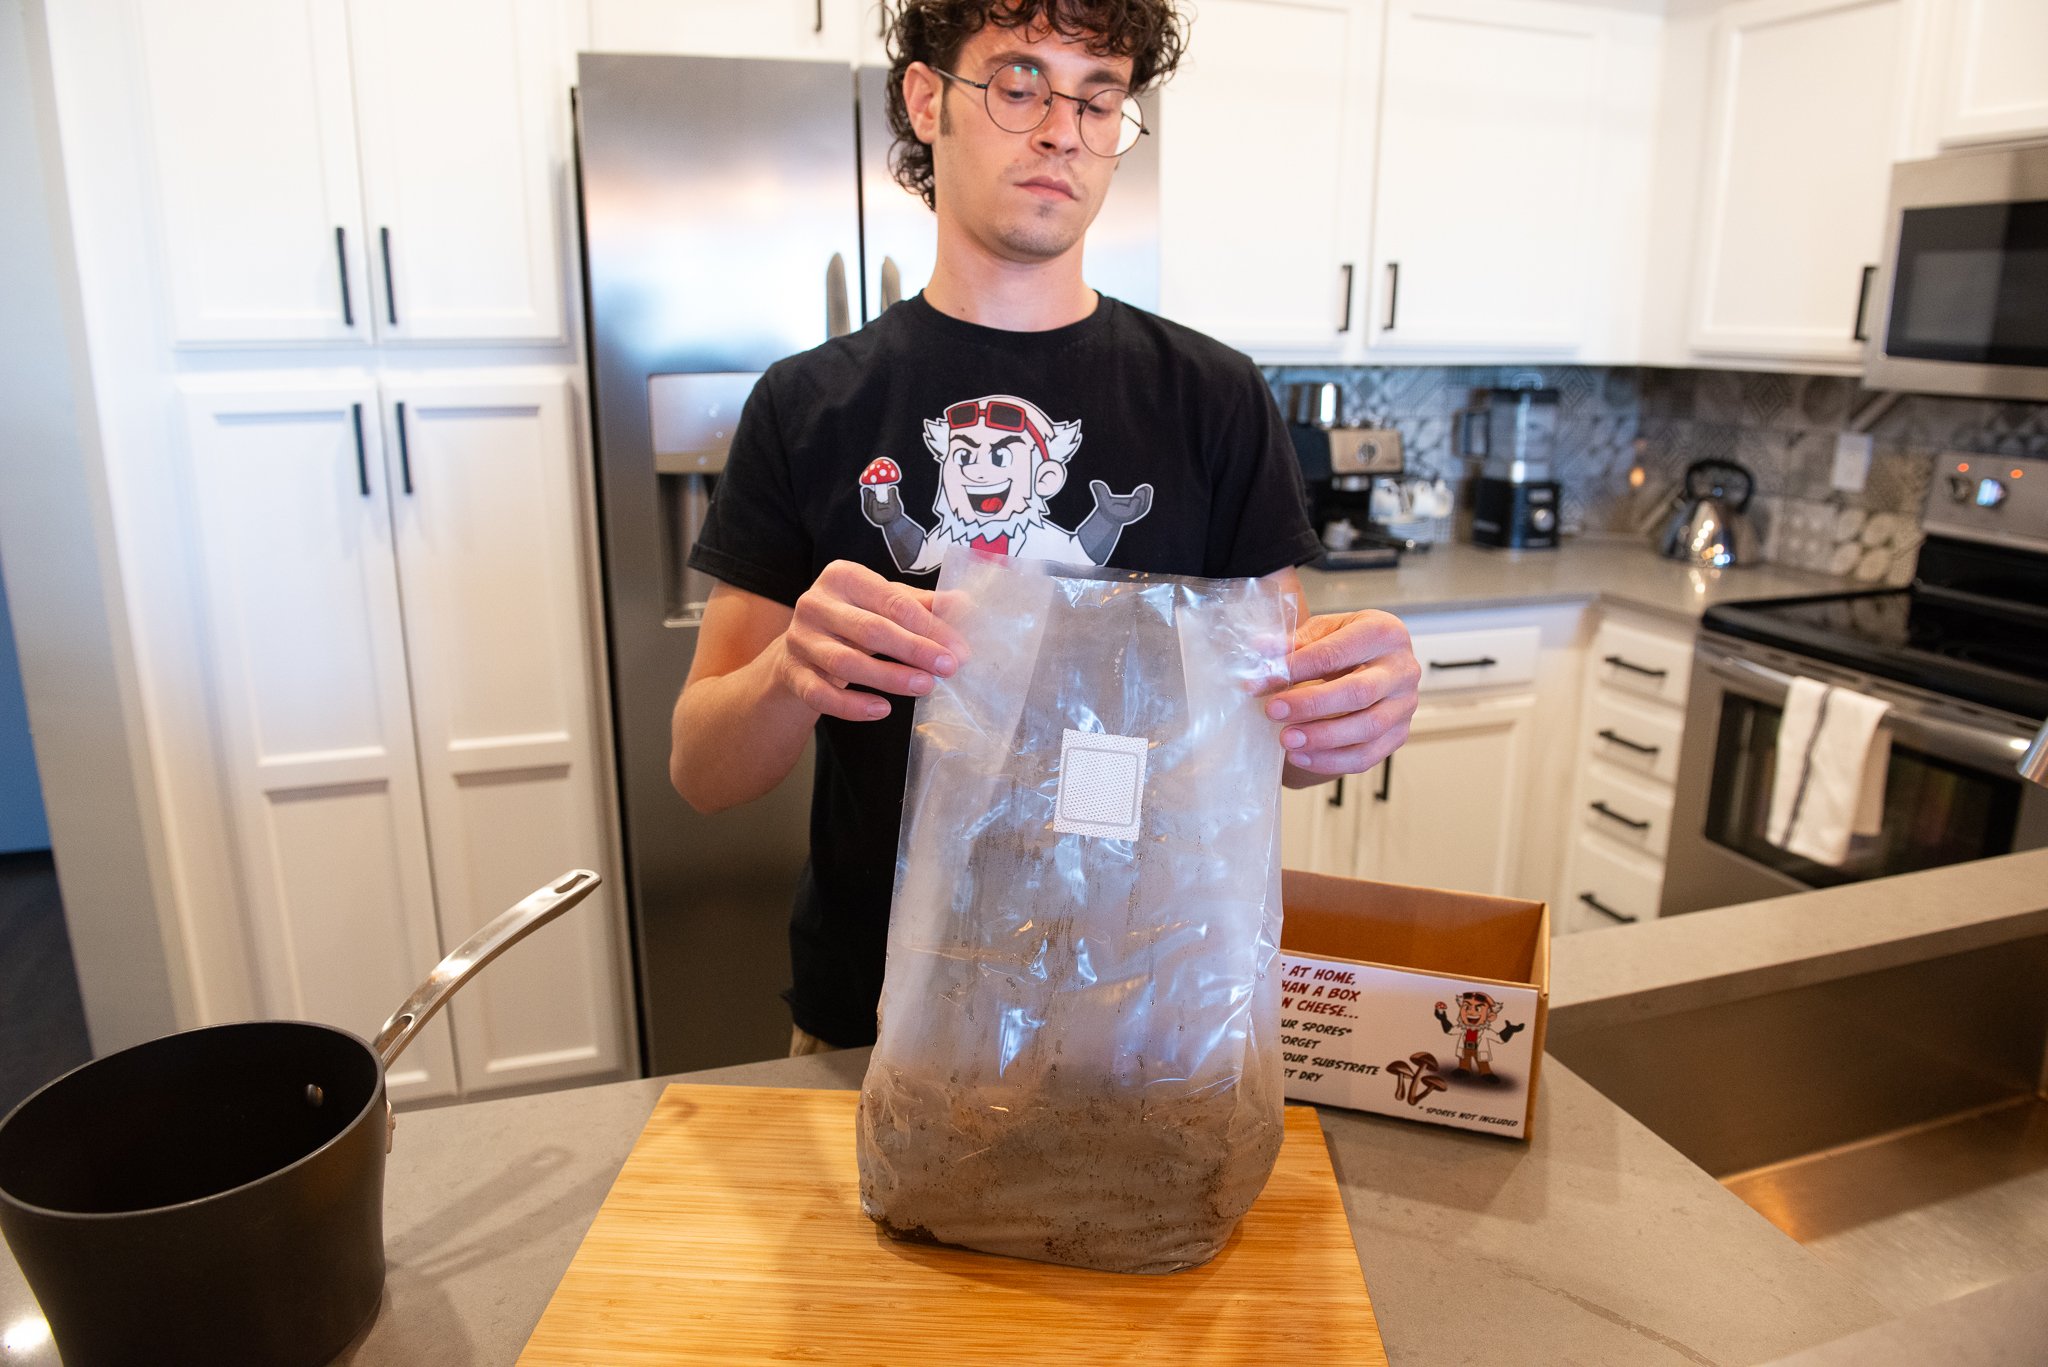
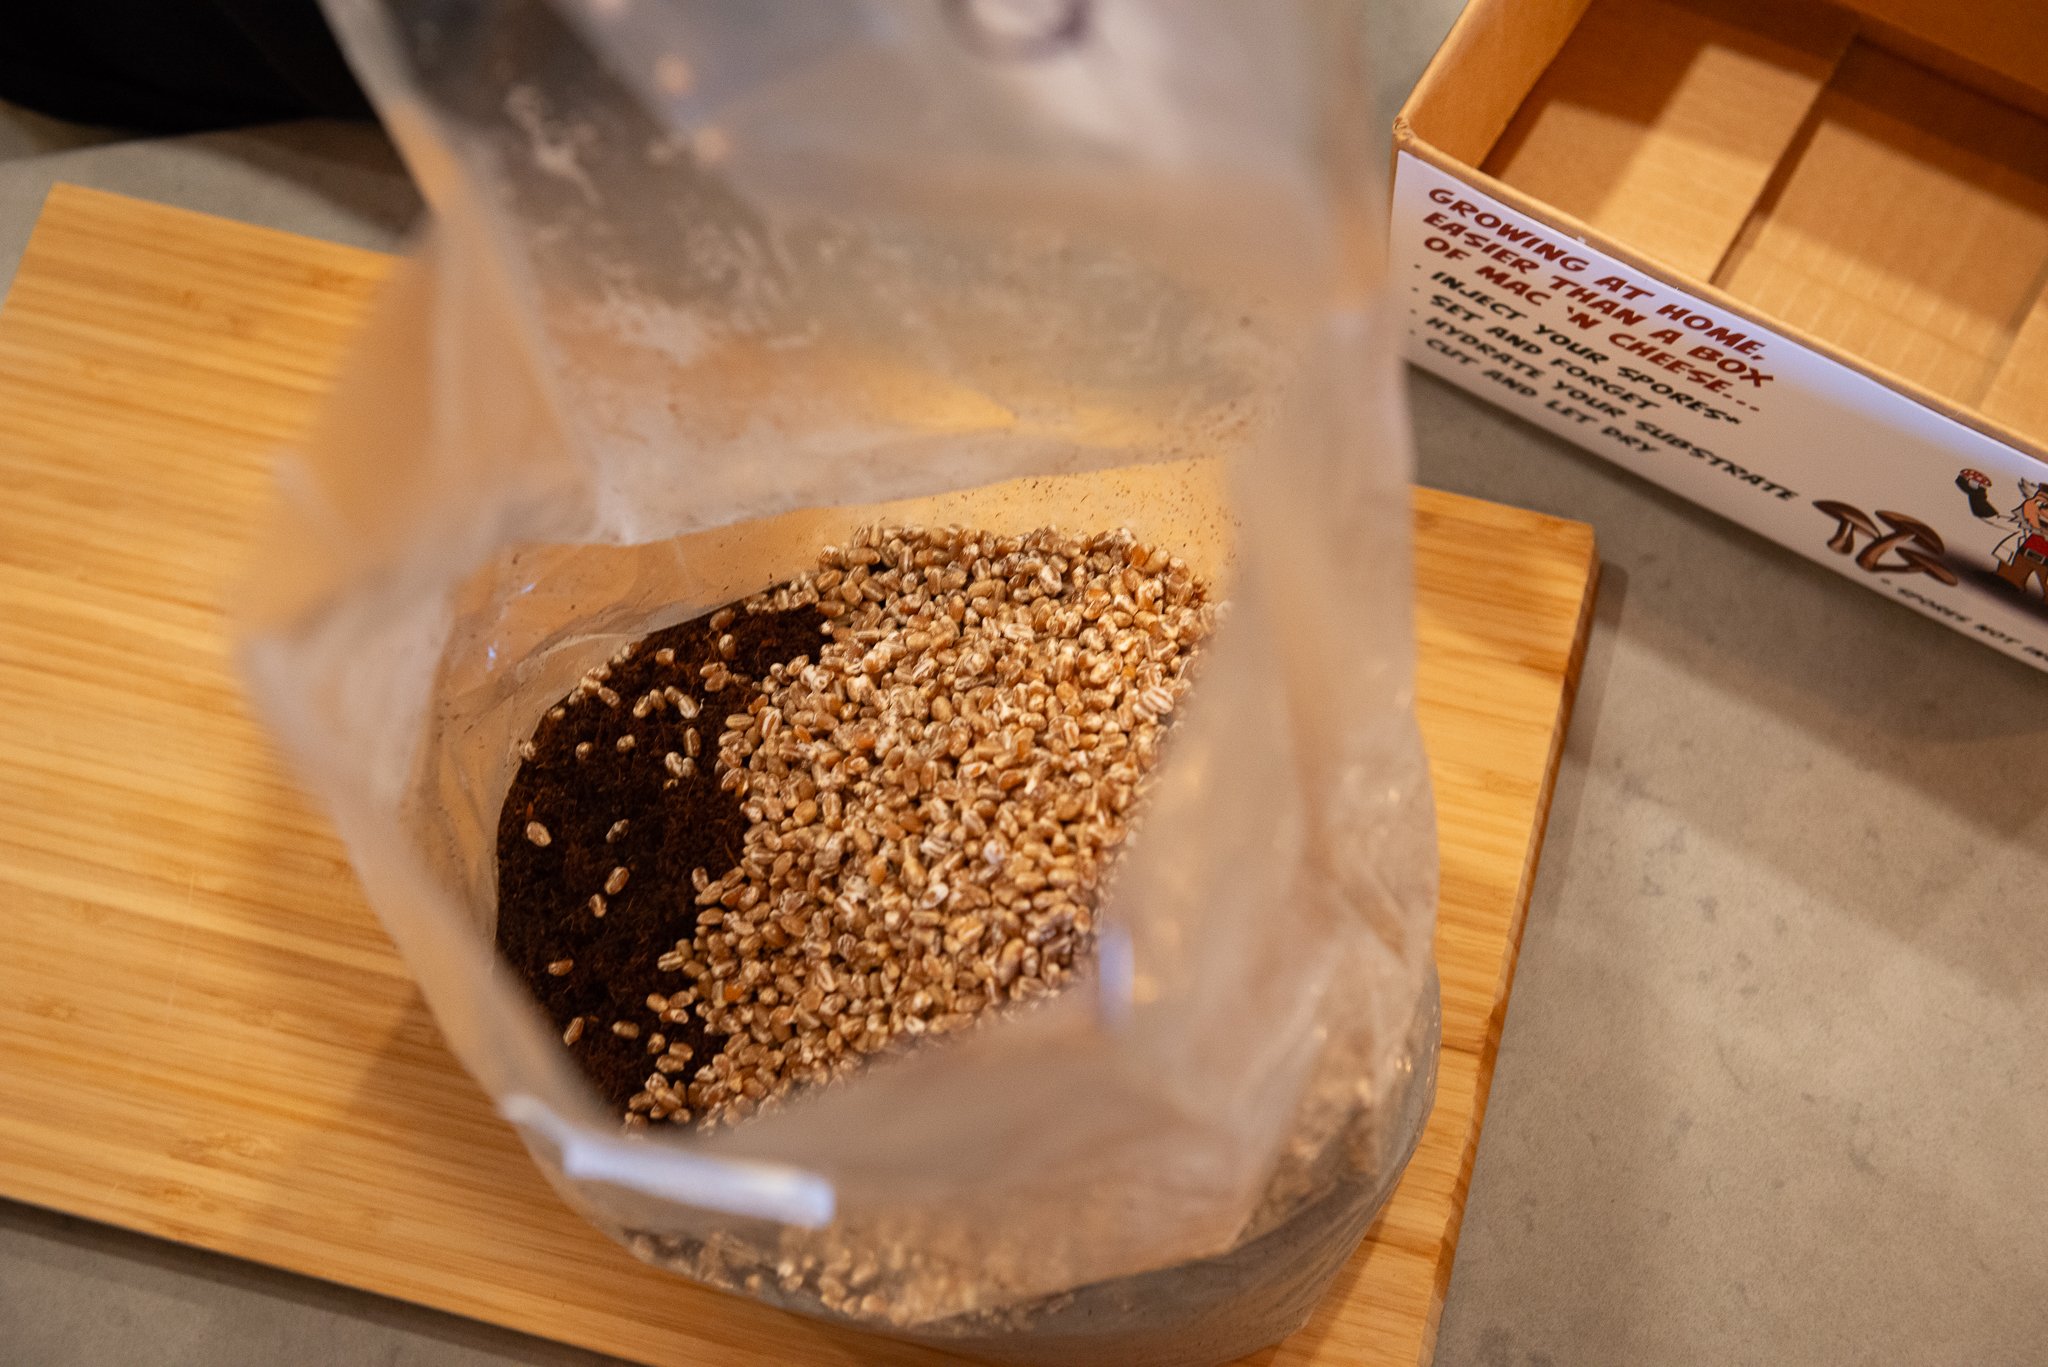
Open the plastic grow bag, with dry substrate, that came with your kit. Carefully pour freshly boiled water into the plastic bag. Proceed to fold the top portion of the bag over and under, like closing a bag of chips.
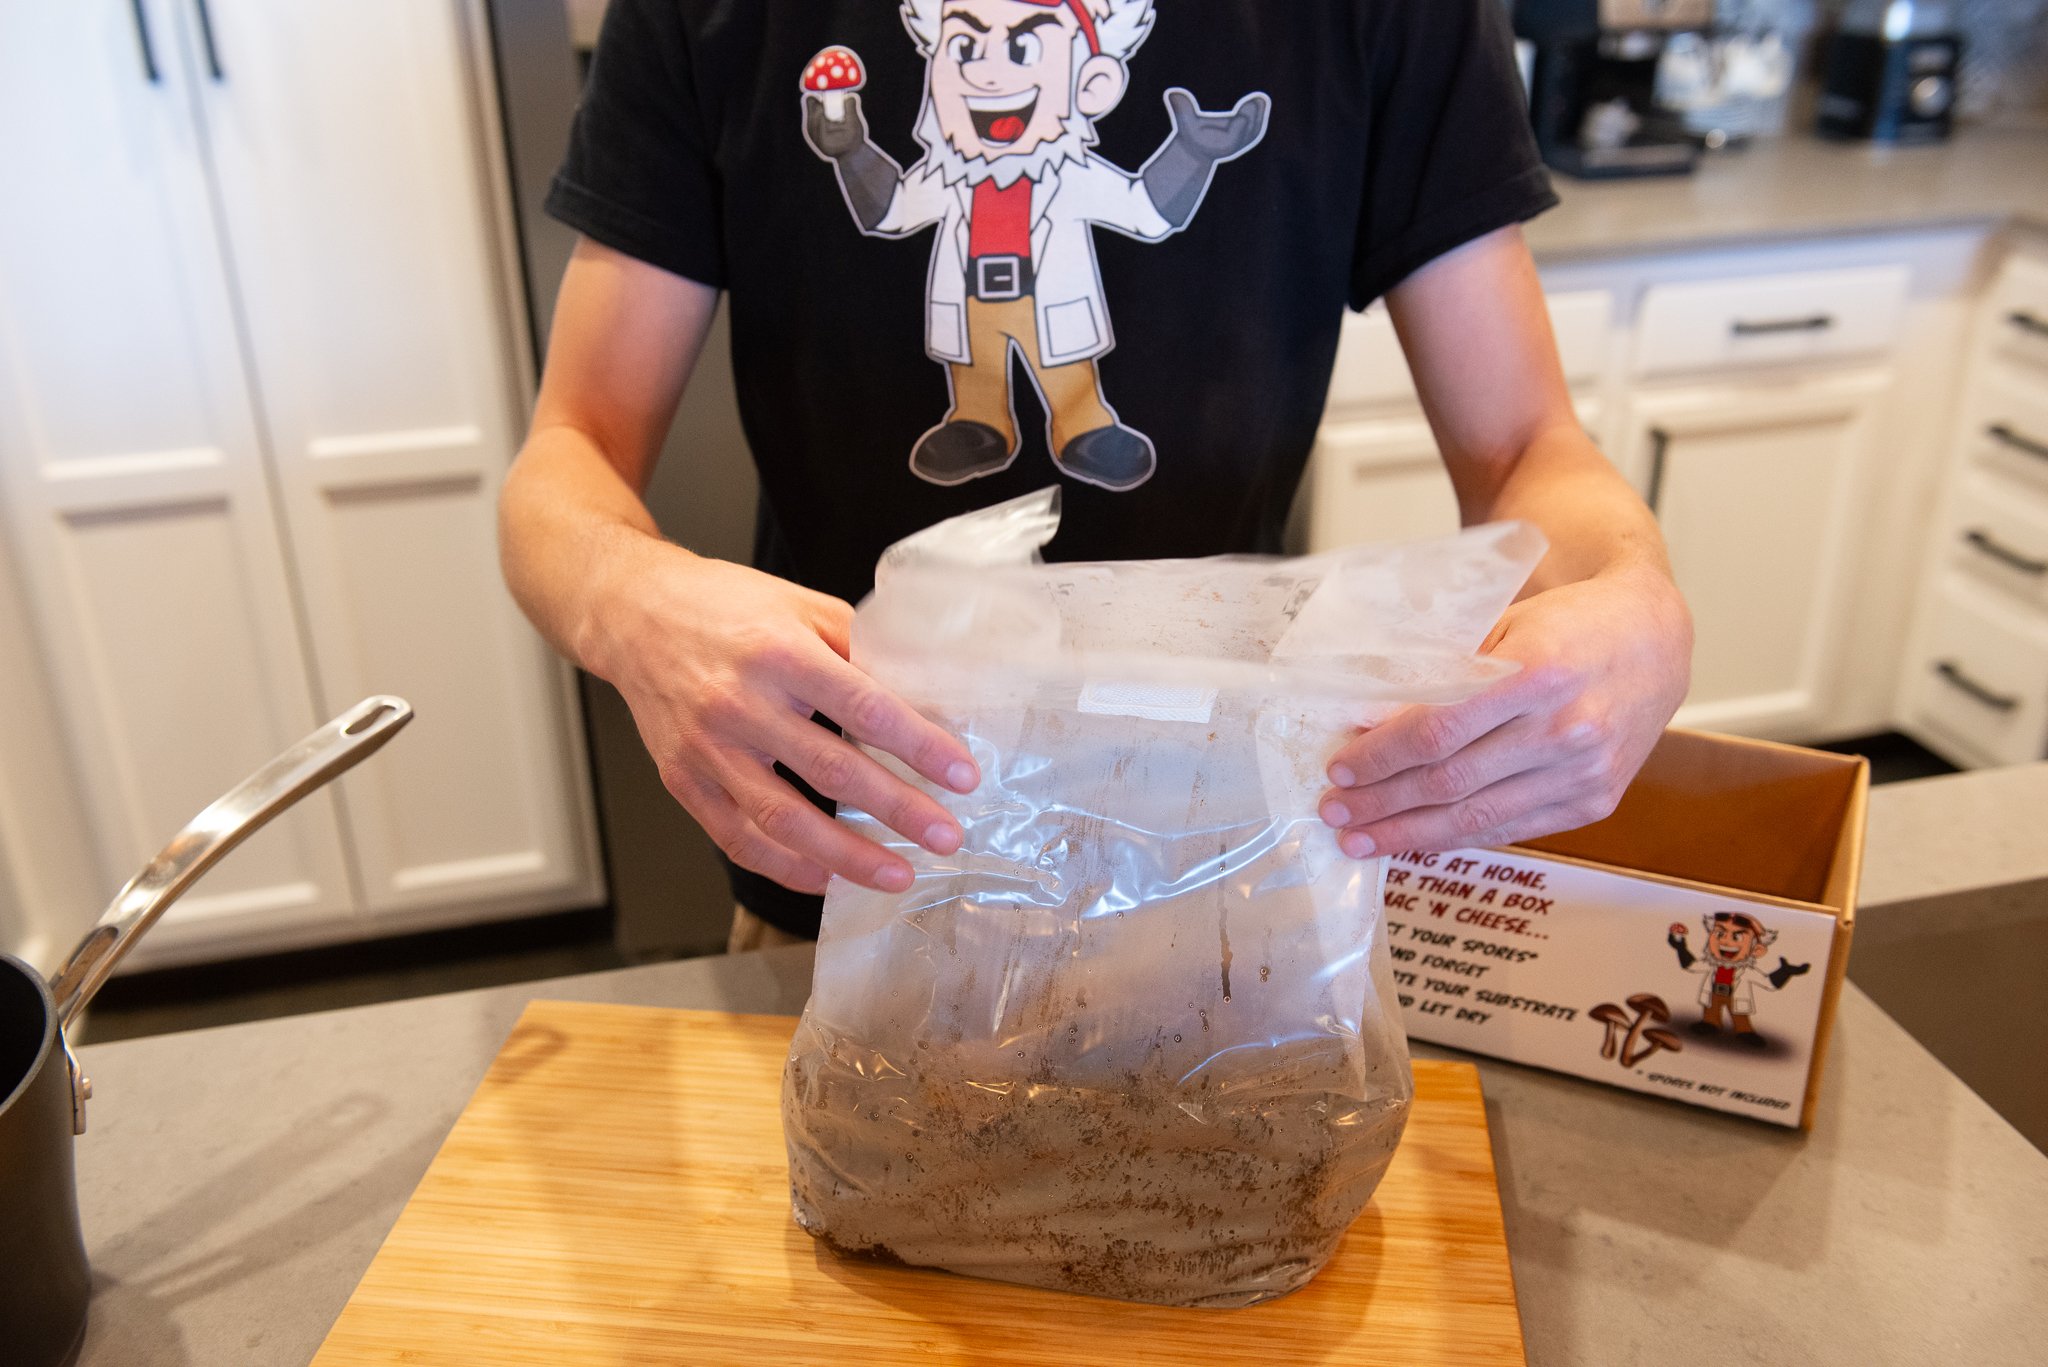
Allow the Master’s Mix to hydrate. Wait 15-20 minutes then mix the hydrating contents. This can easily be done by holding the top of the bag closed and shaking the contents from the outside. The Master’s Mix fruiting substrate bag should be evenly hydrated. Be sure to break apart any dry nuggets. With the bag folded closed, allow hydrated fruiting substrate to cool down to below 80℉ - this will take a few hours minimum. Avoid placing it in a fridge or speeding up the process, the longer the better. We recommend hydrating at night, and spawning the next morning.
Inoculating your BoomBox
Once your grain spawn is colonized, and Master’s Mix has cooled down, you are now ready to “spawn” (inoculate) your BoomBox!
If you want to go the extra mile, wear gloves and spray isopropyl on your bag.
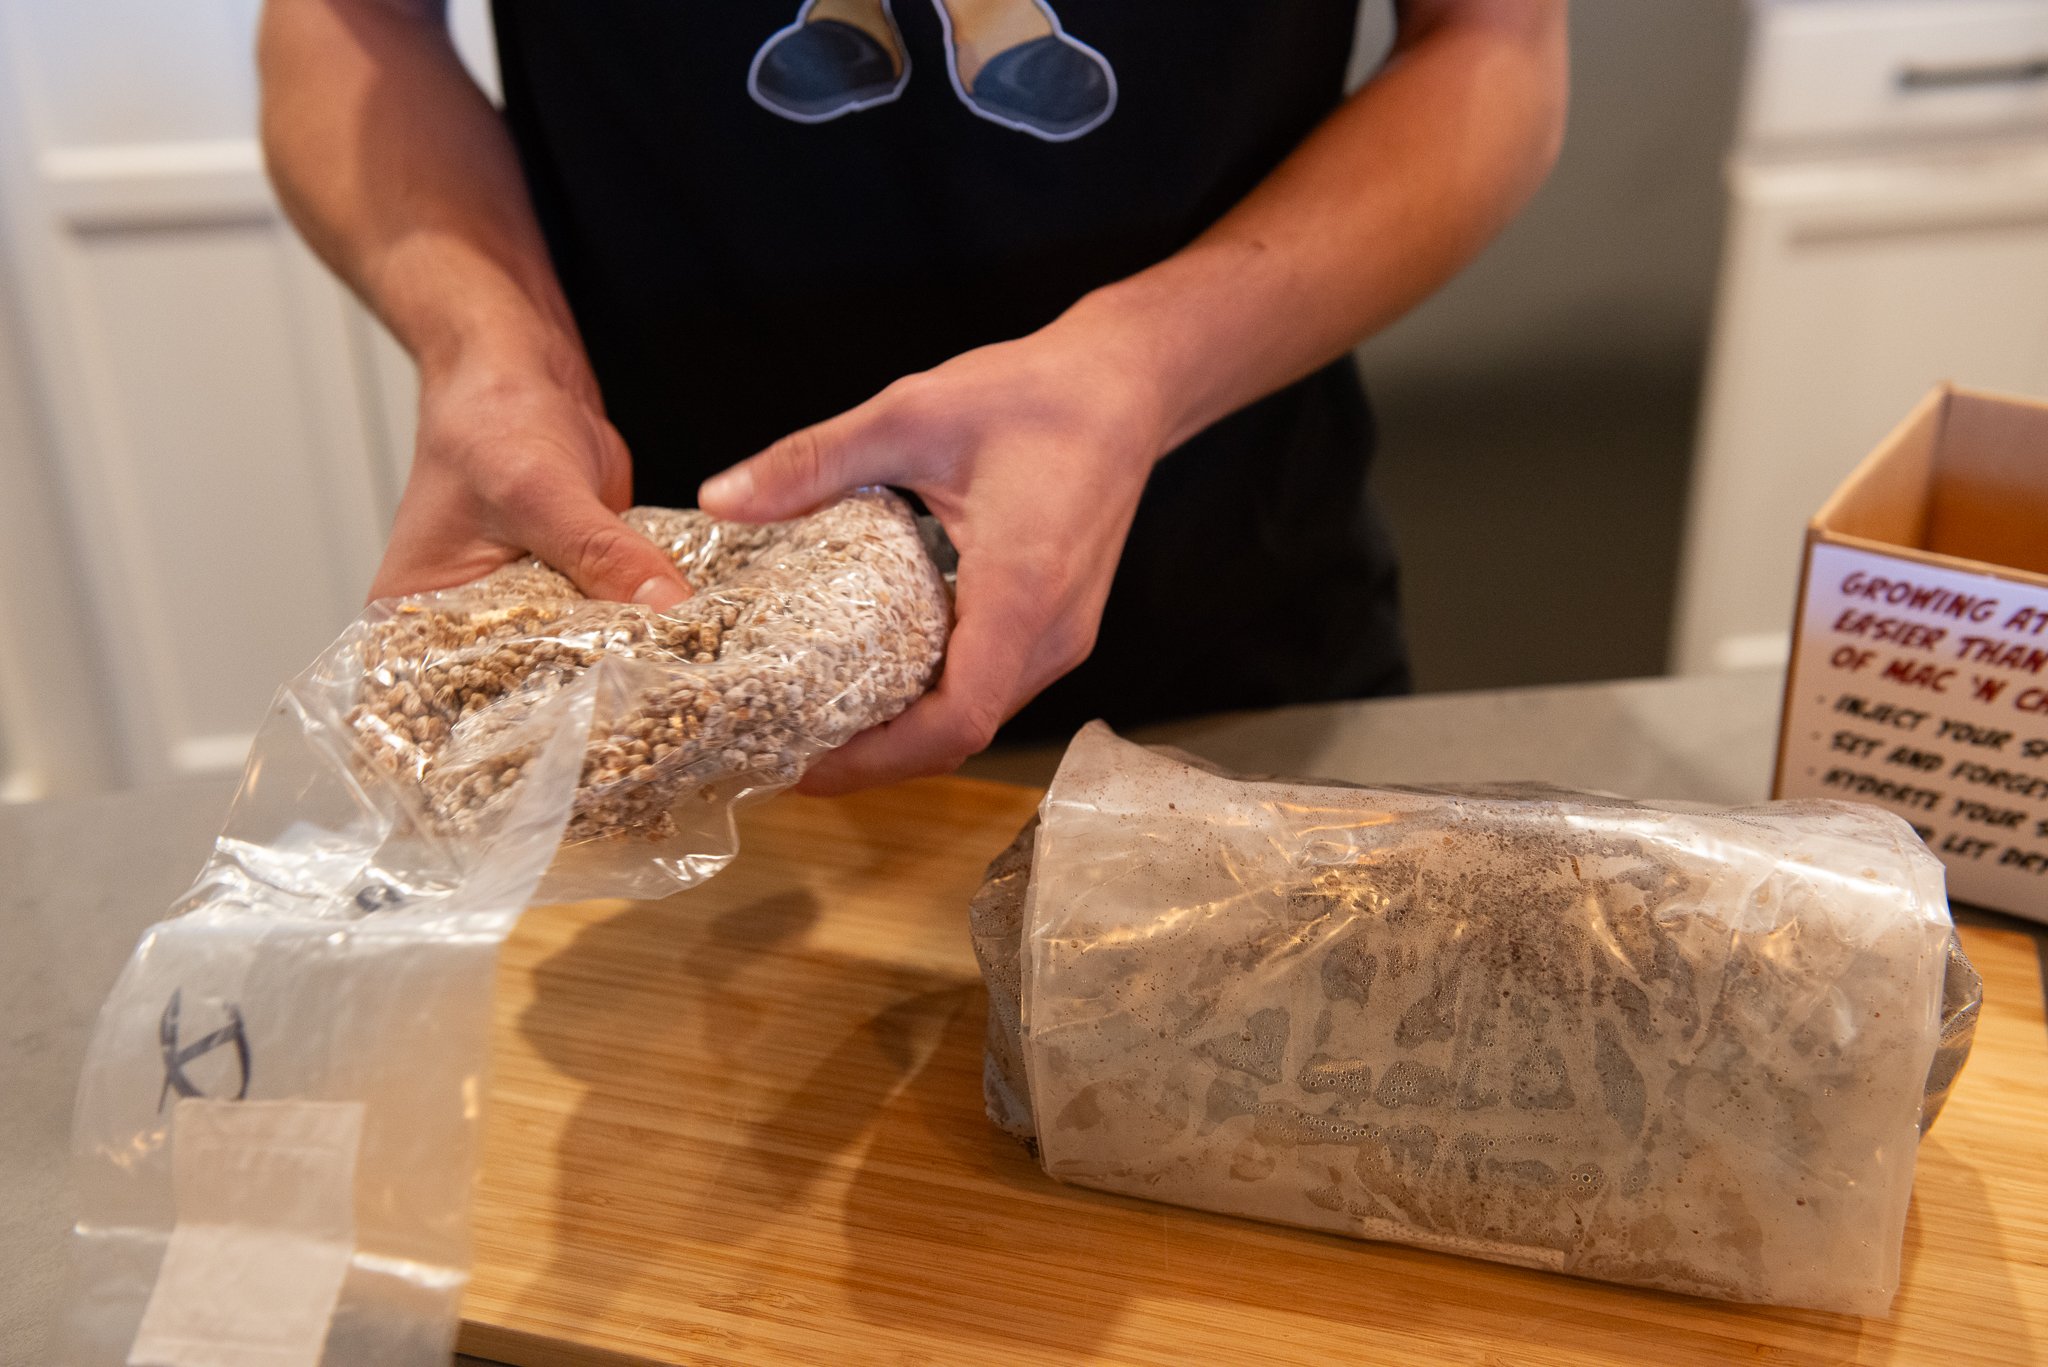
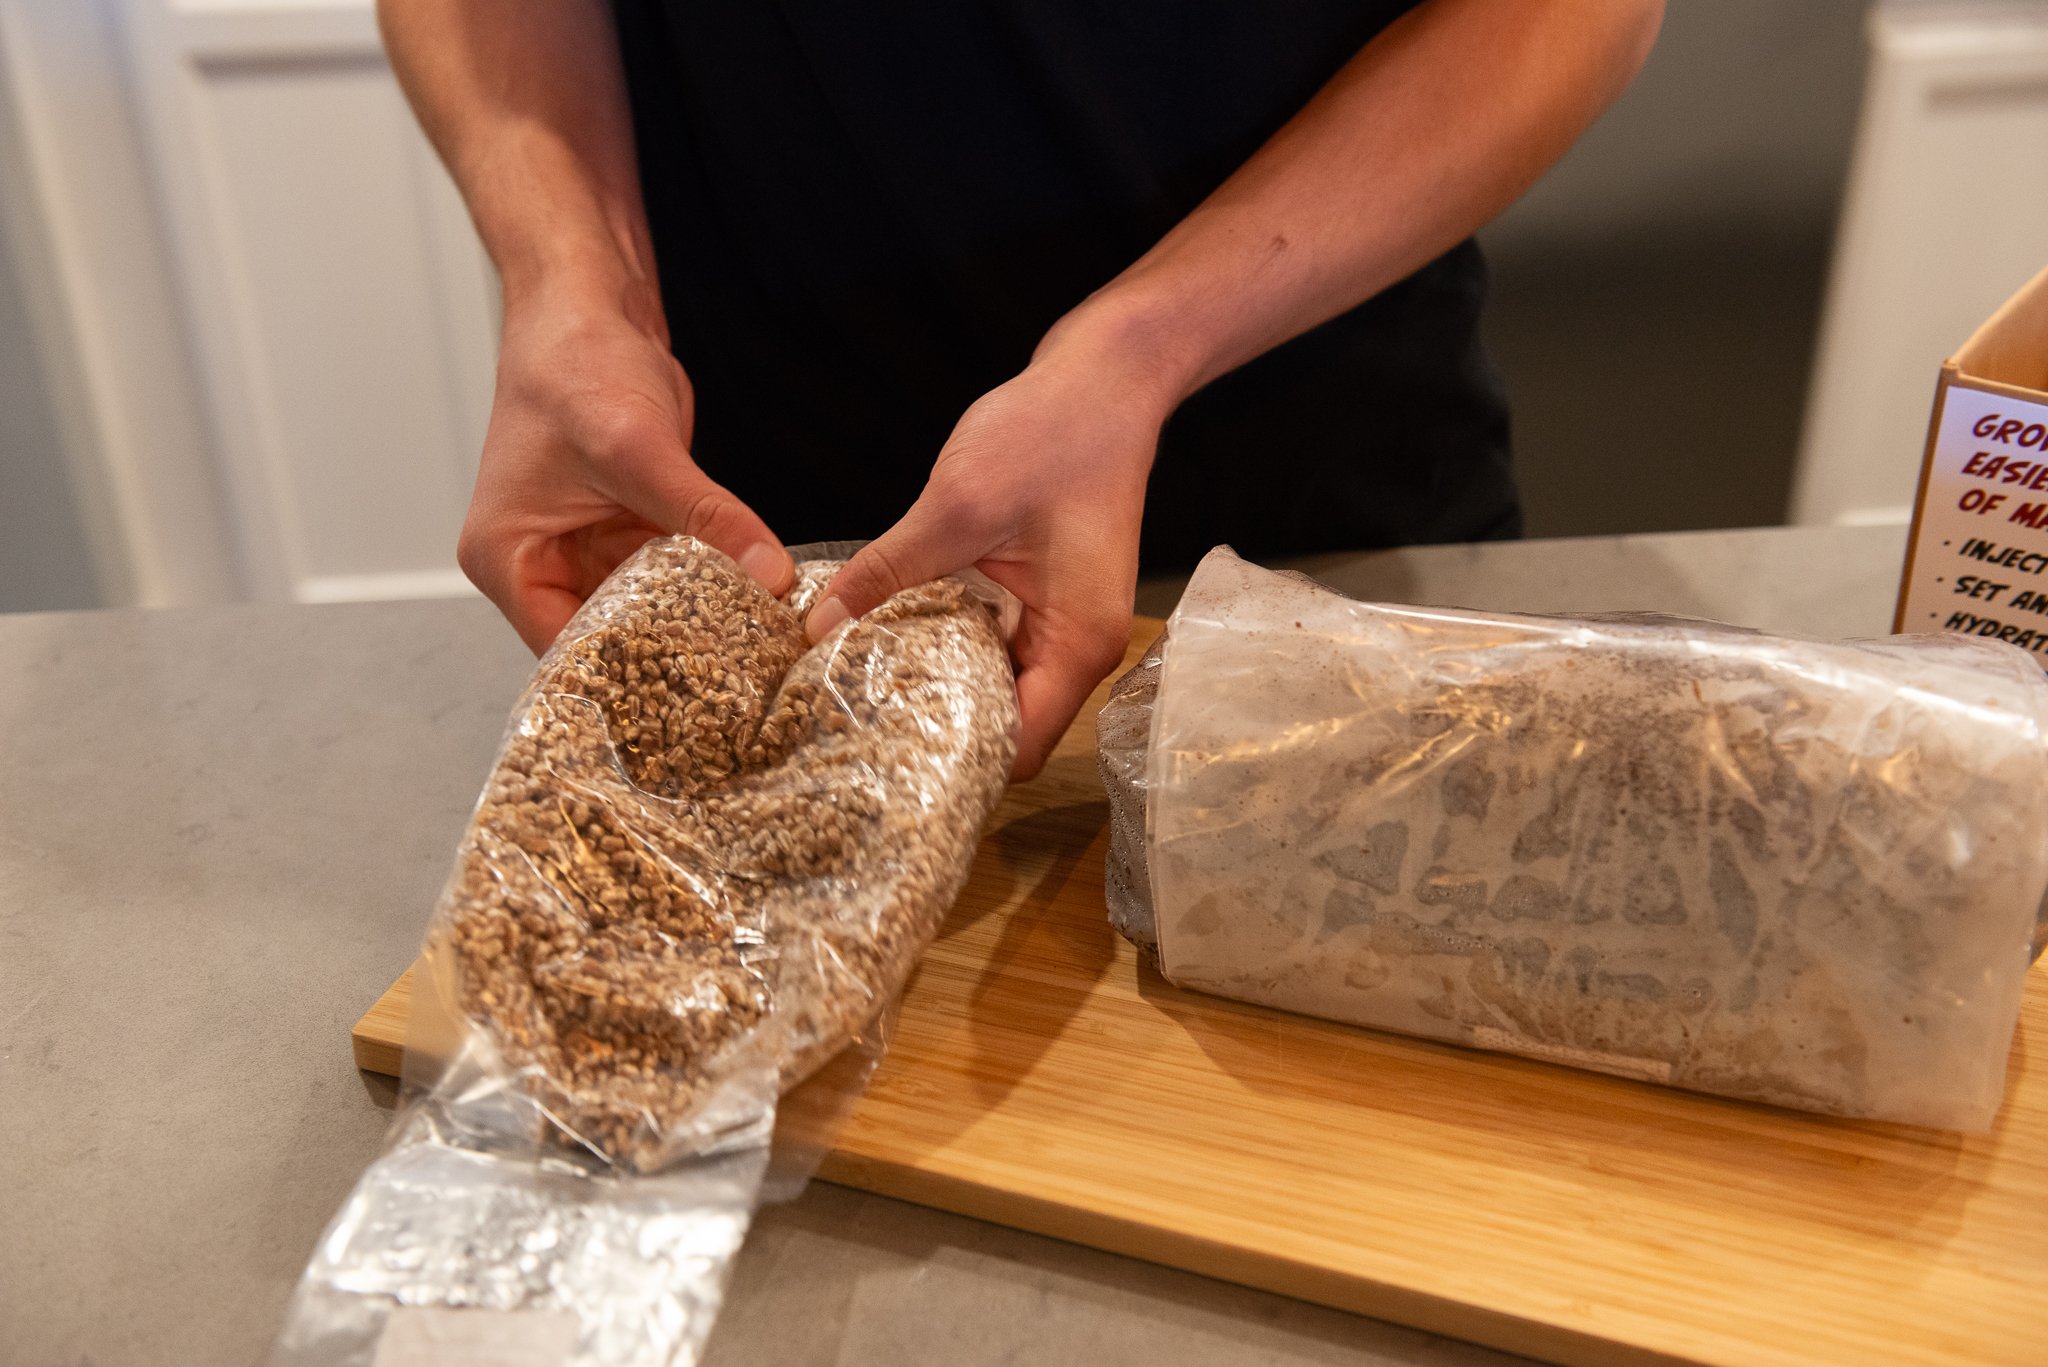
Prior to opening your, now colonized, grain bag. Break apart all the mycelial-colonized grains so there are no larger clumps. Smaller clumps are fine.
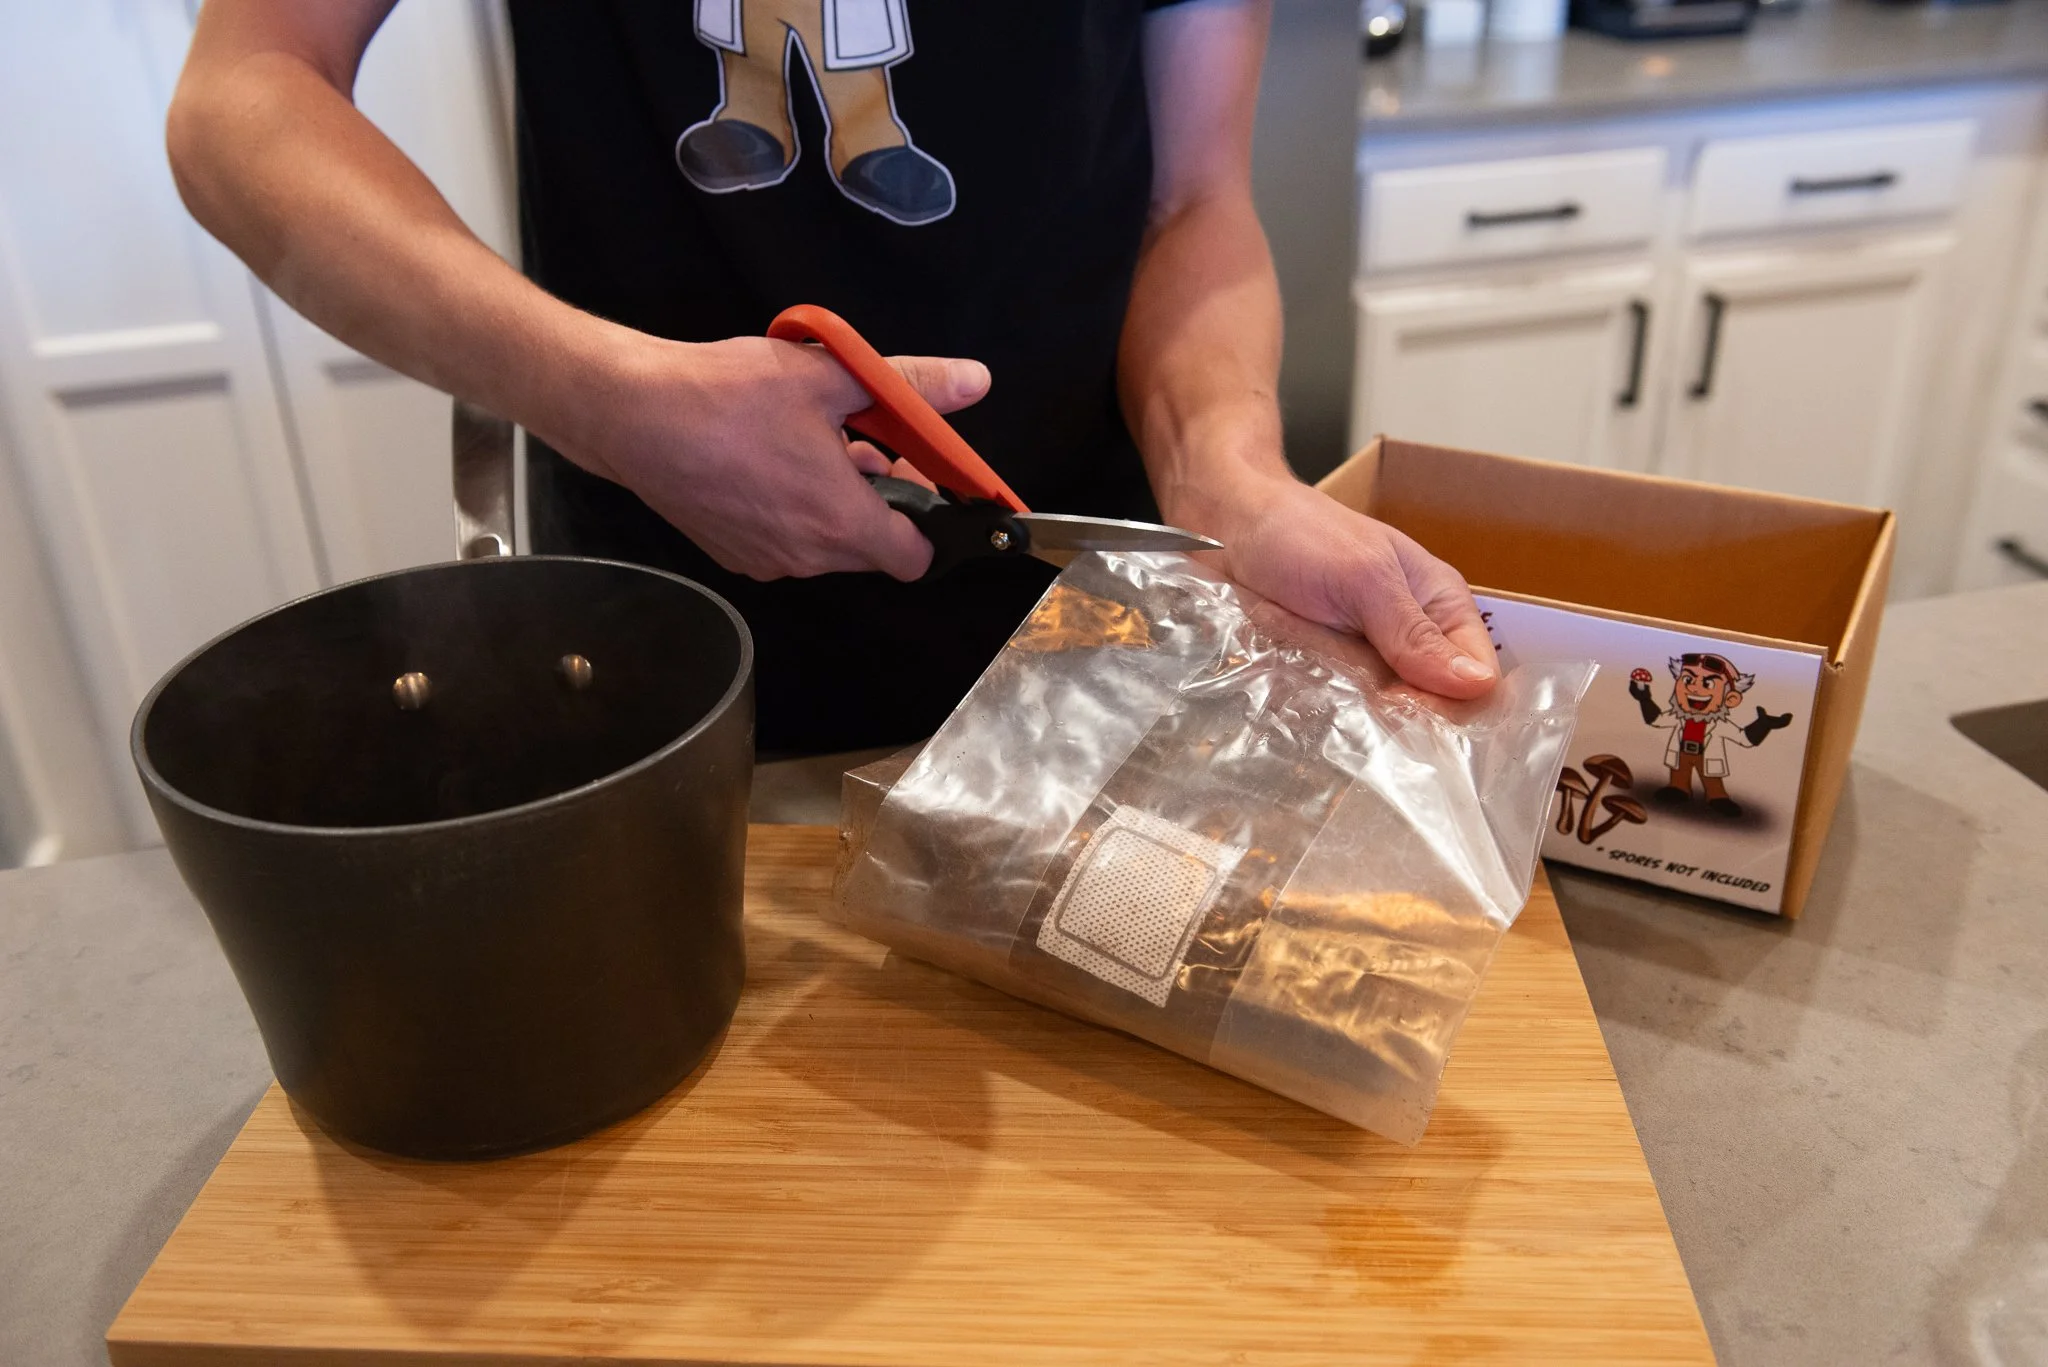
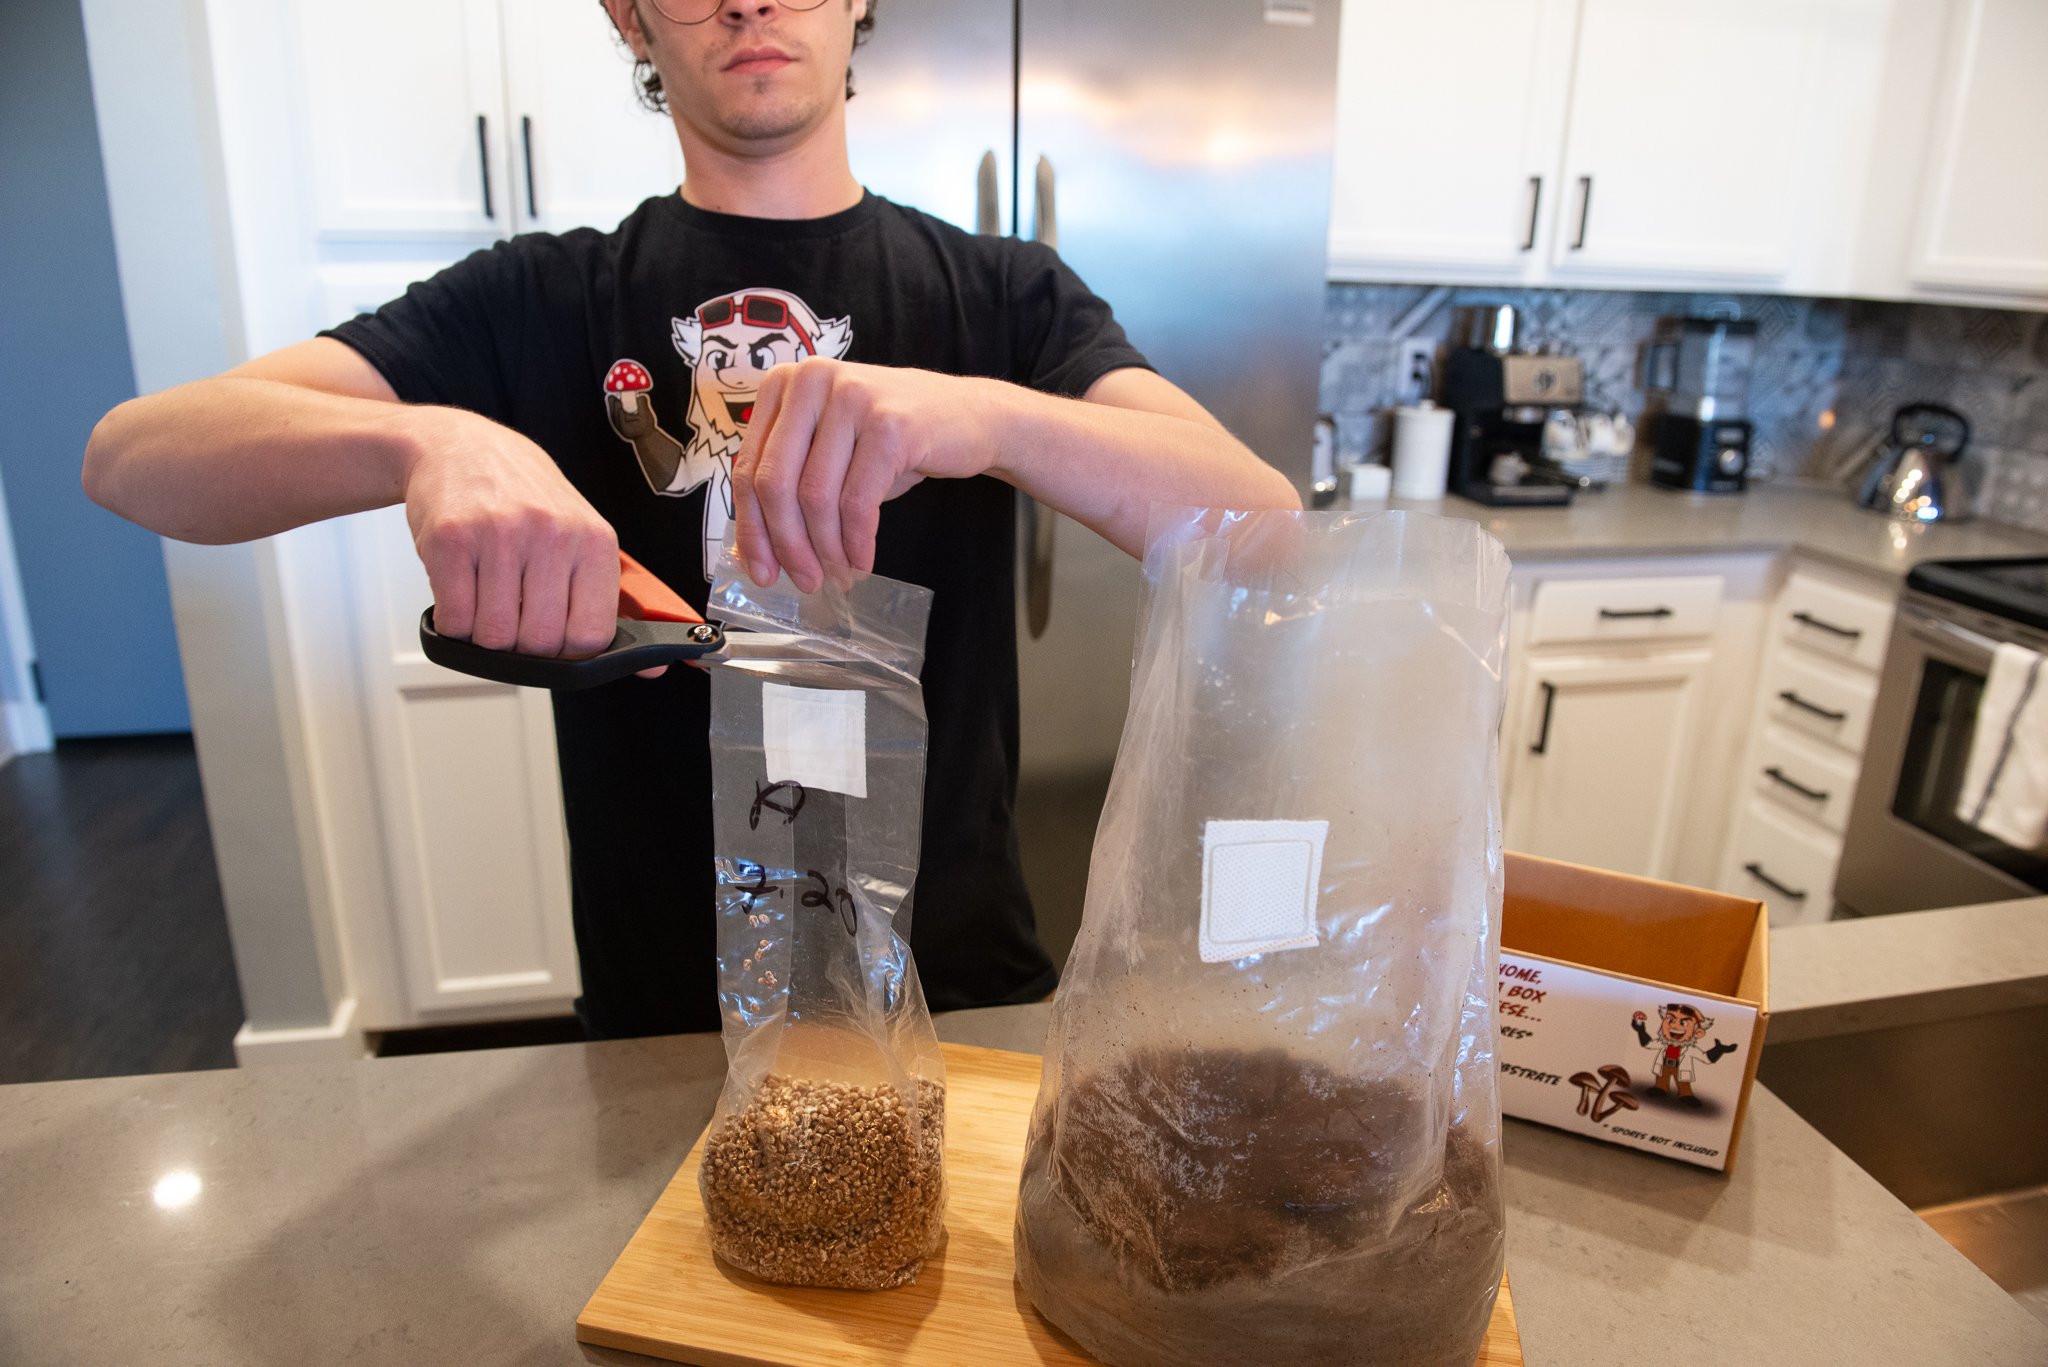
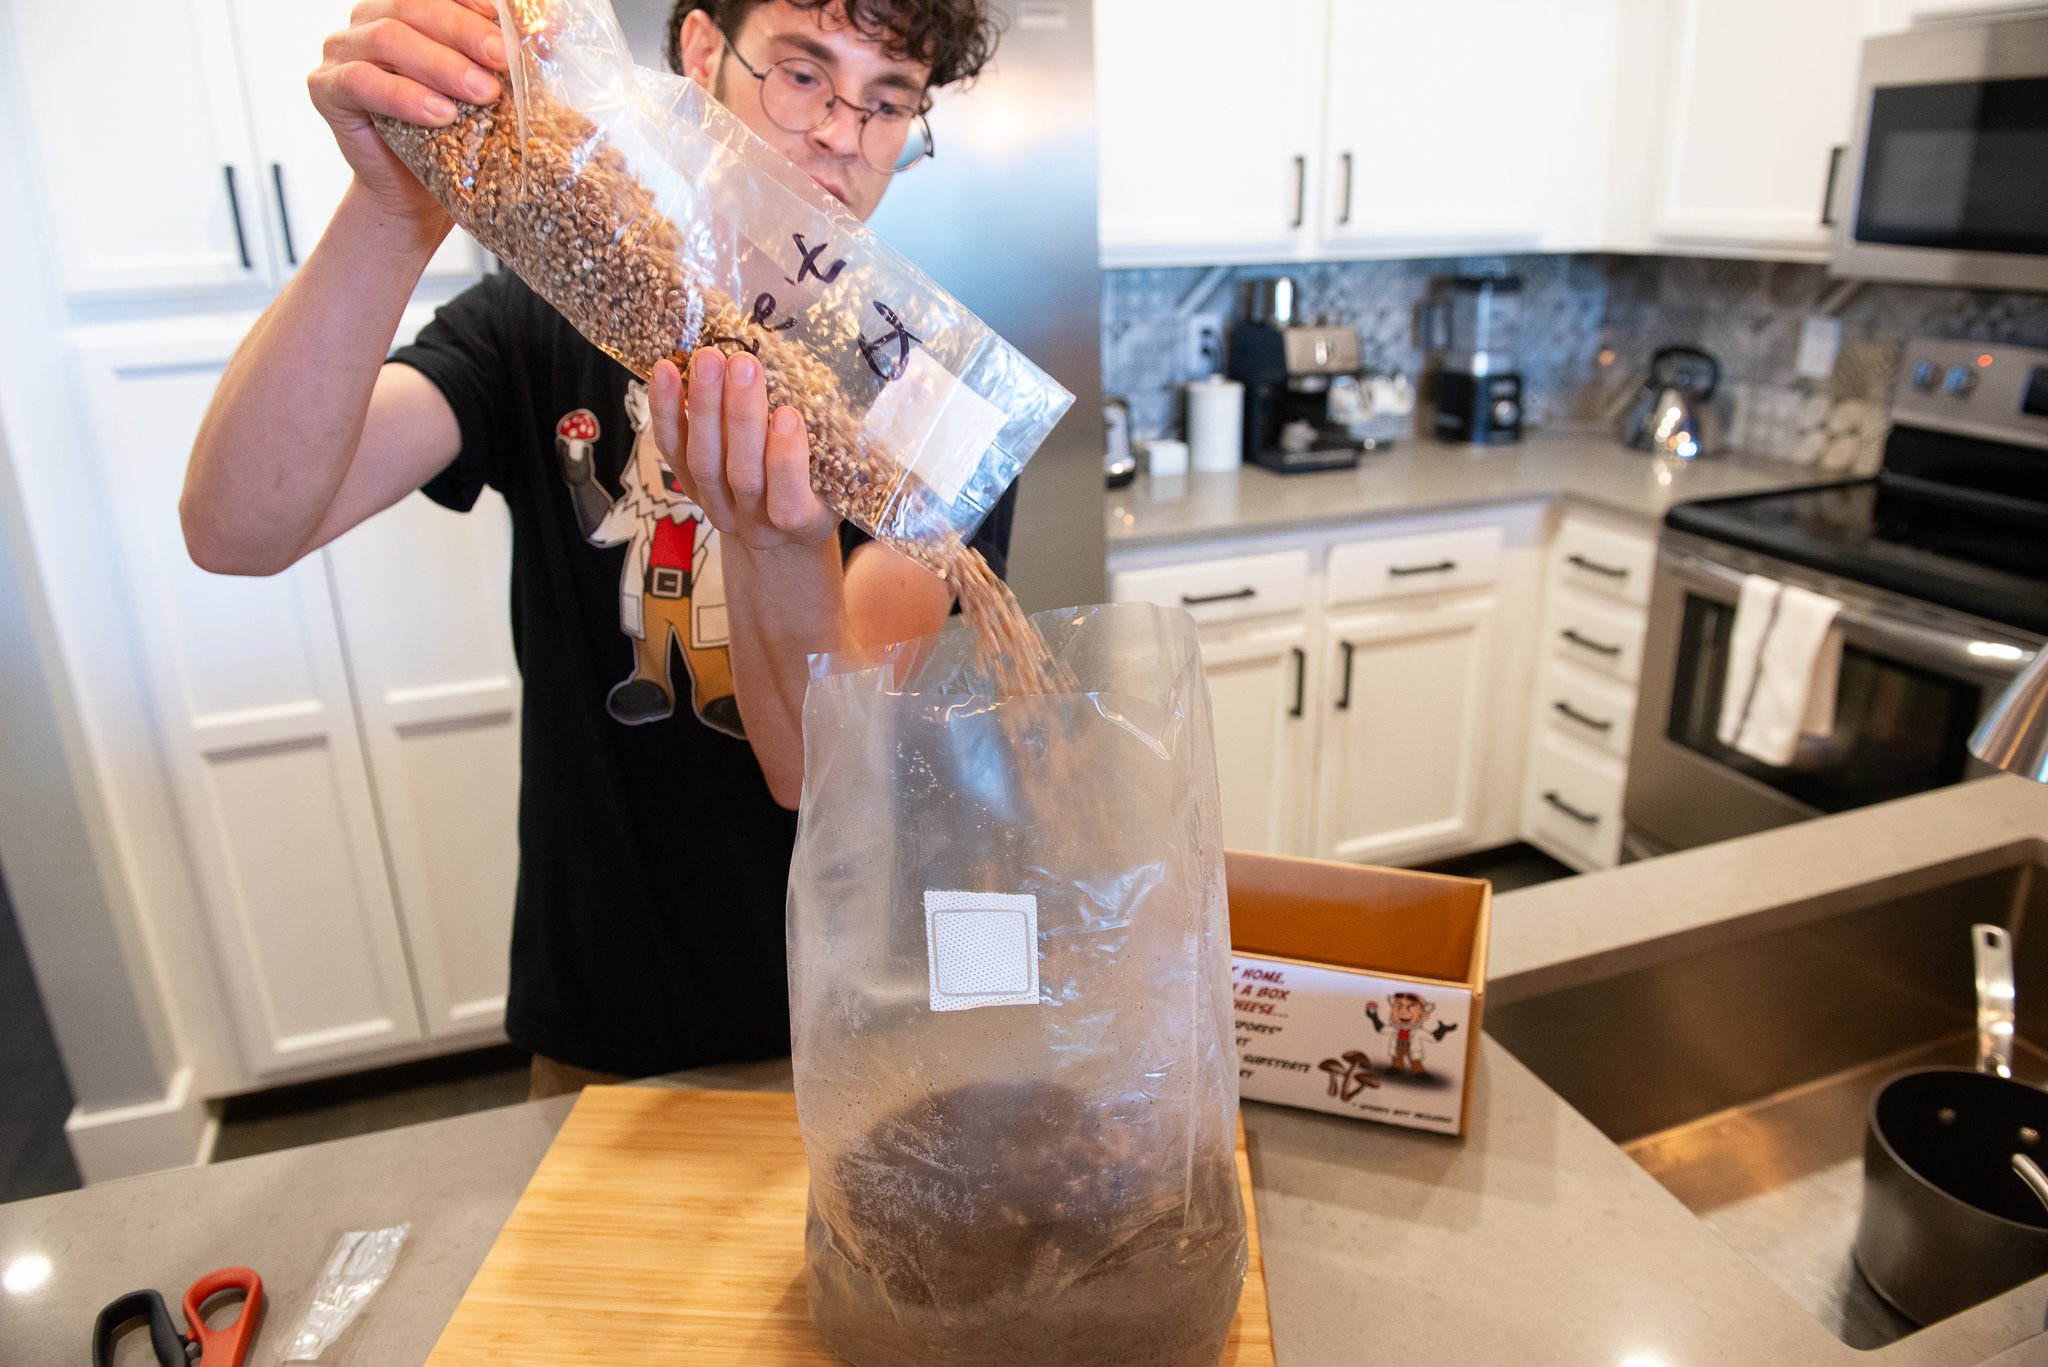
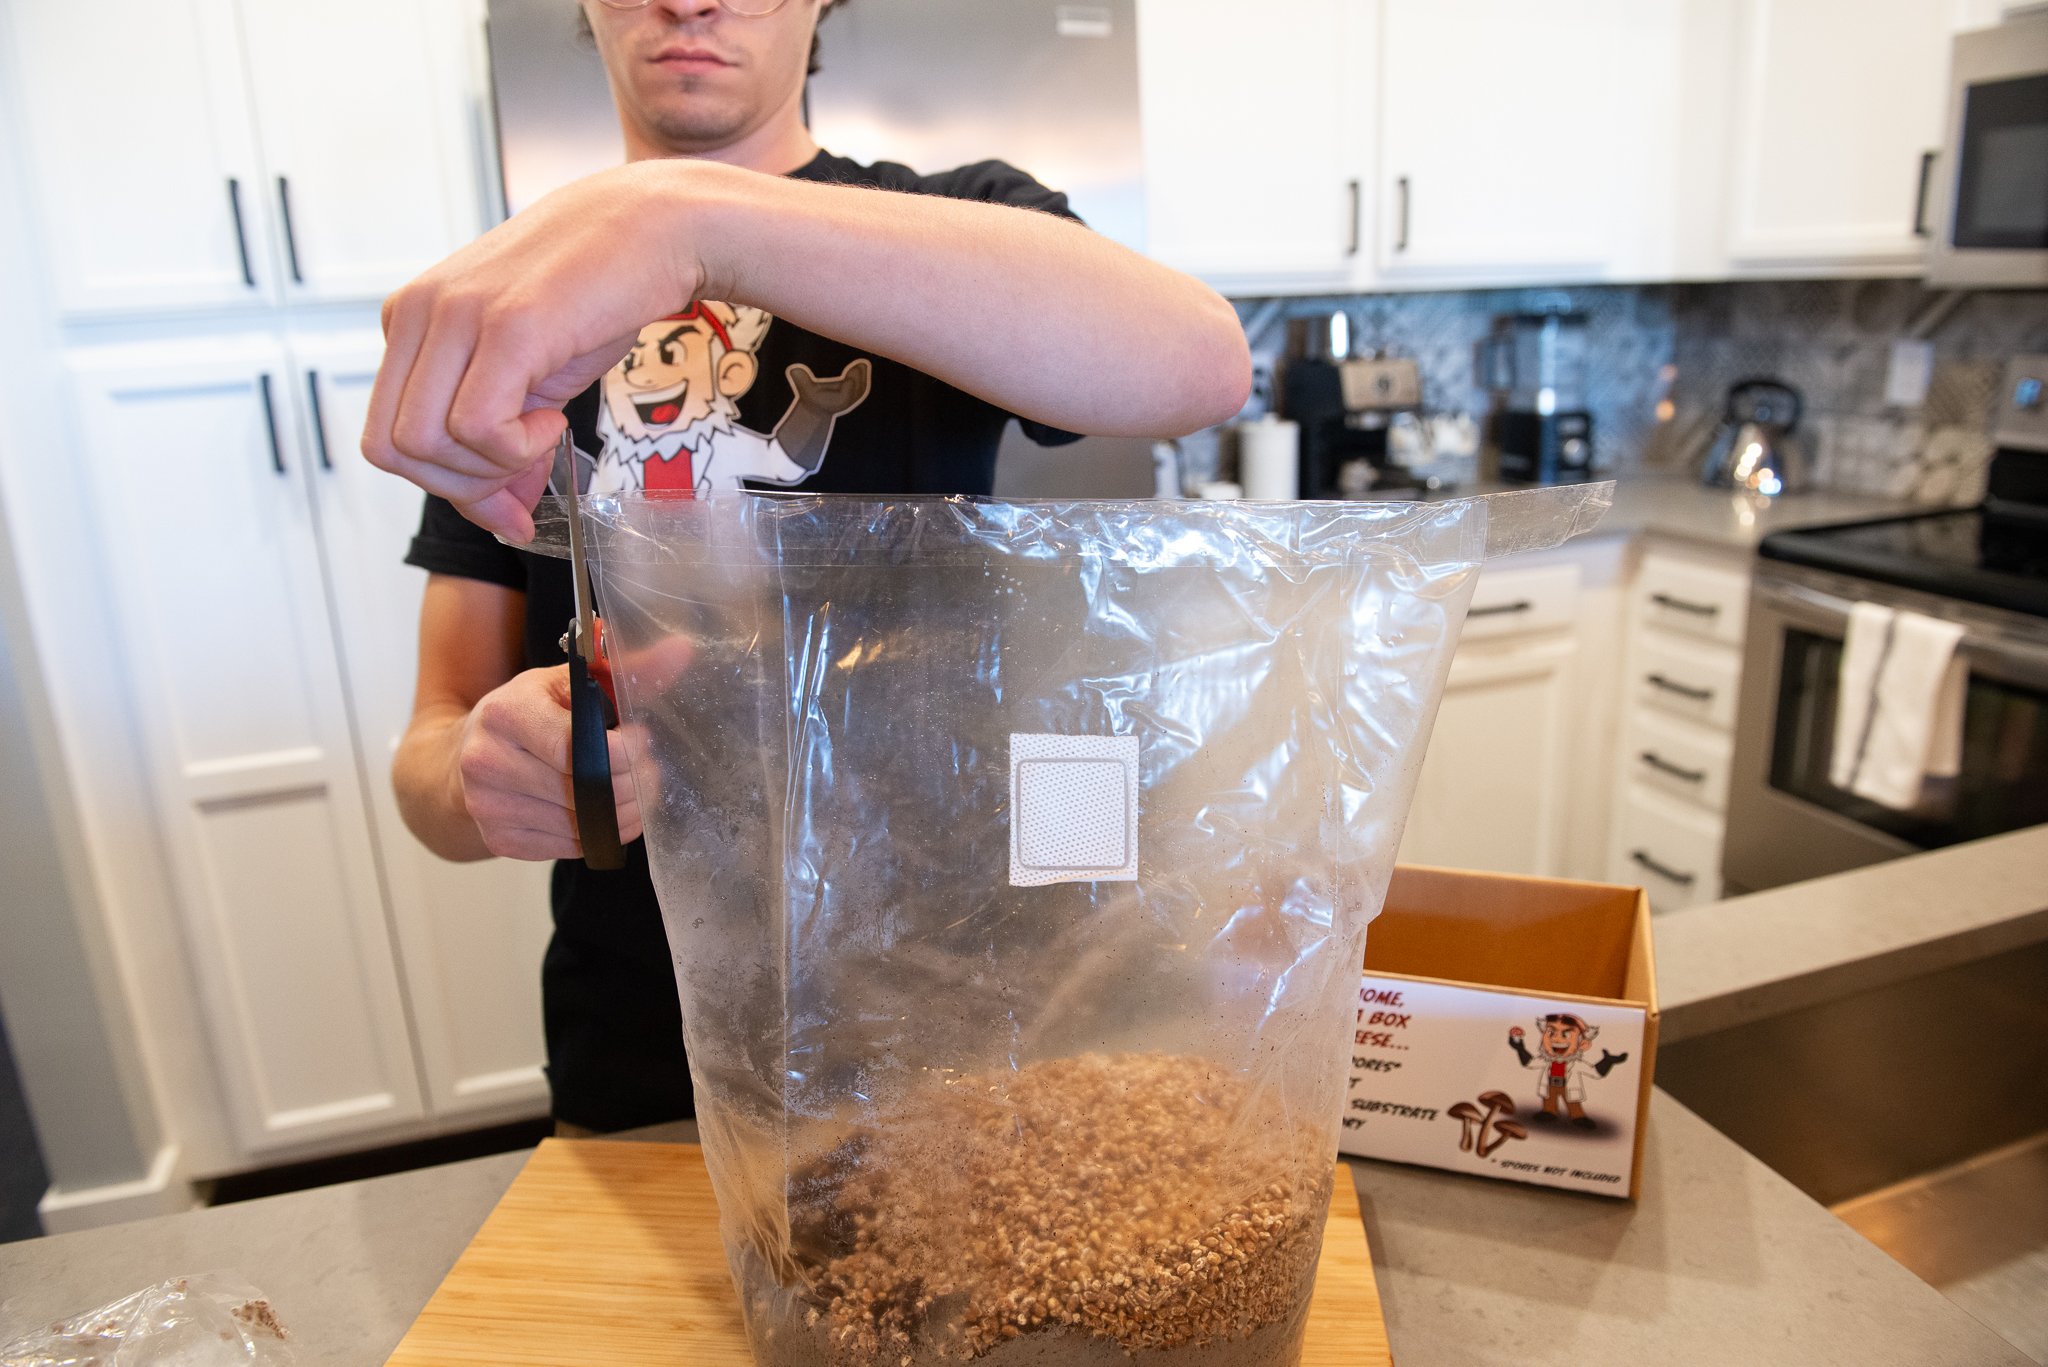
Cut open your grain bag, and pour grain into the Master’s Mix bag.
Grab tape and seal the top opening of the now “spawned” Master’s Mix bag (with colonized grains) Make sure that the seal is as air tight as possible. Any free flowing air has a high likelihood of carrying dirty air with unwanted organisms into the grow bag.
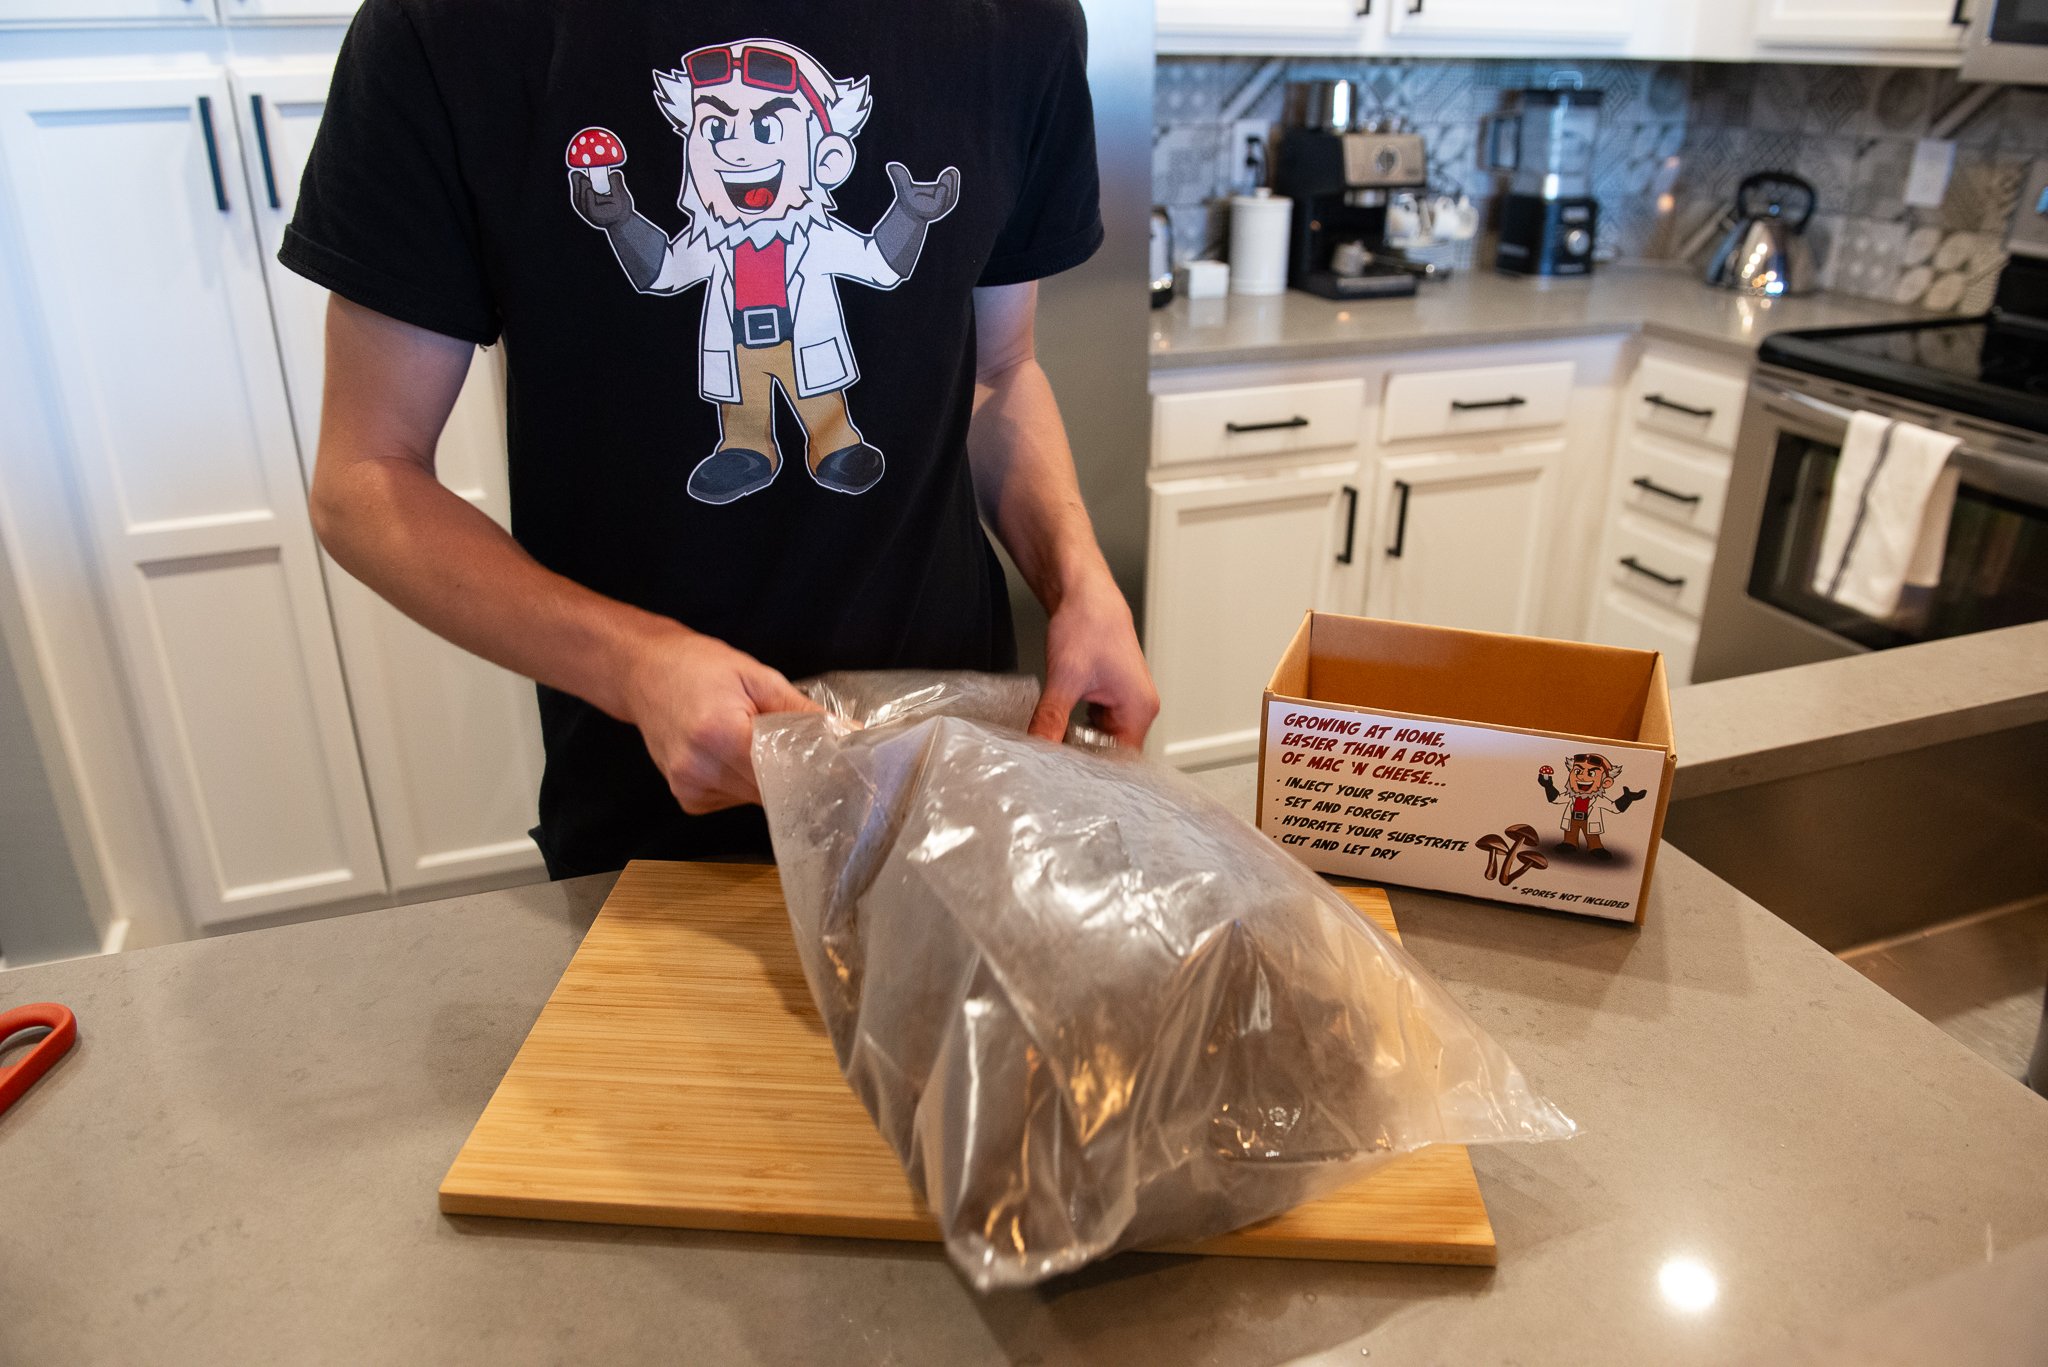
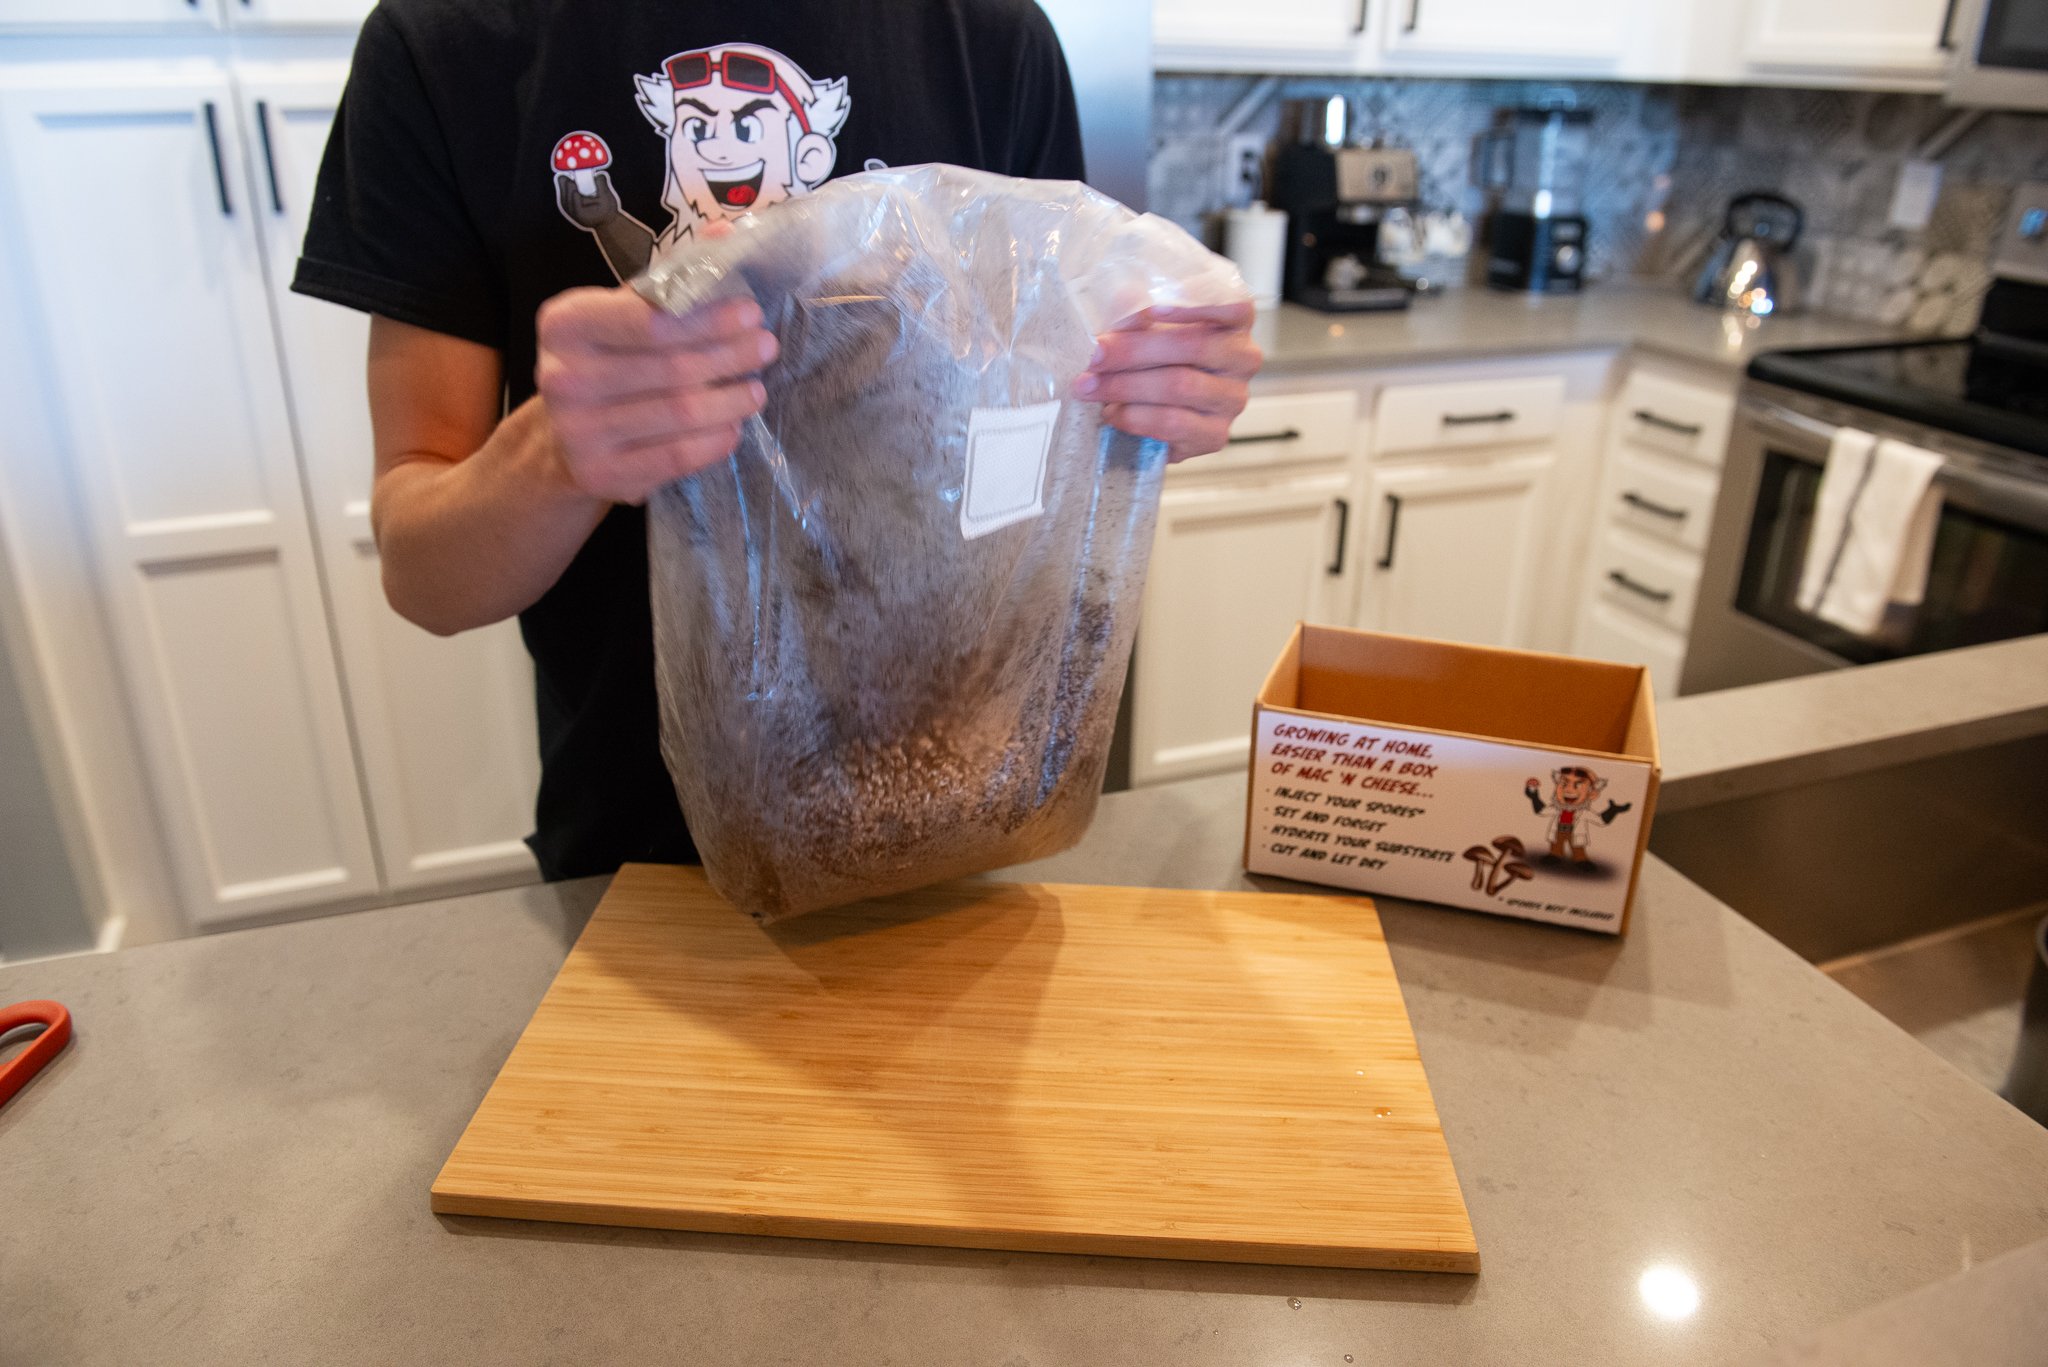
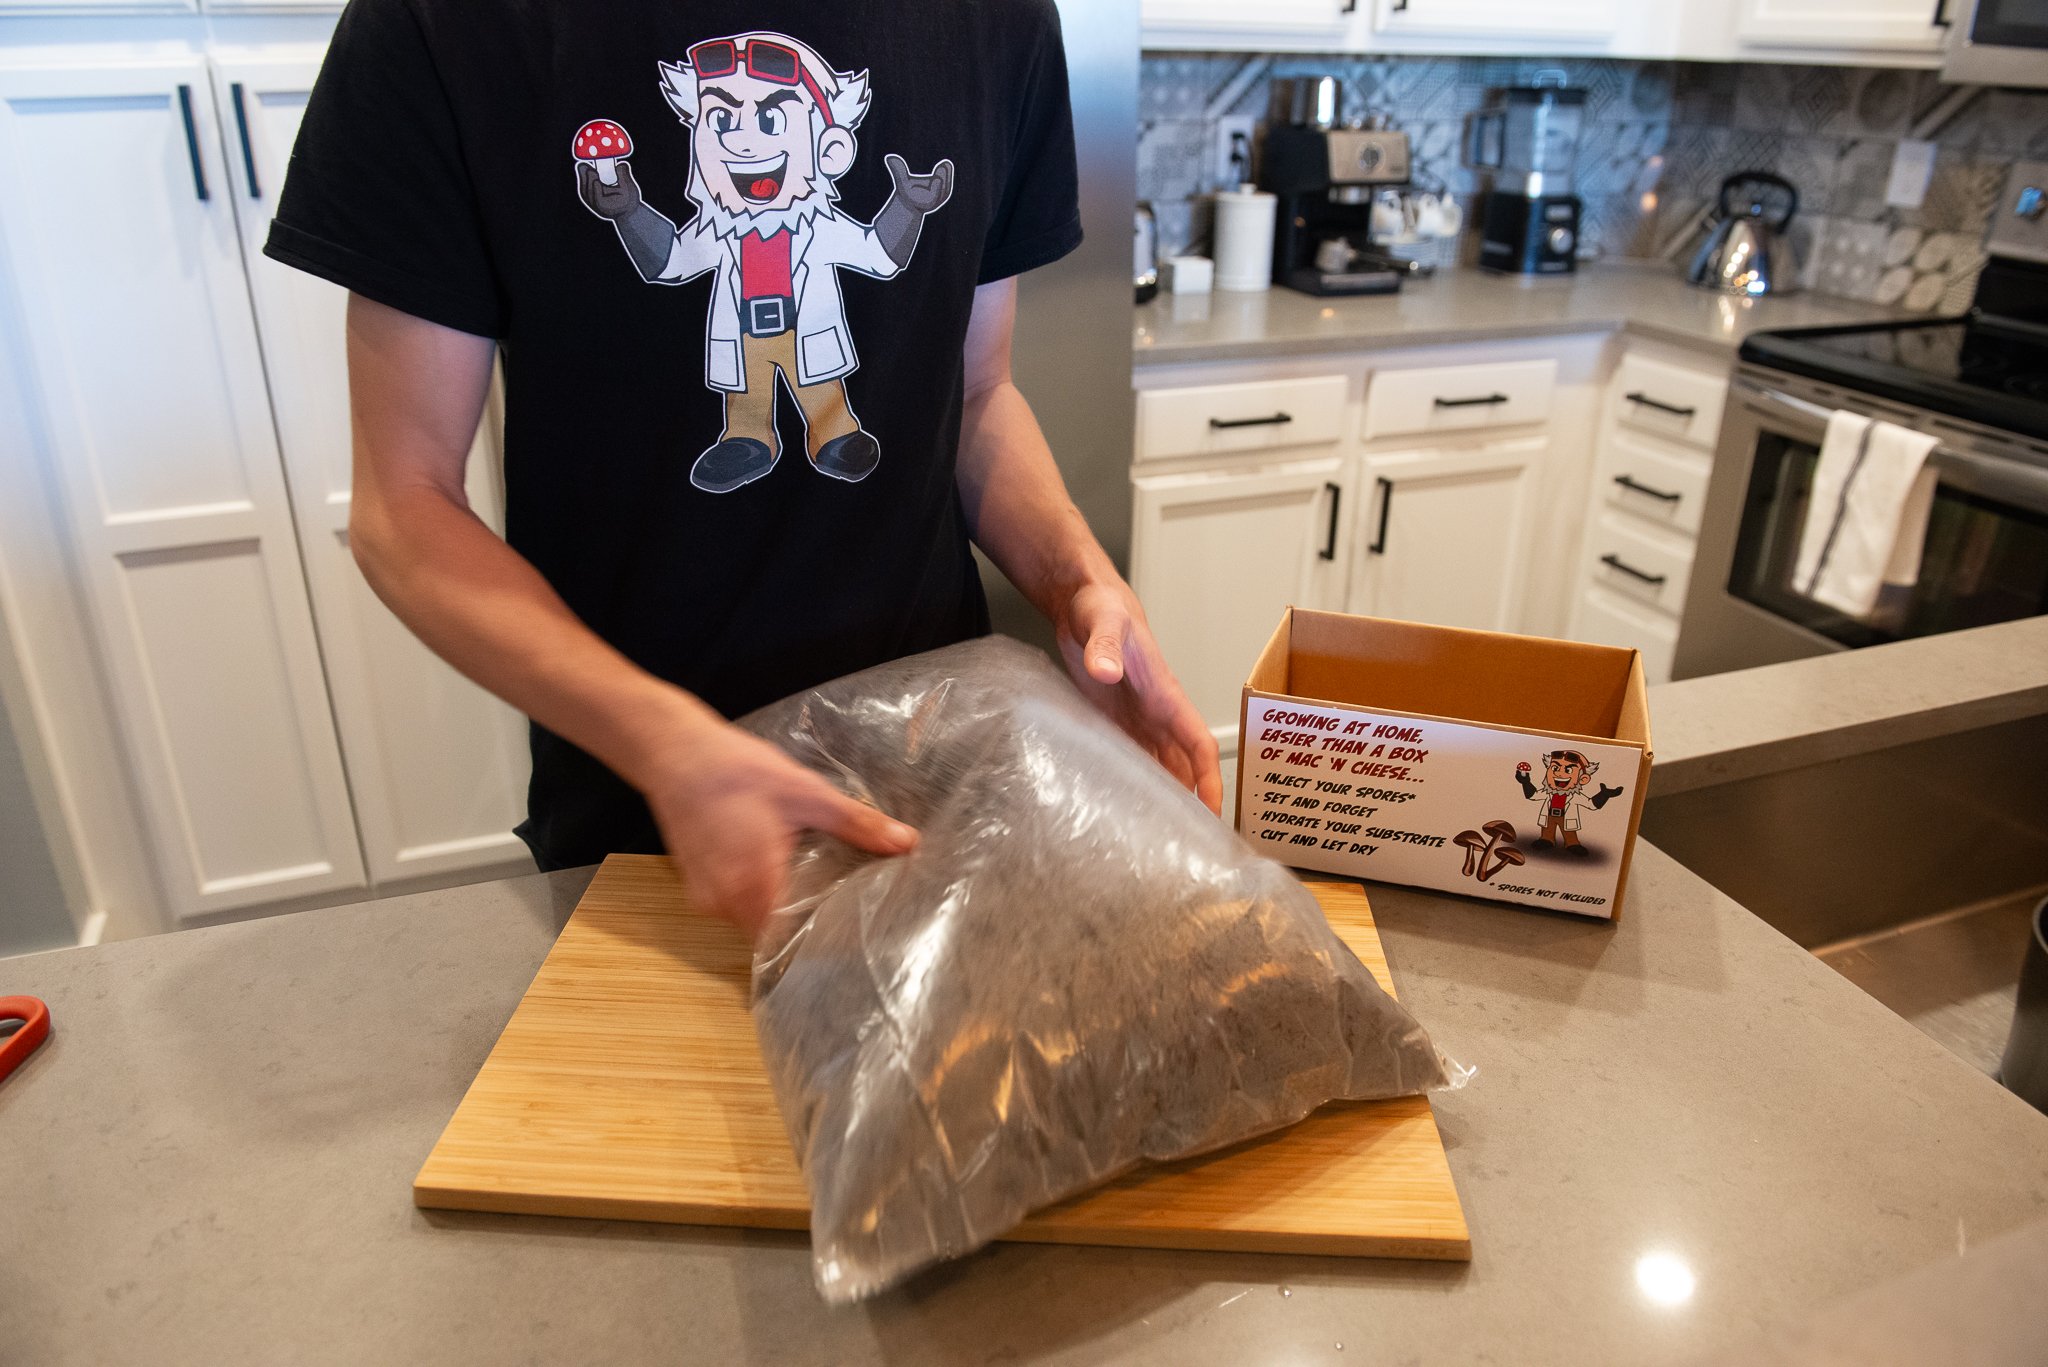
Evenly mix the contents of the bag without opening the bag. Note: for this photoshoot we did not properly let our Master’s Mix bag cool, your bag should not be this steamy when you add your grain.
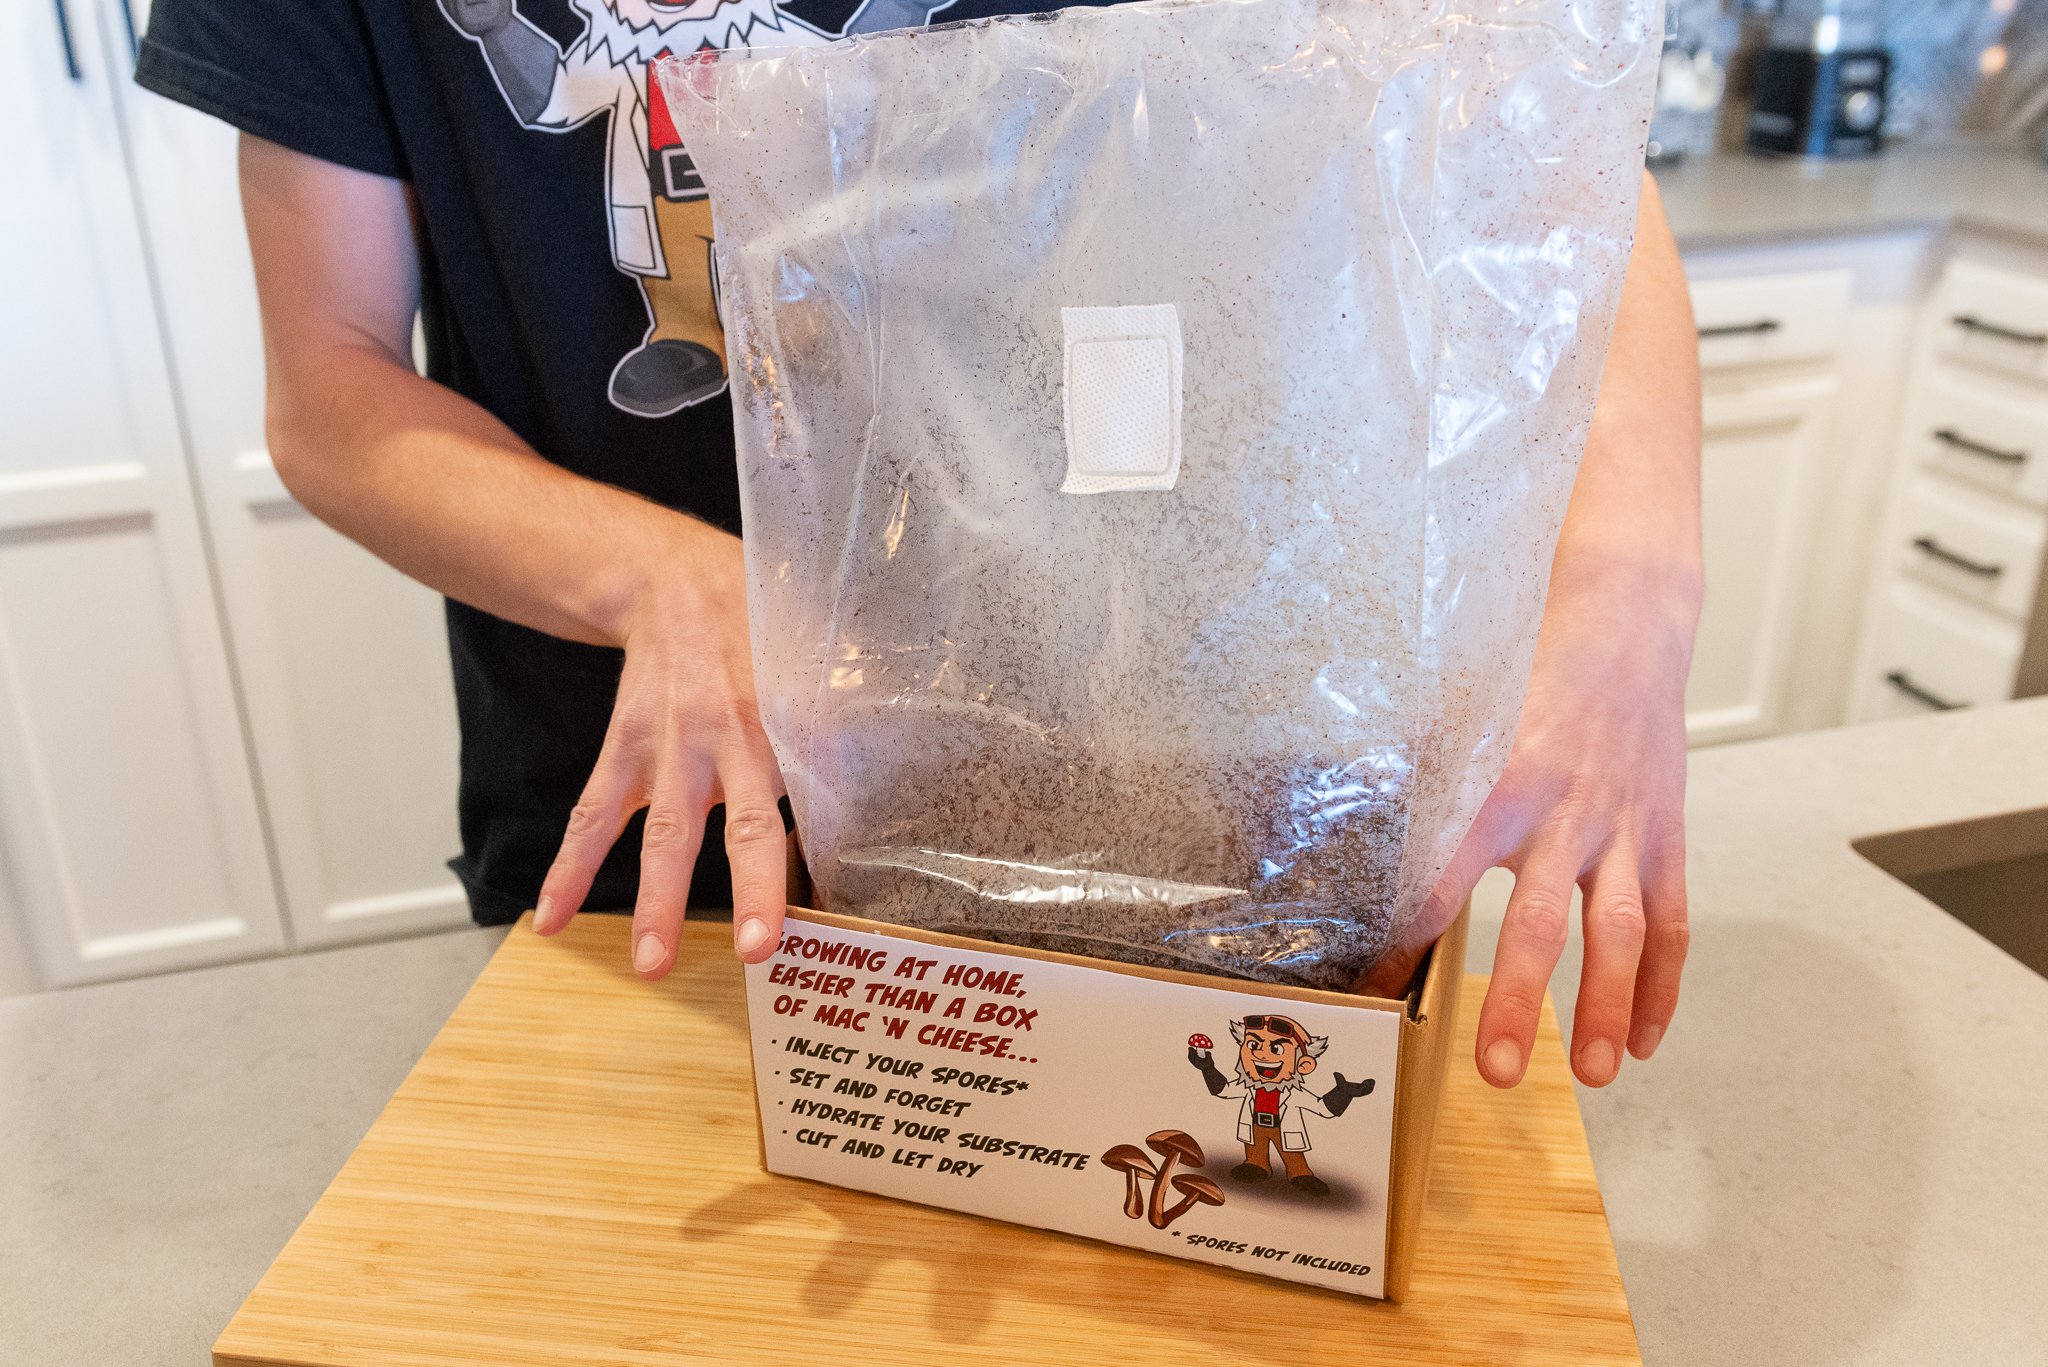
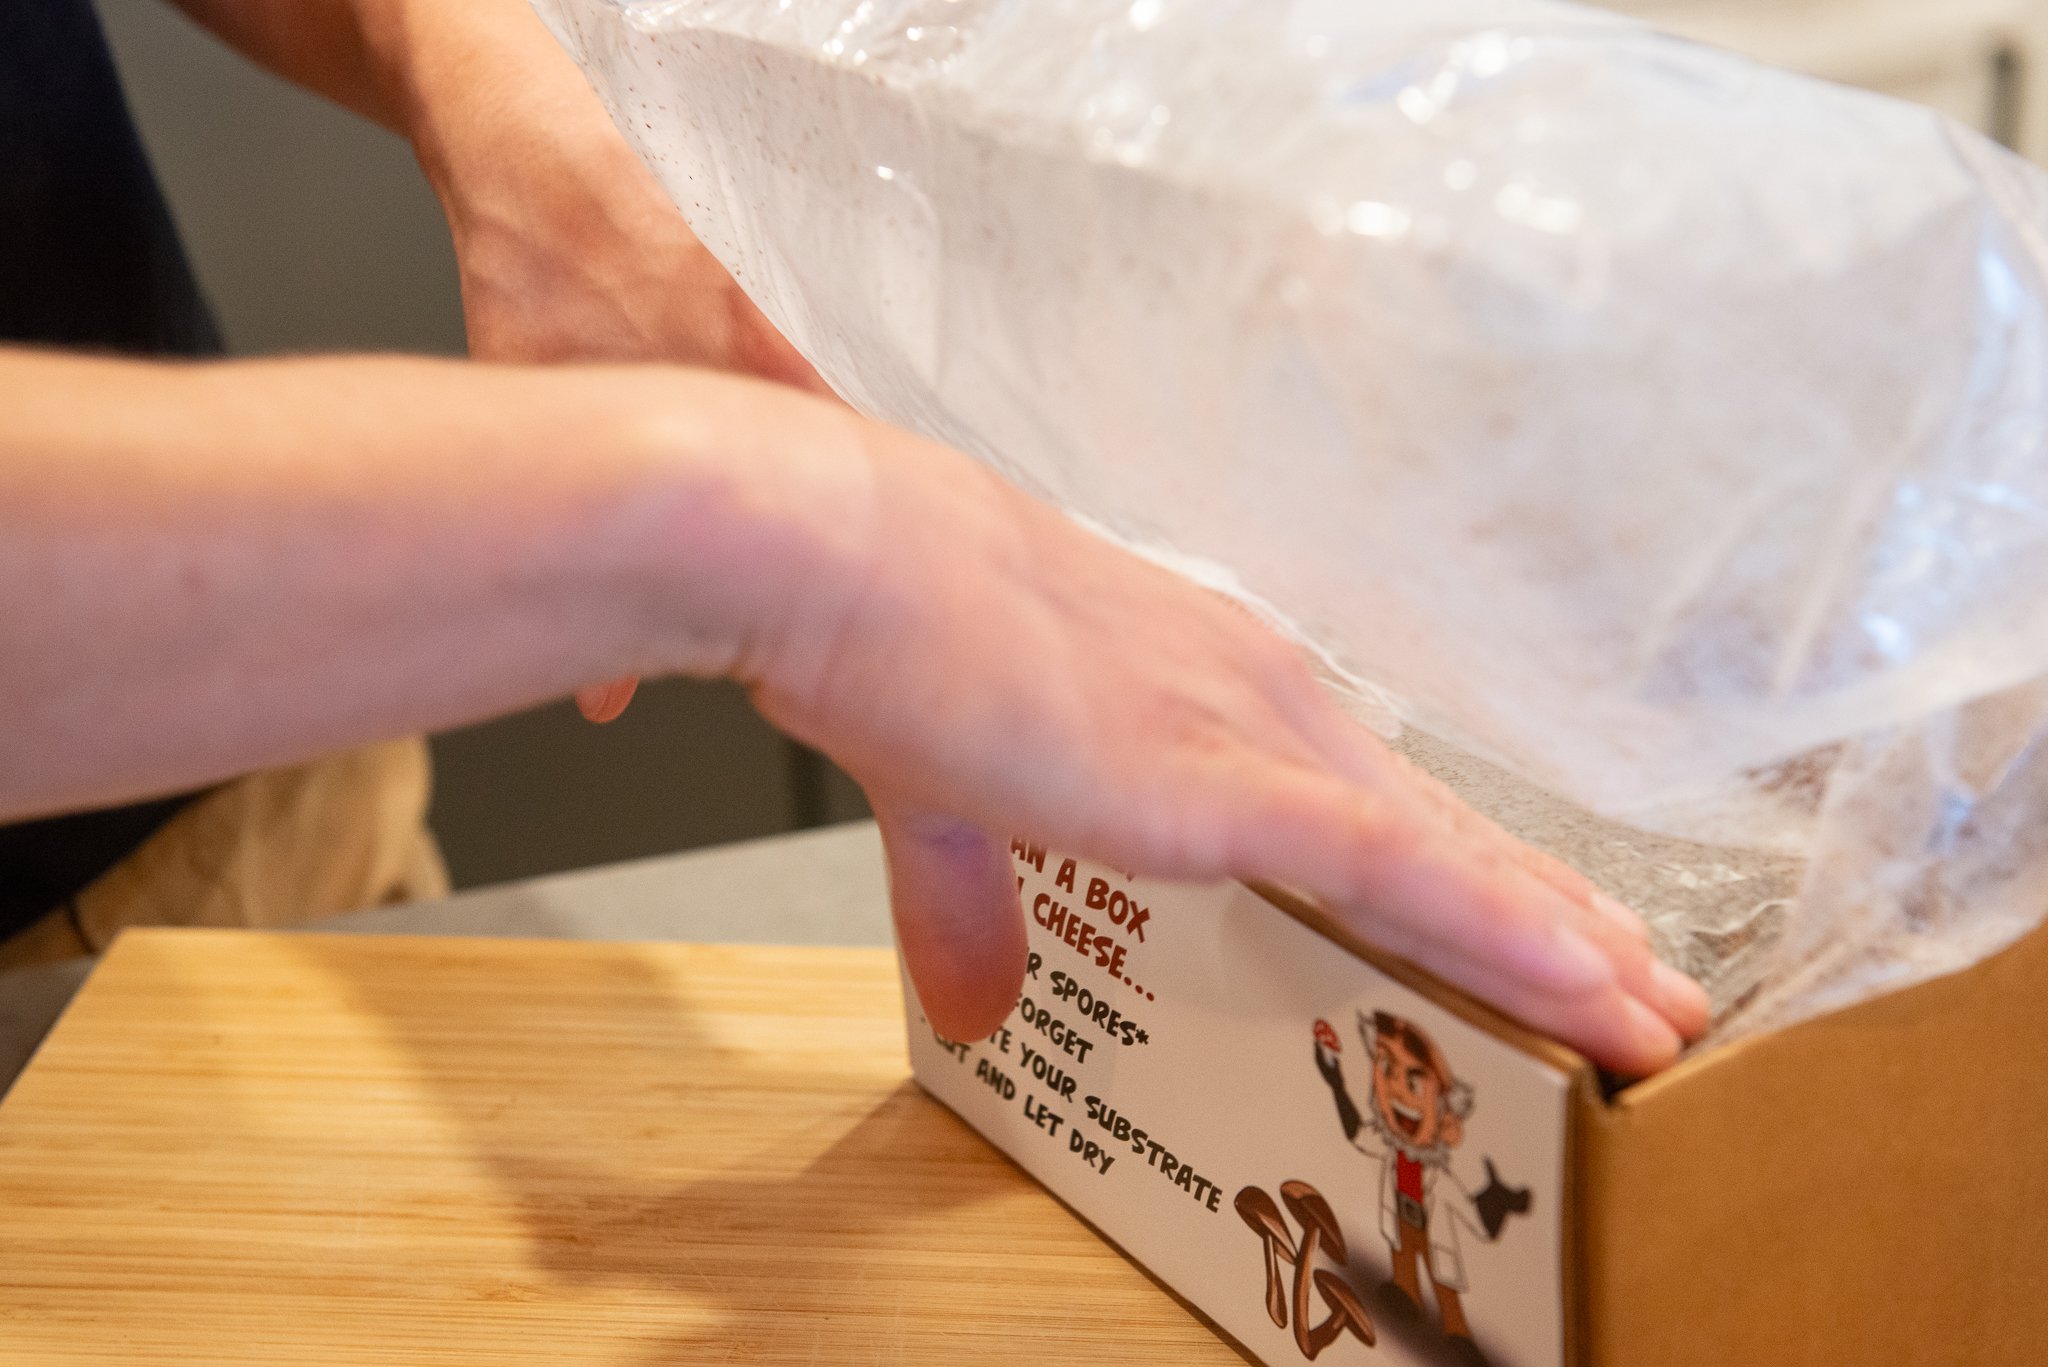
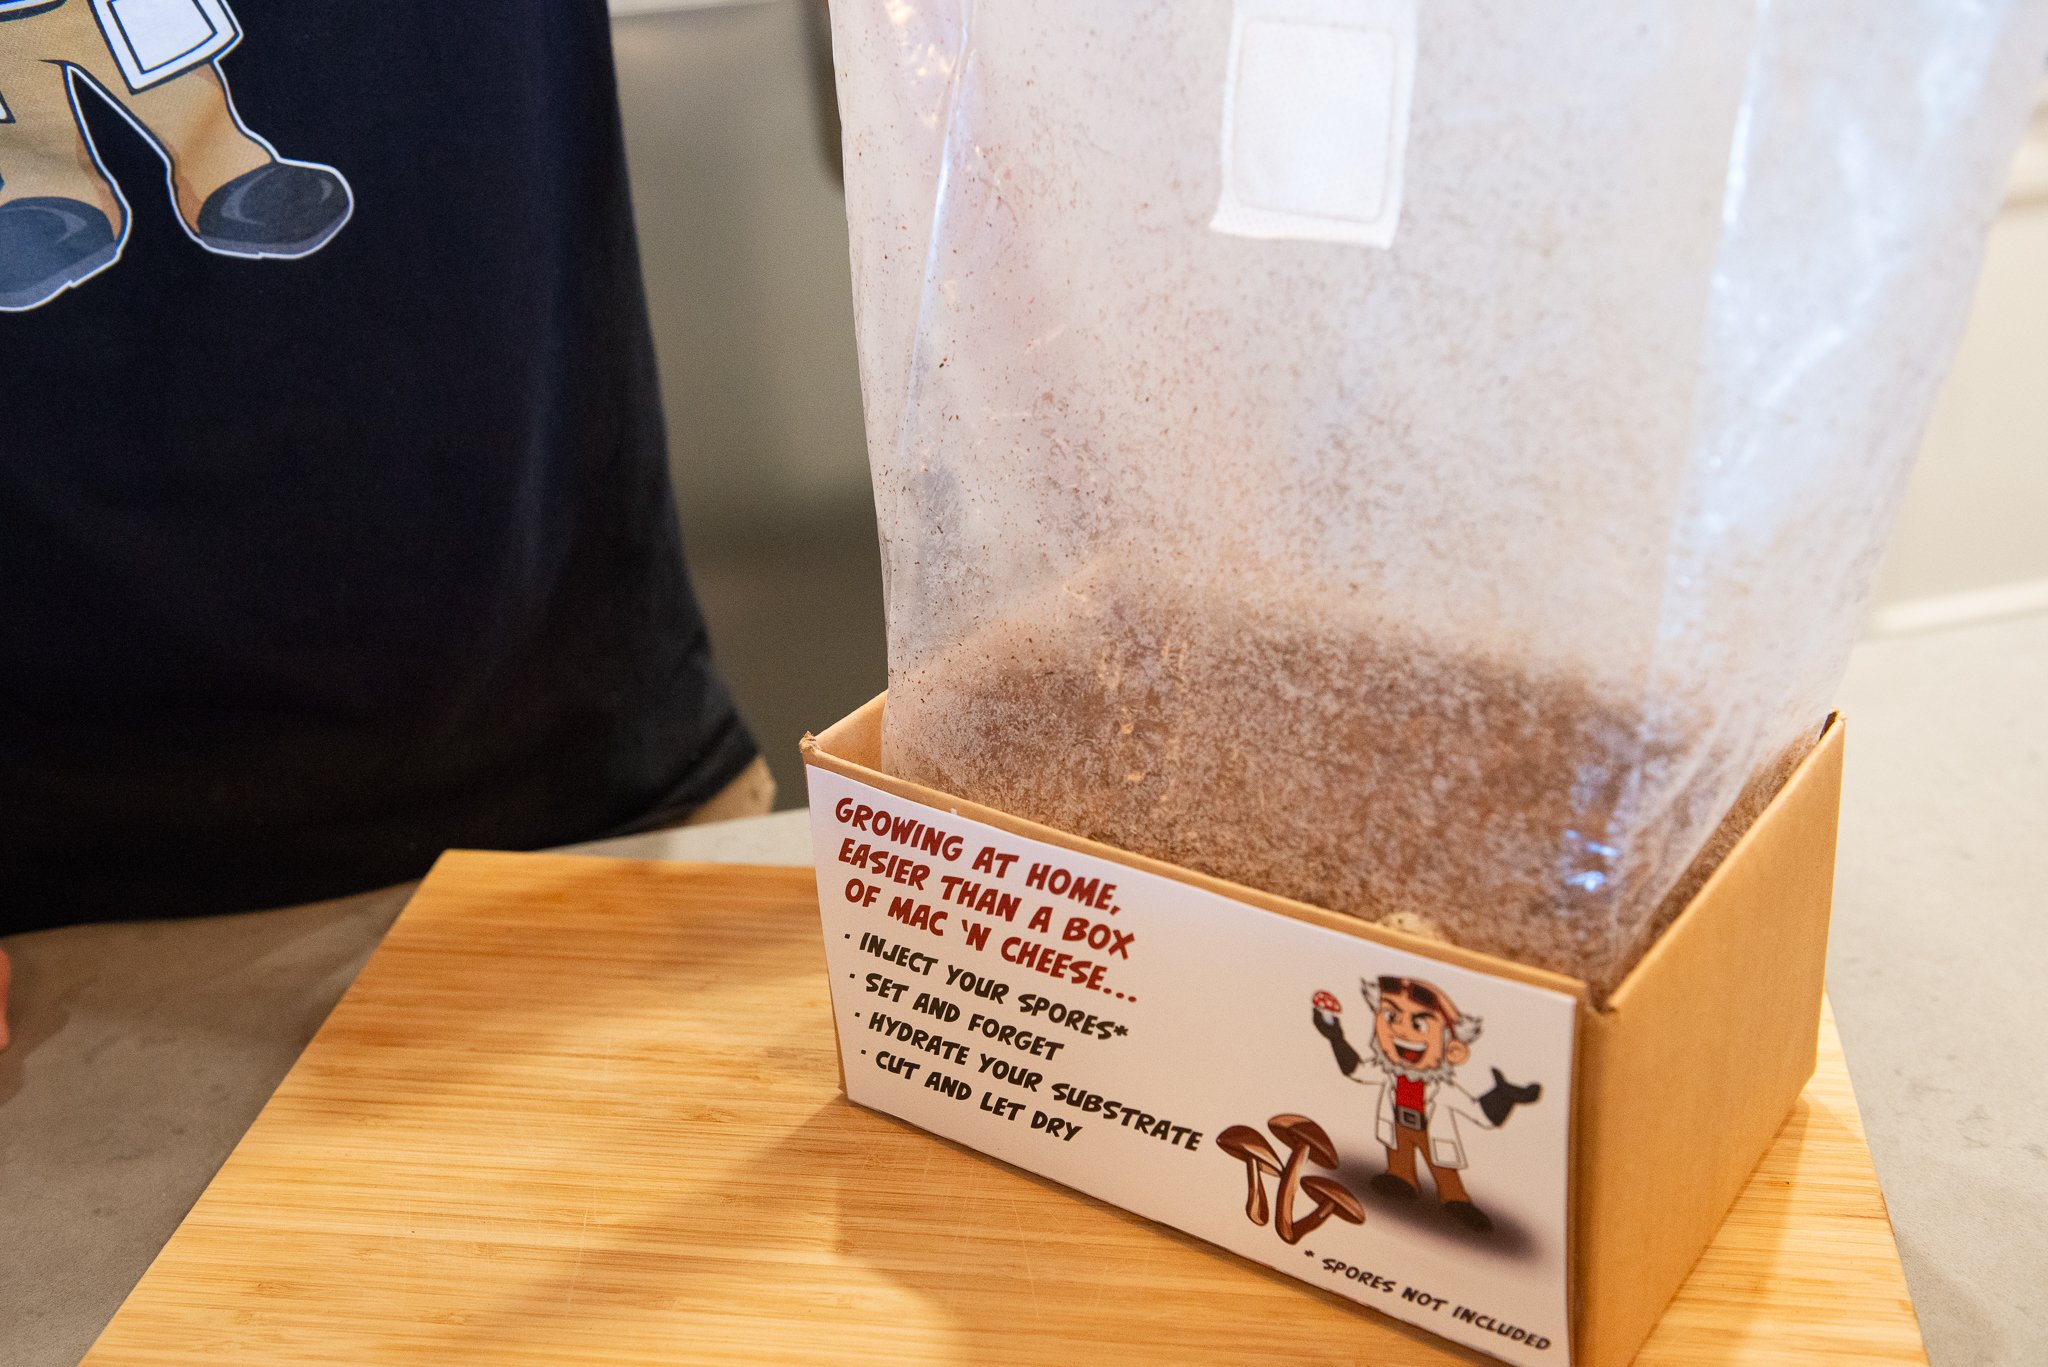
Place the now mixed bag into the original box that the kit came in. One larger side of the BoomBox should be left open to allow for the grow bag to sit inside of while also allowing for the grow bag to be domed with space to grow mushrooms on top. Gently shake the BoomBox with the bag inside of it until the substrate looks evenly distributed across the surface. Gently pack down the substrate from the outside of the bag. Pushing it down into the BoomBox will allow for best fruiting post colonization.
Place the BoomBox in an area that will remain as close as possible to 75℉. Be wary of temperatures over 78℉ and under 68℉. Do your best to leave the BoomBox completely undisturbed, the mycelium grows faster if you don't watch it!
Upon placing your BoomBox in an ideal location, be sure that the top portion of the bag is neatly upright, this will allow for the most even airflow and will assist in a nice pin-set during fruiting.
Once the substrate has been fully colonized with mycelium, this can take 7-10 days. Wait a few days after you notice the substrate has been fully white with mycelium and then proceed to cut a 1 ½ inch slit through the white filter patch on the grow bag, and a second identical cut on the opposite side of the grow bag similar to where the filter patch is.
Keep in a similar temperature location as during the colonization stage, however this time air movement should be minimal. Don’t have a fan blowing directly on the grow bag.
Mushrooms will start to grow seemingly from nowhere about 5-7 days after making the 2 slit cuts in the grow bag. Wait until the opportune time to harvest the mushrooms. This is ideally before the veil of the cap breaks, and released dark purple spores. If you happen to miss this short time-frame window, the mushrooms are still safe to consume.
As pictured, the cap being harvested is at the most optimal stage of growth. Others in the picture have begun to open their veil and will soon also release their spores.
Harvesting Your BoomBox
The BoomBox can be a single flush grow bag, or multiple flush grow bag depending on how you harvest. The quickest, easiest way to harvest is to just cut the entire top off the bag and mow the lawn. Leftover blocks can be placed in a MonoTub setup to allow for further flushes.
Alternatively, the BoomBox grow bag can be harvested carefully by not cutting one side of the bag to allow the top portion to hinge off. Once the first flush has been completely harvested, you can simply tape the bag back together to allow for a second or third flush to form.
With either route taken, once the first flush has been harvested, it is best practice to mist the block to help regenerate moisture loss and promote growth of a sequential flush. Mist once per day with any ordinary spray bottle. Another flush of mushrooms will appear in about 7-10 days.

